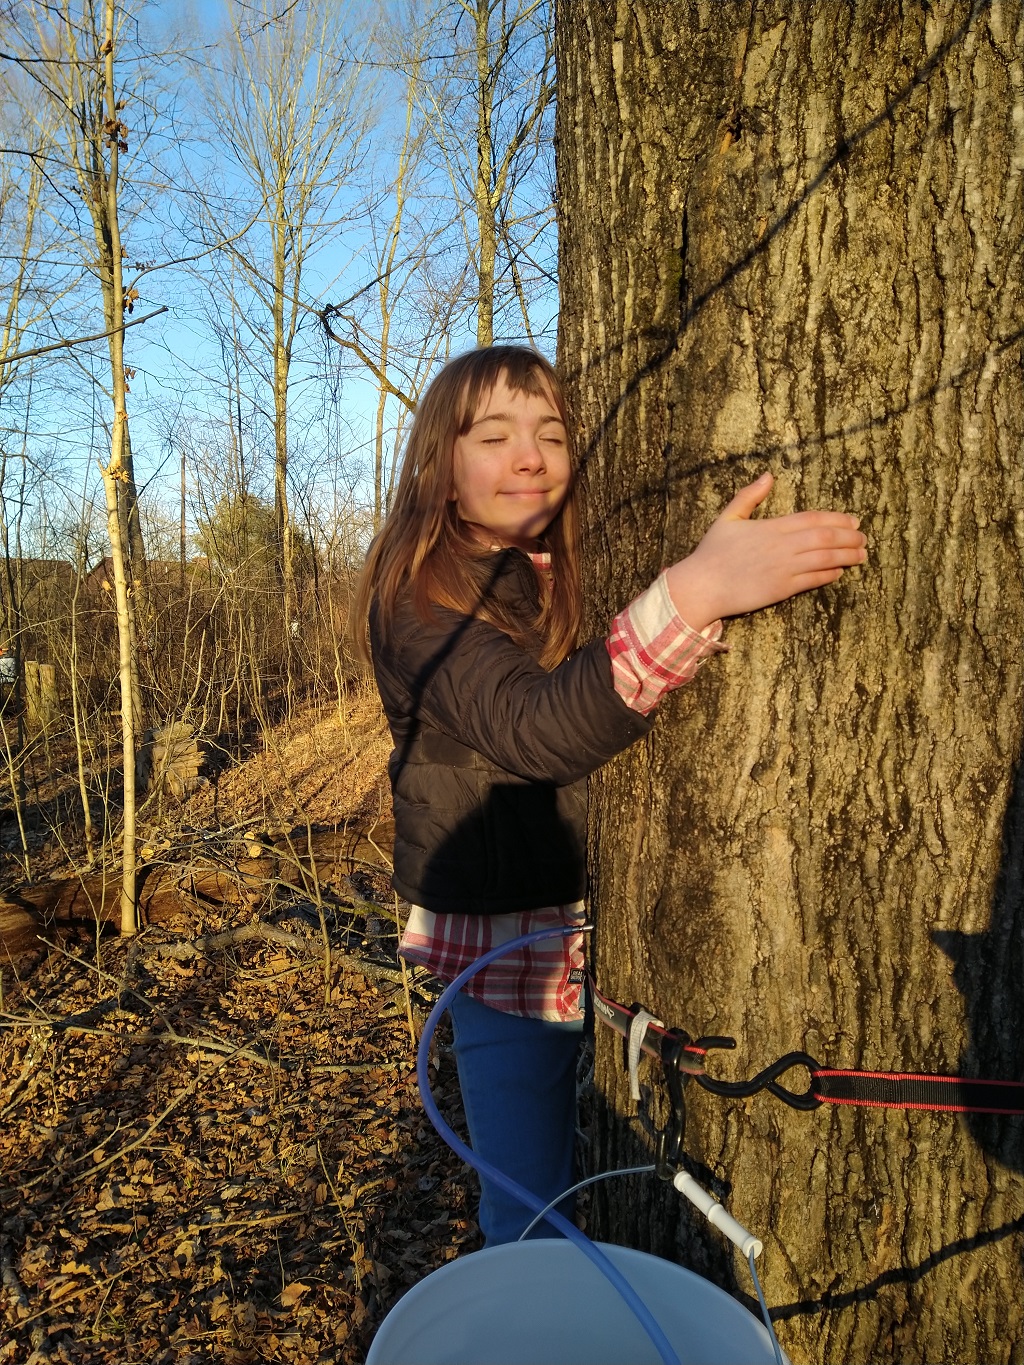
For the last few years, we’ve talked about mapping out our maple trees — we track which ones we tap, when we tap them, and occasionally try to track how much sap the tree produced. Which is difficult when the tree is labeled as “second down from planter on driveway” or “the next, next one by neighbor”. It seemed like we should be able to use our phones to tag each location — ideally while there are still leaves on the trees so we could denote them as sugar, red, etc.
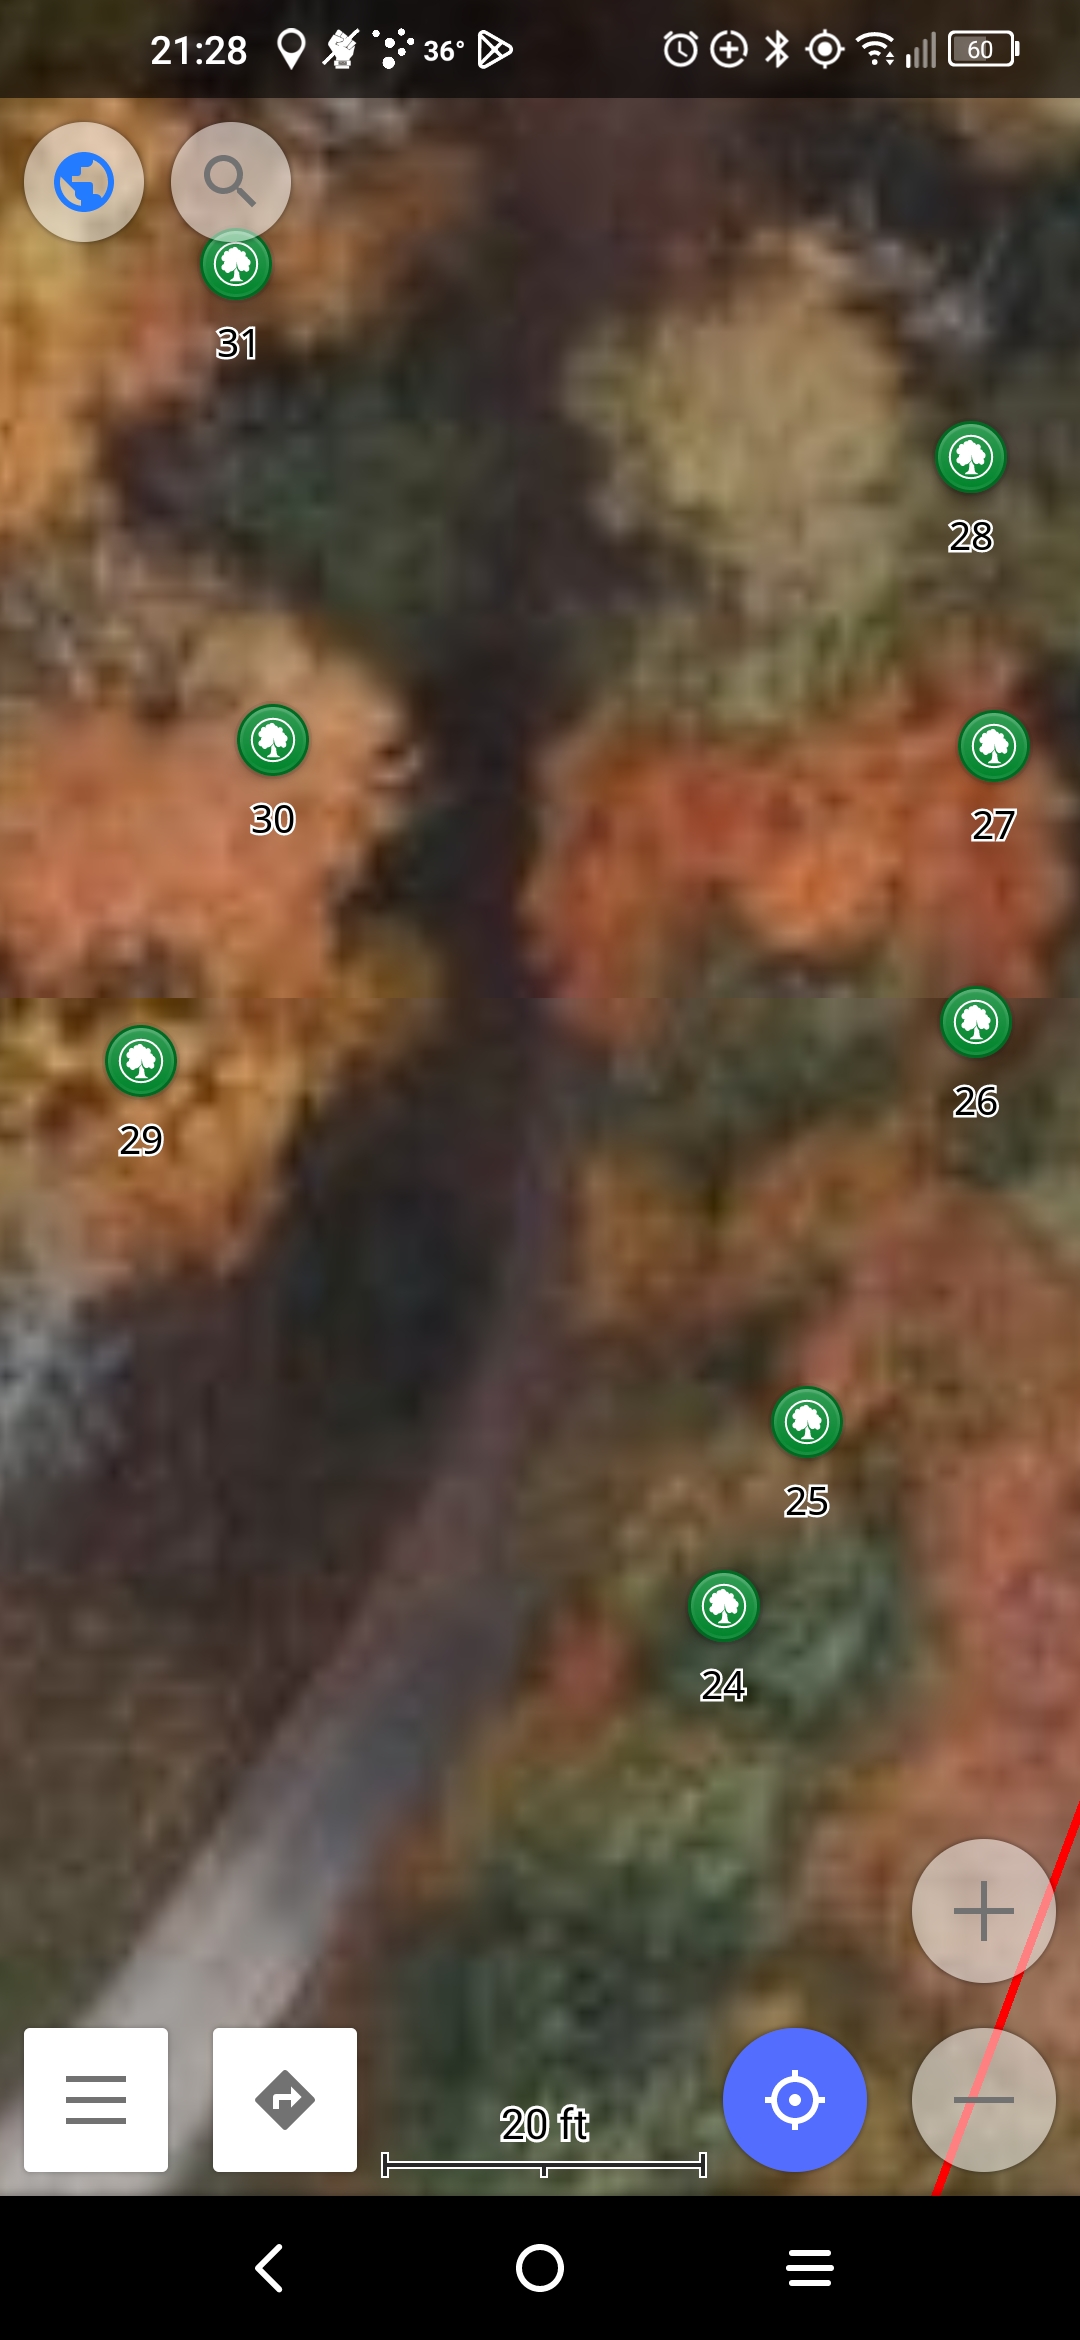
We settled on an open source app that uses Open StreetMap — https://github.com/osmandapp/OsmAnd/ — there’s no convenient way for Scott and I to simultaneously edit the data set, but we can export the file on one phone and import it onto the other so we are both looking at the same points. Each tree is numbered, and there is a note with the type of tree and how many taps.
Now we know we are at tree #27 (the phone’s location will show up as a blue dot).