Category: Cooking

Xocoveza Clone Recipe

Work in progress recipe — original source https://www.homebrewtalk.com/threads/stone-xocoveza-mocha-stout.492778/. This is sized for a 10 gallon batch

Grain Bill:

Quantity Grain Color
20 lbs Pale 2-row 2°L
2 lb Roasted Barley 550°L
2 lbs Caramel 60°L
2 lbs Chocolate 350°L
2 lbs Munich Light 10°L
20 oz Flaked Barley
1 lbs Flaked Oats

Brew: Mash at 151°F with 40.6 quarts of water for 60 minutes. Sparge 5.53 gal water at 168°F. 90 minute boil with the following additions:
2 oz Challenger hops @ 60 minutes(bittering)
2 lbs lactose @ 10 minutes
2 oz East Kent Golding @ 10 minutes (aroma)

Yeast: 2 pgk SafAle OS-05

Secondary:

Quantity Ingredient Addition Time
4 Pasilla Chili Peppers Secondary 1-2 weeks
2 tsp Nutmeg Secondary 1-2 weeks
5 Cinnamon Sticks Secondary 1-2 weeks
6 Vanilla Beans (cut into 1″ pieces) Secondary 1-2 weeks
8 oz Cocoa Nibs Secondary 1-2 weeks
small amount Coffee Beans Secondary 2-3 days

Meatless Bacon Cheeseburger Pizza

Scott always wants a bacon cheeseburger — and, occasionally, I make him one. But that’s more of a “out at a restaurant” meal … and we’ve not been out at restaurants for a long time. A few weeks ago, I got the Impossible meatless ‘ground beef’ stuff to make meatball subs. It’s a little expensive to make a couple of burgers (8$ a package, and I’d use three or four packs to make a handful of burgers), but I immediately thought of bacon cheese burger pizza.

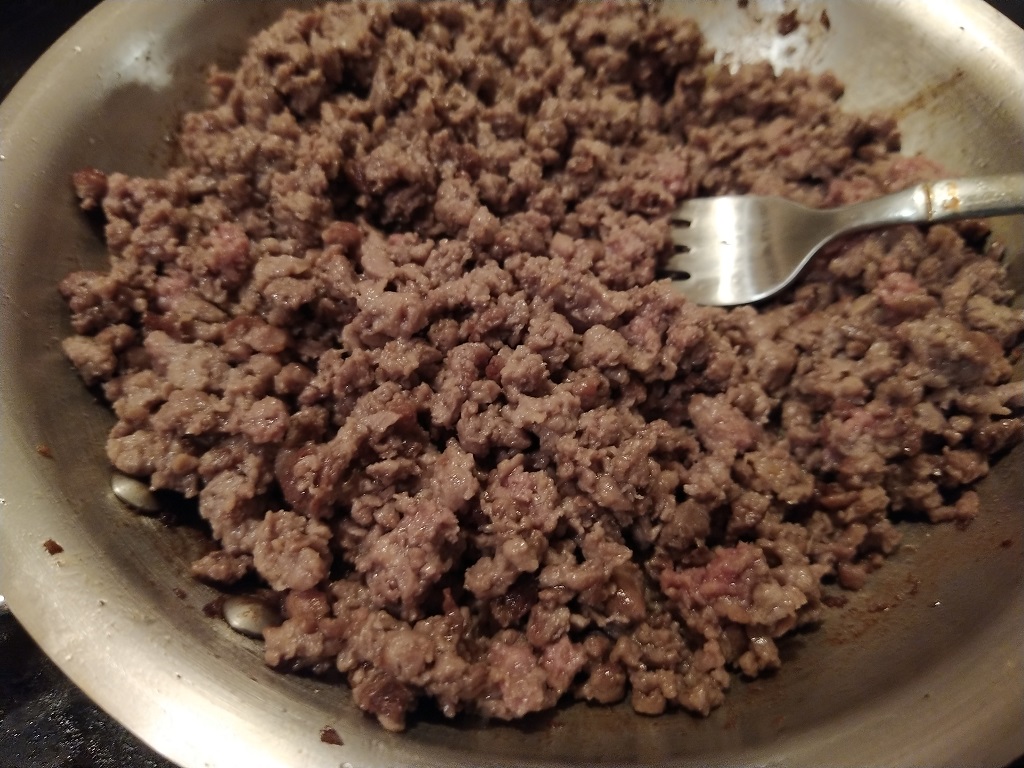
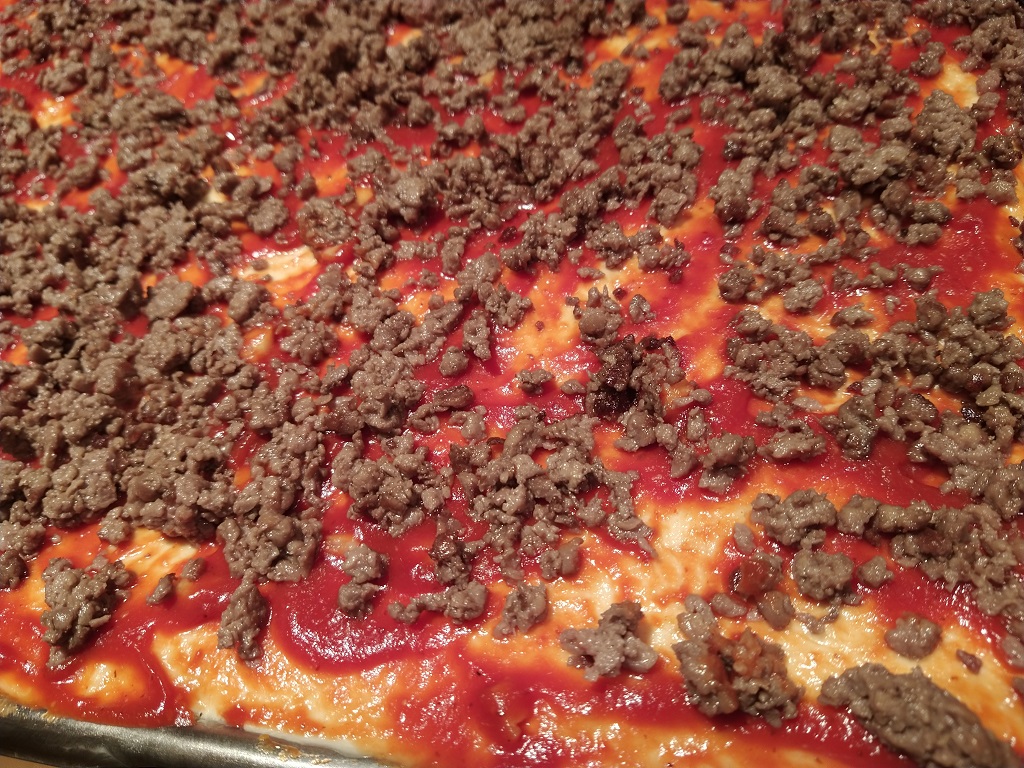
I mixed up my usual pizza crust — about four cups of white flour, a third of a cup of vital wheat gluten, yeast, water, and about a tablespoon of olive oil. Crisped up a few rashers of the MorningStar Farms fake bacon. Then I sautéed the Impossible ‘ground beef’ in the pan

I made a smokey maple barbecue sauce, sprinkled the crumbles, then added cheese.

Baked for about 15 minutes at 550F and then topped with the fake bacon.

High Density Apple Pie

I have been following the “roast apple slices before putting into pie crust” approach from Bon Appétit when making apple pies. The Thanksgiving pie this year was about five pounds of sliced apples, mixed with about a cup of maple syrup, and roasted at 350 F for 25 minutes. They should be tender but not dehydrated (a big *no* on the convection oven). The roasted apples are mixed with 2-3 tablespoons of flour and drizzled with more maple syrup. They are then added to a walnut pie crust and baked for another 20-30 minutes.

Maple Cranberry Sauce

I made a maple cranberry sauce tonight — add about a cup of water and a cup of maple syrup to a saucepan and stir. Rinse a bag (12 oz) of cranberries and add them to the pot. Bring to a boil, then lower the temp and simmer for twenty minutes or so until the cranberries break up. It’s really good warm and cold.

Shiitake Mushroom Jerky

We saw jerky-style shiitake mushrooms on Shark Tank a few days ago, and their SEO isn’t awesome because searching for “shiitake mushroom jerky” doesn’t show their company’s site in the first page. And, since I didn’t remember the company’s name … that makes ordering it difficult. The first page of results does, however, provide a lot of recipes. So I picked up a pound of shiitake mushrooms at the grocery store (a.k.a. every not-dodgy-looking shiitake they had in the bulk mushroom section). I marinated them for 24 hours in a combination of 1/4 c soy sauce, 1/4 c low-sodium soy sauce, 1/4 c apple vinegar, a clove of garlic (diced into small pieces), and a sprinkle of crushed red pepper (ground). I roasted them at 200 F for a LONG time. The recipes said 90 minutes to two hours, but it was after midnight when I turned off the oven, and I had started cooking the things at 7PM. So that’s at least five hours. A food dehydrator would be a good investment if we’re going to keep making mushroom jerky!

End result — it’s way too salty. Possibly using 1/2 c of low sodium soy would have been OK … but thinking of using veggie stock for some of the soy. And possibly making one with a few tablespoons of maple syrup instead of garlic.

Impossible Meatball Sub

Our power went out last week, and we were discussing where to pick up dinner for the night. I kind of wanted to get sandwich-makings, but it was cold. While I could easily have sold warm sandwiches … cold sandwich makings from the store had limited appeal. And, unfortunately, there’s nowhere around here to get a veggie meatball sub. We ended up getting pizzas from Pizza Hut because they now offer Beyond’s Italian sausage as a topping. It was really good (good enough we ordered another pizza the next night of our power outage), but I was still hungry for a meatball sub.

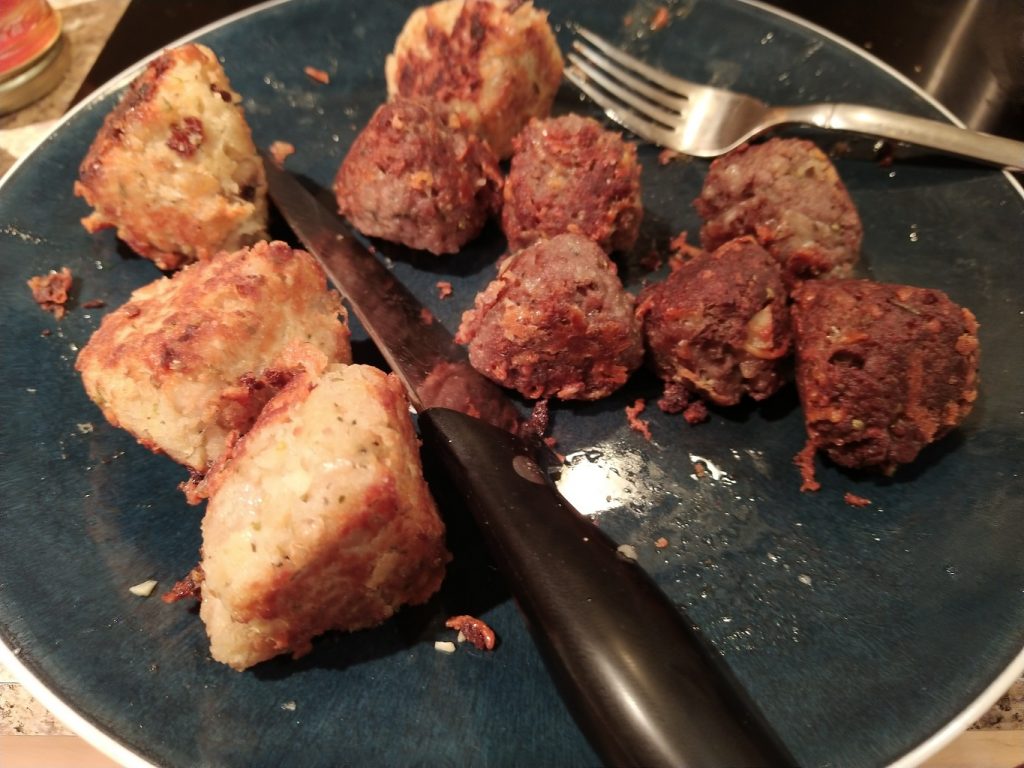
Now that we’ve got power again, I picked up a package of Impossible’s ground-beef-style stuff. It looked pretty dodgy — a grainy lump of red stuff. I added panko, salt, shredded Parmesan cheese, ground pepper, an egg, and Italian herbs. Mixed it all up and rolled them into balls. Fried them until crispy. For a comparison, I used the same basic recipe with mushed cannellini beans. I should have made the cannellini balls smaller so they’d have been crispier.

The Impossible meatballs were awesome. Not exactly a meatball — they were a little dry, but that would have been solved by simmering them in the sauce (something I intentionally didn’t do because I wanted them to be crispy). I think rolling the meatball around a little bit of mozzarella cheese might work too.

Either way, we had really good meatball subs. And between the can of cannellini beans and the pack of Impossible ground-beef-style stuff, it was enough for dinner yesterday and lunch again today.

DigiMash Unboxing

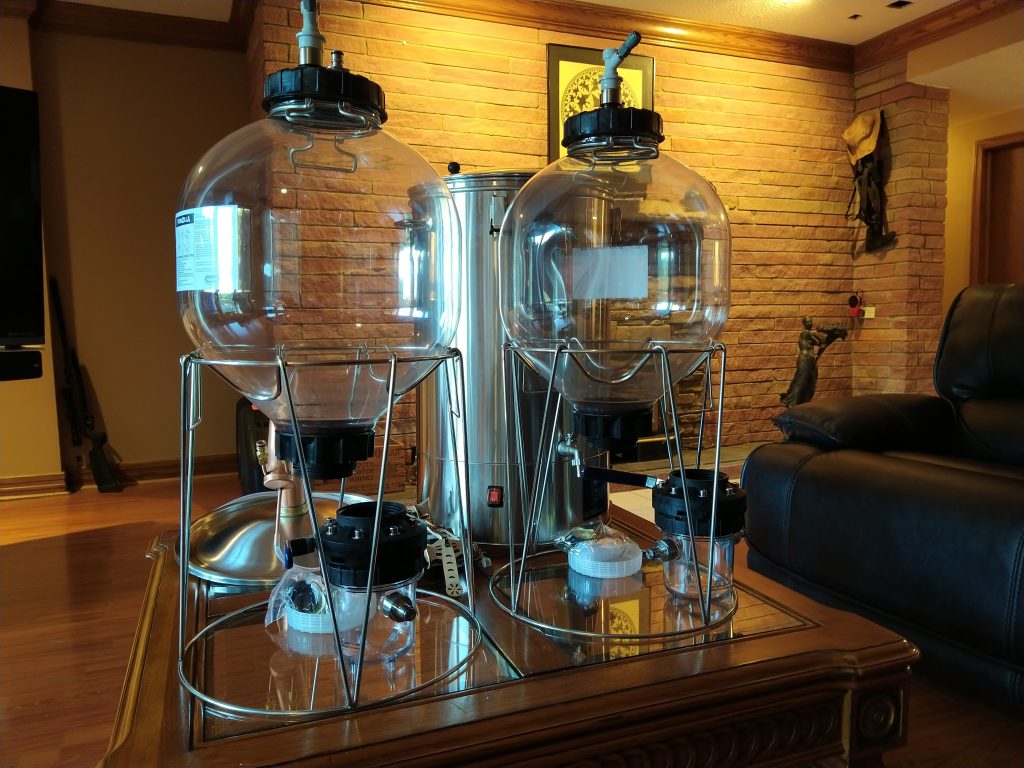
Our beer-brewing equipment arrived today! The packaging was not robust — every box had some fairly substantial damage. There’s a dent inside the kettle and one of the fermenters has a pushed in section (supposedly this will pop right out when we fill it). My first surprise was that we got a DigiBoil in a box and the mash upgrade kit in another box. The kettle is even branded as DigiBoil. Which … from a manufacturing / material standpoint makes sense. Why would they have two different sets of packaging and product labels? And three different SKU’s — DigiBoil, DigiMash kit, DigiBoil Mash Upgrade. It was a better deal buying the DigiBoil package — the DigiMash 65L was $259.99 and the mash upgrade $89.99, so we saved ten bucks ordering

Electric Brewing Research

We saw a DigiBoil at the local homebrew shop when we stopped by to pick up yeast. Scott had been pricing out a three-kettle system with pumps (along with some sort of table) and it wasn’t cheap. The DigiBoil was about 200 bucks. I took a quick picture of it to research later. Quickly discounted it as an option because it’s just a big pot with electric elements to boil water. We needed something for mashing too.

At which point we decided to shop around and see what other options were available. There’s the Grainfather — super expensive and, if I wanted to walk away while it cooked, I’d want to go farther than Bluetooth range. We came across Brewzilla — the software controls of a Grainfather minus connectivity, but 650 bucks is a lot more reasonable for a 65L brewing platform. Unfortunately, the 3.1 version starts the timer when the elements kick in to reach that temperature. Version 3.1.1 systems change this logic so the timer starts once the temperature is reached. The control board can be swapped out, but I really don’t want to blow fifty bucks upgrading something I bought this week. And, while there were some 65L 3.1.1 Brewzilla’s hit the US at the start of 2020, suppliers are all awaiting delivery “late summer 2020”, “late September 2020”, or “Autumn 2020” … which I took to mean “we don’t know when”. Understandable, but pretty much put the Brewzilla out of the running.

I came across a Mash & Boil — a 35L system with re-circulation pump is about 350. Decent price, but there’s no 65L system. Same with the Anvil Foundry — where a 6.5 and 10.5 system are available.

In looking at the Brewzilla, I found a mash upgrade kit for the DigiBoil. And a kit which includes both the mash upgrade and DigiBoil called a DigiMash. Both a 120V and a 240V 35L DigiMash are available, as well as a 240V 65L system. At around 240 bucks for the 240V 35L system, it’s a great deal compared to a three-kettle system. Because we frequently do double batches and potentially recipes with larger grainbills, the 18 pound capacity was limiting. At 340 bucks for the 65L DigiMash, it sounded like a great deal. No re-circulation pump, but it’s easy enough to hook a pump up to the output valve. Brewzilla has a port in the bottom of the vessel that goes down to a pump under the unit — a short silicone tube connects to the pot and another short silicone tube that connects to the metal fitting through the side-wall of the vessel. On the video we found, that tube was pretty cruddy looking … which isn’t exactly a selling point.

DigiMash doesn’t have the software-control of Brewzilla — you can set a 158F mash temp and come back and hour later, but you cannot perform step mashing. Which … not something we’ve done. And, really, you could. You’d just have to change the temps manually. It sounds like an interesting experiment to put together an ESP12e and a few relays to control the elements. Potentially, we could turn the DigiMash into an open source customizable controllable (and WiFi connected) brewing system.