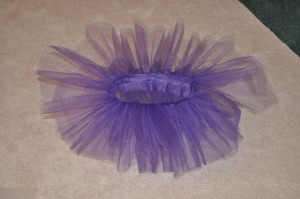
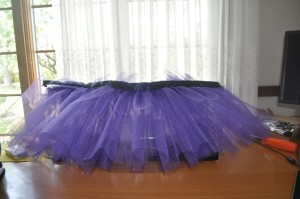
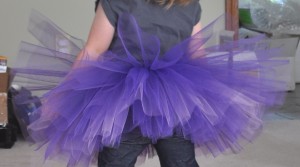
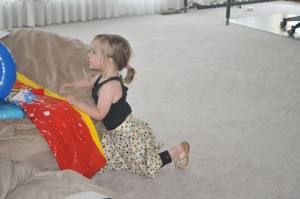
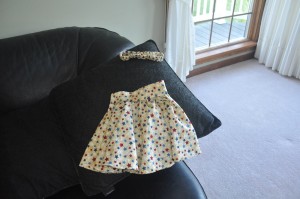
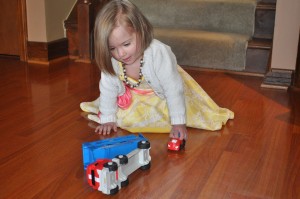
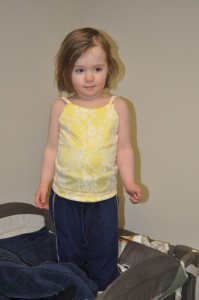
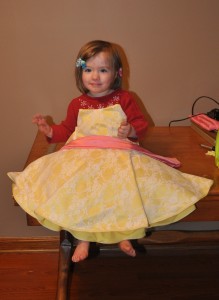
And she’s wearing her skirt!
Category: Crafts
Independence Day Skirt
Easter Dress
Progress
And we are almost done with the Easter dress (just in time too)!
I had quite a time making the straps. Trying to turn the right side out, I wouldn’t get the layers right and ended up with two tubes sewn together at the seam. I finally stitched the two fabrics around a metal straw and then pushed the fabric through the straw. That worked surprisingly well.
I still want to make a wider belt, but the only thing that *needs* to be done is stitching the straps in place. They are pinned, at the moment, so I could get the proper length.
Too bad it will be so cold on Easter day – we’ll need sweaters!
Easter Dress
The front cover of the latest Chasing Fireflies catalog had this 225$ dress. Beautiful dress, but the price is outrageous. So I decided to order the fabrics and make something similar – a circle skirt with a spaghetti strapped fitted bodice.
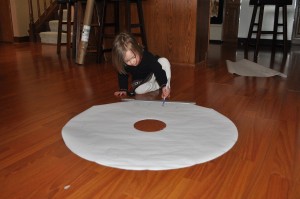
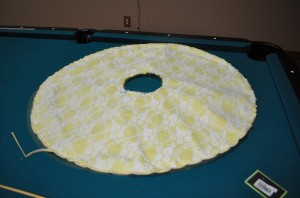
First we used a trammel to draw a really big circle and cut it out — I used that to cut the yellow satin and the lace.
The circle skirt and lace:
The entire thing basted together and halfway on Anya so I can see how it fits:
I still need to sew up the bodice and make the shoulder straps, but I’m about 75% done with weeks to go.
Stars
A dozen little squares of paper later, I am starting to think that using a template and cutting stars is going to yield better results. I finally found a process that works for me (http://www.firstpalette.com/Craft_themes/Colors/foldingpaperstar/foldingpaperstar.html). And a little bit of wonkieness can be accommodated in the applique process … But I think I am getting more than a bit!
Star Quilt – Phase Zero
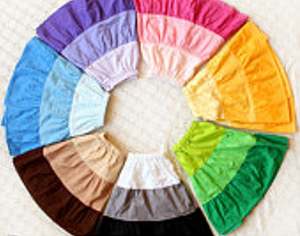
A few weeks ago, my mom sent me a picture of a pieced circle skirt made with rainbow colors:
That is fantastic, but with Anya being so small … seven different colors would yield very tiny little slivers along the top. So I thought I’d make something like this, but using Newton’s five color spectrum divisions. Even sharing the fabric with my mom so she can make another skirt, I’m going to have a good bit of fabric left over.
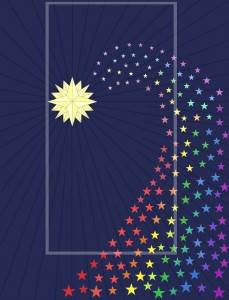
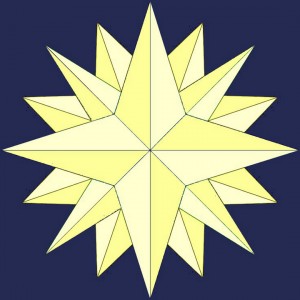
I think I’m going to make a quilt. It is possible to cut a five pointed star from a square of fabric with a bunch of folds and one cut (http://www.ushistory.org/BETSY/more/flagfoldcut.htm). The mariner’s compass will be challenging, and attaching all of the stars to the background fabric will certainly be time consuming even on a machine. But I think it’ll be worth the effort. Quilt design below – the rectangle is where a twin size mattress would be.
Below is a blow-up of the star. There are really three different triangles cut from two different colors. Piecing it together, though, is a challenge. I found a good paper piecing tutorial at https://www.youtube.com/watch?v=IlF1J05OV4U … the process actually makes sense now. At least in theory!
Rainbow Skirt – Fabric Acquisition Completed
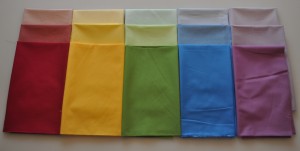
I have finally acquired all fifteen half-yard pieces of fabric to make Anya’s rainbow circle skirt.
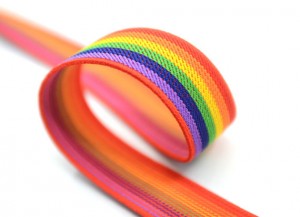
Once the pieces are cut, I can sew the arcs together. Then when all five arcs are completed, I’ll sew the straight lines to join the arcs together into a circle. Once I have one big circle, I can get the waistband attached. Mom bought a few yards of a rainbow elastic for these skirts:
Unfortunately the next step is the hardest — I have to find the box that contains my scissors and rotary cutter!
Halloween 2014 – Little Red Riding Hood
For Halloween this year, I made a cape for Anya’s Little Red Riding Hood costume. The process came from http://www.doityourselfdivas.com/2013/10/diy-little-red-riding-hood-costumecloak.html – but I made a fully lined cloak instead of just lining the hood. As a result, I needed two one yard pieces of fabric. There is a real lead-free pewter cloak clasp too, it is just hiding behind her mouse.
It turned out beautifully, and we even managed to get her to wear it long enough to take a few photos 🙂
It was not difficult to sew … Mostly a couple of straight line seams. I had a lot of trouble with the top of the hood – too much bulk sewn by machine. Two failed attempts and I just stitched it up by hand. This way, there is not a ridge of fabric on top of her head.
Another gratuitous cute kid picture:
Rainbow Skirt – Pattern
My mom sent me a picture of a fantastic pieced skirt:
It is similar to a pieced chevron skirt that we had seen on Project Run & Play (http://alittlegray.blogspot.com/2012/04/pr-week-1-piece-by-piece-chevron-skirt.html) — but the sections are parallel to the seam instead of creating the chevron pattern. I saved the original chevron too — it is another skirt I would like to make for Anya.
I’m trying to figure out if it is feasible to make something like this for Anya. How much fabric would be needed?
I want to use a 3.5″ radius for the waist (~22″ waist so there’s some gather at the waist and it can grow with her) and five color spectrum divisions. Which means each section is made at 72 degrees.
Then I need to figure out how large of a rectangle of fabric is going to be needed to cut these arcs.
So the largest arc requires fabric 8″ high (well, a little more for the seam allowance) and 16″ wide (again plus a little for the seam allowance). So an 40″x18″ half yard is plenty of fabric – even enough for two skirts so I can send fabric along to my mom. We can both have a 20″x18″ rectangle. Now I just need to find a fabric with fifteen shades that I like — a reasonably priced fabric.
You know, when I learnt to use AutoCAD, I never expected that it would be my tool of choice when creating patterns for my kid’s clothes … but the polar array made it so easy to section the circles!