It’s been a little over a year since I bought my serger. I vacillated between a really expensive Juki with all sorts of features and not buying a serger … 800$, the cheapest price I found for the Juki — and that was from someone on eBay so may not have included a valid warranty, is a LOT of money. Especially for something you don’t know that you are going to use. And, honestly, I don’t know enough about sergers to say if the whole list of features is useful ‘stuff’ or just for such niche uses that I’d never encounter a use for them.
As I researched sergers, I came across an old list of serger recommendations for different user types. The Juki that I’d been considering was on there, but I was drawn to #5 on their list: American Home’s AH100. I didn’t find a lot of reviews for the product. I still wasn’t sure I’d use a serger at all. But I found one on Overstock for under 200$. That was a good enough deal to try it out.
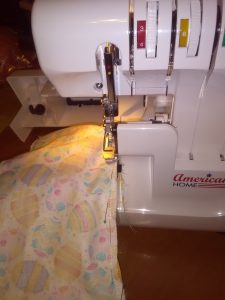
I don’t sew enough to say I use the serger weekly, but I’ve gotten a good bit of use from the serger. Starting with Easter dresses last year – probably not the best project to learn on. When you get the machine, there’s a little bit of thread pulled through it. There is a sample and the tension settings used for the sample.
The machine isn’t too difficult to thread – I wouldn’t have paid 500$ to get an automatically threading machine! I’d read a technique where you clip the already-threaded threads off at the cone. You put the new cones on & tie each one to the old threads that are run through the machine. You set the tensions to the loosest setting and manually advance the machine to pull the new threads through. When the knots get to the needles, you need to clip the knot & thread the needle. I’d also read,, though, that threads can snap in the machine … so you should know how to thread your machine. I’ve fully re-threaded the AH100 three times — it takes a few minutes, but it gets done. I usually do the cut/tie/pull/cut through method of re-threading the machine, and that only takes a few seconds. The thread path is color coded, though, so it isn’t a problem if you have to re-thread the machine from nothing.
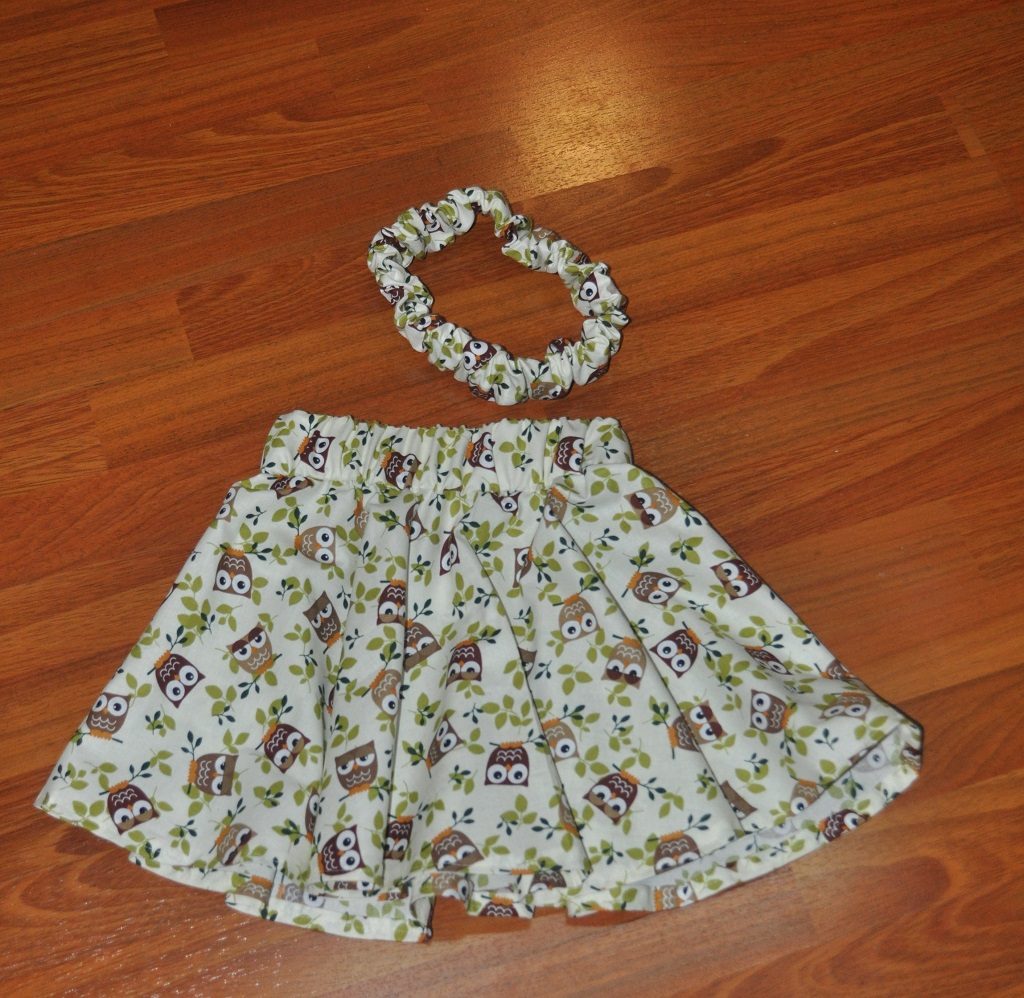
The base of the machine, on the left hand side, has a door that swings out so you can fit sleeves/trouser legs onto the machine. I’ve used that to assemble Anya’s circle skirts.
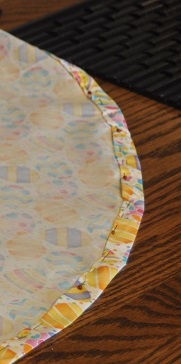
I’ve used the normal 4-thread stitch – quite a few different materials, and it certainly improves the look of the finished seam if you test the tension on some spare scraps. I’ve also changed over to the other plate and done a 3-thread rolled hem. I need to figure out how to use the flat-lock stitch to repair one of Anya’s pajamas. I haven’t encountered any situation where a more expensive serger would have been able to do something, and I am quite happy with my purchase.
The manual is sufficient – haven’t come across anything I had to Google yet. That’s the one down side to this machine – I see forums all over the place with Babylock, Janome, and Juki users talking about how to do XYZ on their machine. Supposedly the AH100 is the same thing as a Babylock Lauren (BL450A). The manuals seem to line up, so I believe this to be true. Anyway, it is possible I’d be able to find some Lauren users to help out … but I don’t see a lot of AH100 users discussing the intricacies of their machines online.

