I am amassing a collection of sewing machine feet – some of which are more useful than others 🙂
1/4″ zigzag foot — works for anything, isn’t perfect for anything. I guess if I only had one foot, this would be it. Took me a long time to realize what made it a zigzag foot — the opening for the needle is a wide oval which allows you to adjust the needle position far left or far right (or use the widest zig-zag you’ve got). The *foot* doesn’t do anything ziggy or zaggy – it just has space for the needle to pass through if you’re using a zigzag stitch. Bit of a d’oh moment when I figured that one out.
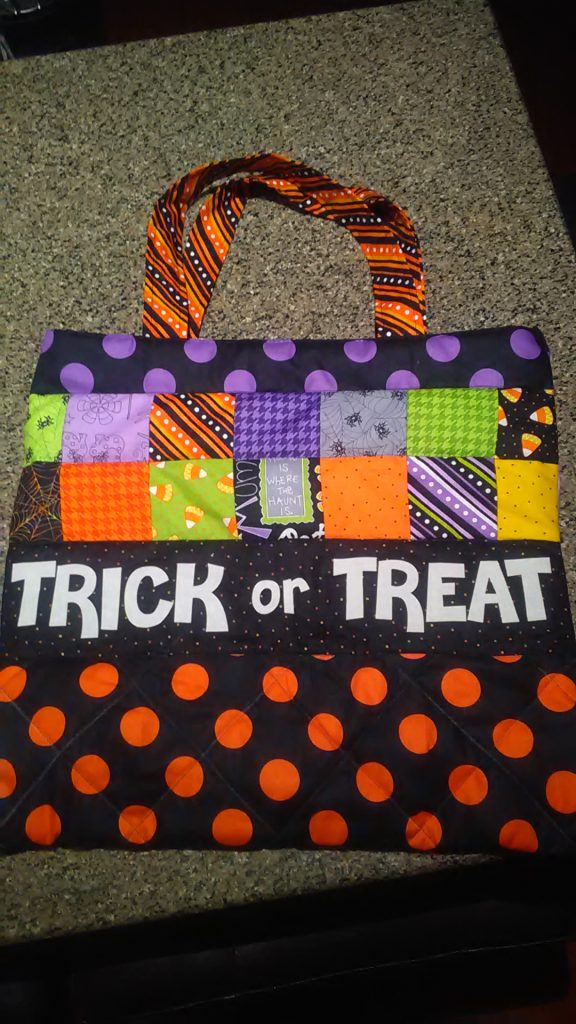
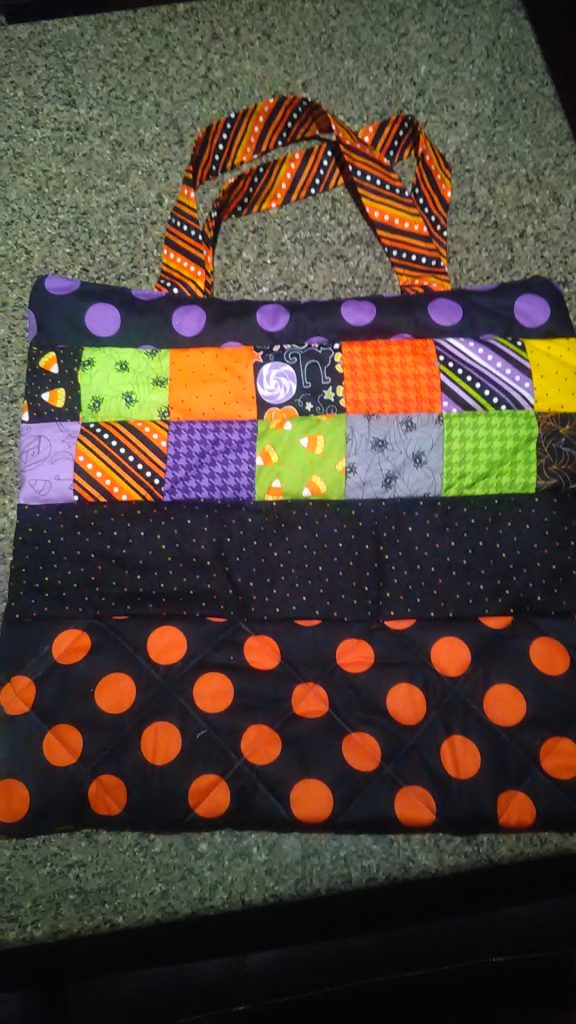
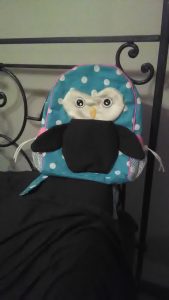
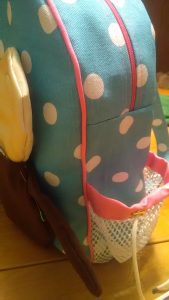
1/4″ “quilting” foot with guide – I have trouble sewing in a straight line. I know this is a newbie problem, but it doesn’t make for nice looking projects. If I go through the process of chalking out straight lines, it’s better but still not perfect. I actually purchased this foot to get to the “free shipping” level at a sewing parts store and put it into a storage case for about eighteen months. I recently started an Ohio Star quilt for Anya and a Halloween tote … both of which I ended up ripping and resewing quite frequently because of uneven seam allowances. I remembered this foot and tried it out. Perfect straight lines. Corners that meet up! I’ve even used this foot for Anya’s backpack (straight lines on the straps!) and some clothing. For the clothing — 1/2″ seam allowance, I’ve basted a line at 1/4″ and then lined the baste stitching up with the guide for the real seam. Hokey, but it worked. I like this guide so well that I’ve purchased a foot with an adjustable guide. It is scheduled to arrive next week, so I haven’t actually used it. But I’m excited to try it.
Gathering/ruffling foot – Yup, I got the cheapest eBay one I could find and waited a few weeks while it posted from China. One distinct advantage of being a novice is that you aren’t prepared to judge quality – and while it’s possible you won’t have much use for the cheap junk because it is cheap junk … you might also avoid spending a lot of money on something that just isn’t useful. For the 60$’s I was seeing these at … I’d have to be in the bed-skirt business before I even thought about buying one. But for 5$, it was worth a try. I thought I’d get a lot of use out of this when I was making a tutu last year. Didn’t work at all for that – the thin strips of netting didn’t get picked up properly. I basted each strip by hand and gathered them by hand. I still plan to make a tiered corduroy skirt for Anya this Autumn, and I think the foot will work out better for that type of project (gather fabric #1 against fabric #2). Hopefully!
Invisible zipper foot – Another “cheapest eBay had” purchase. Kind of like my 1/4″ foot with a guide, this lets the invisible zipper run along a channel so you know you’ve got a straight line. Total niche item – if you aren’t installing invisible zippers … no need to get one. I bought my foot along with the first invisible zipper I purchased. I like it a lot because the channel keeps my line of stitches straight, but I could see a more experienced machine operator not needing one of these.
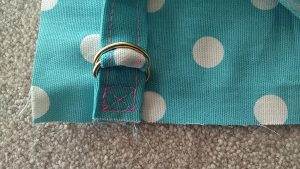
Regular zipper/cording foot – I got this in the store at Joann mid-way through making Anya’s backpack. I was able to make my own piping, attach it, and attach the zipper beautifully. I’ll use it again to attach the sleeping bag zipper. Another niche item, but I’ve been getting a lot of use out of it lately because of a few specific projects.
Walking foot – I got this to stitch the quilting on Anya’s Ohio Star quilt. It’s quilting design is just blocks that run along the blocks. I could do something really fancy, but I wanted her to be able to use the quilt before it got cold. I like it for this use – I was able to quilt my simple design quite well (although it’s a little challenging to move the crib-sized quilt along my sewing table … I cannot imagine doing a Queen or Cali-King sized quilt on the little machine.
Feet I don’t have:
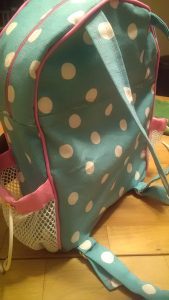
Teflon foot or Roller foot – Not buying this foot was a bit of ignorance on my part. Anya’s backpack is lined with a laminated cotton fabric. I ordered the fabrics, insulation, and zipper … had everything ready to go, and then wondered if you needed to do anything special with laminated fabrics. Big thing is don’t pin them where you don’t want to see holes. I’d also read that it was difficult to sew laminated fabric without a Teflon foot. Oops! Her first day of preschool was only a couple of weeks away, and I didn’t want to lose a week waiting for a foot to arrive. I could not, however, find a low shank one of these in a reasonable driving radius. Or a snap-on one coupled with a snap-on to low shank adapter. Figured I’d try stitching up her backpack without it, and I didn’t have a problem. Most of the seams are wrong-side of two layers of laminate … which means I was stitching along the cotton side. There were a few places where the plastic part was facing the presser foot and I didn’t have any issues. I still might pick up an adapter so I can attach snap-on feet to my low shank machine
Button hole – I got a little geeky about sewing the button holes on Anya’s Christmas shirt. I own buttonhole gimp, twist, and wax … and sewed each hole by hand. Which was fine for five buttons on a super-special shirt. I’m sure I’d research machine-made button holes if I were doing this more often.
Open toe – used for freehand embroidery. My mom said the guy at the sewing machine store where she picked up her old Kenmore was amazing at freehand embroidery on the machines. I do hand embroidery in a hoop (I love Darice’s spring tension hoops!) and cannot imagine even trying to freehand a design on a machine. Then again, I cannot imaging paying a heap of money for a new snazzy computer controlled embroidering machine either. For now, Anya’s got fairly simple hand-stitched t-shirts.
Rolled hem – I use my serger for rolled hems, so no need for another rolled hem method. Same thing for overlocking feet.
Blind hem – Can’t say I’ve even seen a blind hem. May research them some day, but no pressing need.
