Category: Sewing

Aisha’s Dress – Part 2

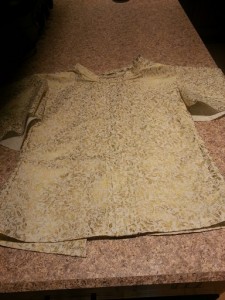
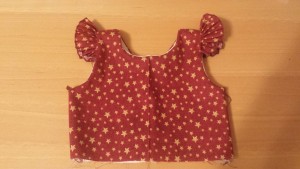
I’ve got the rolled edge hem completed, and the sleeves are attached to the top:

20160130_003645 20160130_003700

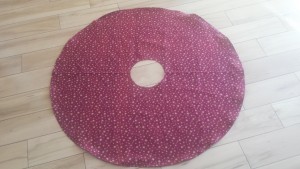
I’ve also got the circle skirt hemmed (what a difference pressing the folds makes – my first circle skirt was OK … but the bottom hedge was certainly uneven. I now make the first fold, press, make the second fold, press, then stitch. The result is a nice even hemline).

20160130_105857

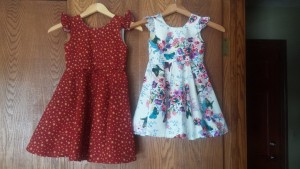
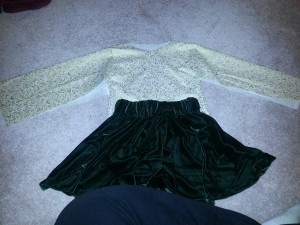
To give my mom an idea of what her finished dress will look like, I pinned the top and bottom together. And we almost have two dresses!

20160130_121444

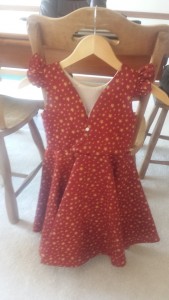
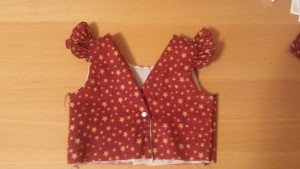
Aisha’s back is not as deeply V’d as Anya’s – two different options from the dress pattern.

20160130_115657

Aisha’s Dress

Now that I’ve (a) used my serger a few times … including my first two rolled hems! and (b) made the V-back dress once, I am ready to start Aisha’s dress.

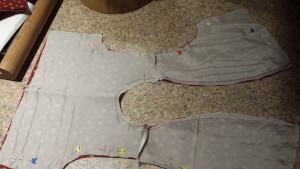
I’ve got the front and back pieces sewn together. The lining and the main fabric were lined up and sewn along the neckline and V back.

20160129_003144

I’m about to do the rolled hem on the sleeves —

20160129_003302

Anya’s Easter Dress

My mom asked me if I’d make a dress for Aisha – she’d buy the pattern and fabric, and I’d provide the labor. It is a really cute pattern, and the size range is incredible. The dress pattern for Aisha’s size 7 dress includes the size 4 that I use for Anya. I figured I’d make the same dress in a different fabric for Anya’s Easter dress to give me some practice using the pattern (and my new serger!!!) before making something to give away.

Looking at the pattern web page, I really liked one of the fabrics pictured. I e-mailed their contact address and immediately was provided a link to the fabric. Bonus, it is on clearance. I looked at the “how much fabric do I need” chart and worked out how much fabric I’d need — rounded up because it’s a fairly large print, and I wanted to have enough fabric to ensure I could get flowers and butterflies visible on the dress.

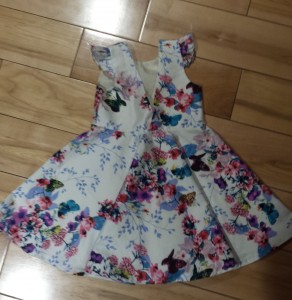
I printed the pattern — each size is a different layer in the PDF file, so you don’t have a bunch of confusing lines intersecting. Awesome idea, one I hope more pattern designers implement. Once all of the pieces were cut out, I laid the dresses out just to get an idea what they’d look like.
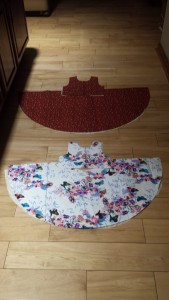
20160123_214618

Getting the little sleeve gathered and affixed to the dress took a LOT of pins!
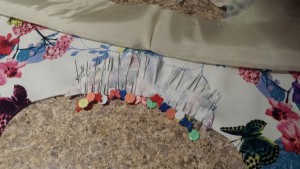
20160125_001936

Stitched the front & back together, with the little sleeves sandwiched between the fabric and the lining … turned it right-side-out and we’ve got a dress top.
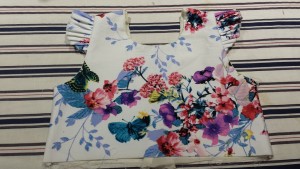
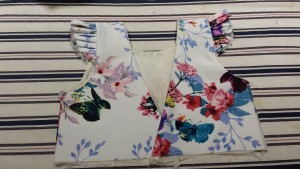
20160125_214412 20160125_214348

The bottom is a circle skirt – it gets attached to the bodice. I still need to serge the fabrics along the waist seam … other than that, the dress is done!
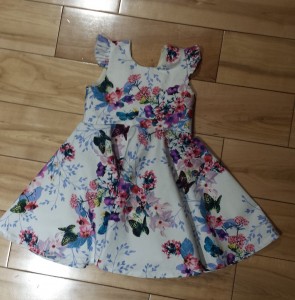
20160129_003016 20160129_003042

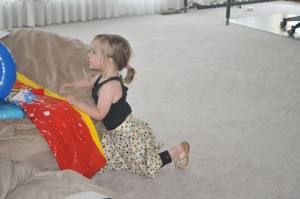
I think it looks awesome. And Anya loves wearing it – dancing around and spinning. And I’ve got her Easter dress ready to go two months early!

Realized, once I was finished, that I literally had enough fabric to make a second size 4 dress. I had added the “dress” yards and the “lining” yards together. D’oh! Feel slightly less silly because my mom did the exact same thing … There’s not enough extra fabric to do both a size 4 and a size 7 … but there’s plenty to make a skirt and the dress. Each girl is going to get a skirt from the other’s left-over fabrics.
The Imaginarium

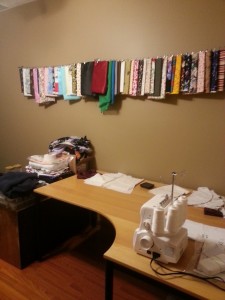
I am just starting to set up a craft room. I got the DIGNITET curtain wire from Ikea; the fabrics are wrapped around cardboard backing boards used for comic book storage. Each one is hung with two RIKTIG clips. The curtain wire holds a LOT of fabrics. Since the craft room doesn’t get much natural light, I’m not worried about fading. Dust is a concern, though. Next step is to get some containers for my yarn and thread. Anyway, here’s the craft room:

20160116_162606_Bellus Rd


Christmas Dress, Part 2

I’m getting close! The circle skirt is finished. I still need to finish the sleeves and bottom hem. I didn’t realize buttonholes were such a thing! I am going to try stitching them by hand. I did some research on it the past few days, and I have located a really great site at Williams Clothiers that provides incredibly detailed instructions … so I’m feeling pretty confident in my ability to do it. Need to pick up some beeswax, buttonhole thread, and buttons (I’m going to let Anya pick her buttons at the store … hopefully that works out for me!)

20151204_211102_Bellus Rd

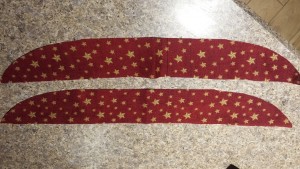
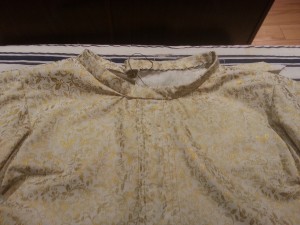
And a close-up of the collar – a 2″ bias-cut of fabric folded to create a 1/2″ collar. It is just basted in along the inside … but it looks really nice.

20151205_183119_Bellus Rd

Halloween Skirt (And Official Voting Skirt)

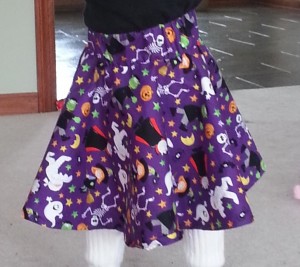
Here’s Anya’s Halloween skirt:

20151031_120237_Bellus Rd

It’s a basic circle skirt — the circle was cut for a 23″ waist. A 4.5″ strip of fabric was then cut to 24″ and made into a 2″ wide waistband and attached to the skirt. I then ran 20″ of 2″ elastic through the band & gathered the fabric. This allows the skirt to be pulled over her head or hips. Plus it means she might be able to wear it next year 🙂

And in a bid to not have a skirt used just once, it is also her official election day skirt — blood-suckers, skeletons in the closet, ghosts/mummies/reanimated corpses (how else would dead people vote?).

Christmas Dress (Kinda)

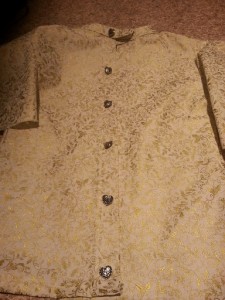
Anya’s Christmas dress is not actually a dress — I’d had a picture in my head of a cream colour shirt in a small metallic print fabric with a green skirt. I found a beautiful small print fabric (Robert Kaufman Winters Grandeur Metallic Small Vines Ivory) that I wanted to use for the skirt. Problem was that I didn’t really have a specific shirt pattern.

Random internet searching didn’t yield anything … and then, voila, Pinterest randomly e-mails me a picture of an almost-perfect pleated shirt. I say almost because it’s winter … so I need some kind of arm covering. I’d first through about making a green velvet jacket … but that is a little more effort than I could put into it. Seems a lot easier to make a long sleeved shirt than making a whole other piece of clothing.

I can order the fabrics!

Tutu

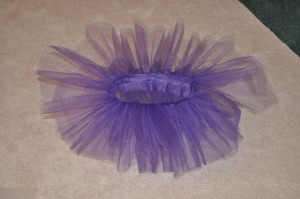
Anya wants to be a flying fairy for Halloween — figured I would make her a tutu and wings for her costume. Got real tutu net and some satin for the waistband. I don’t remember where I read it, but somewhere in my research I had read that at least one layer of contrasting color should be used to add depth to the finished product. But it seemed reasonable, so I purchased a deep blue purple and a pale pinkish purple.

I found instructions at http://www.cosplayisland.co.uk/tutorials/tutu that were wonderfully detailed. I cut the strips of net, I then cut a 16″ wide strip of the net ~23″ long. Folded it in quarters so I had a 4″ wide very sturdy 23″ strip. The strips of net were gathered along a length of embroidery floss and sewn to the 4″ wide band.

DSC_7865

I affixed the satin to the top of the net band, and then folded it over to make a waistband.

DSC_7876

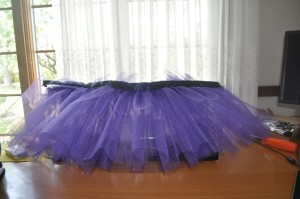
A 20″ length of 2″ wide elastic was run through the waistband and the tutu was gathered down to Anya’s waist size. This allows the waist to stretch so it is easily pulled over her hips.

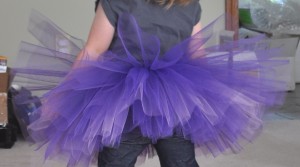
And we have a tutu! Now that I am looking at it … I’m really glad I added the contrasting color layer. It doesn’t really jump out at you, but it definitely adds depth to the finished piece.

DSC_7881

(Yes, I did tack the tutu … just not in that photo)