Category: Technology

Do you know … where you saved that Office 365 document?

Being able to save documents directly to Teams, to sync documents and work on them locally, and to just store documents locally provides a lot of options when you’re saving a document. For me, though, a lot of options also means I’m not always sure which option I chose 😊 In which Teams space is this document saved? Did I stash it locally because I’m not ready for other people to peruse it?

Luckily where the document is saved can quickly be displayed in the Office 365 applications. Click “File” on the ribbon bar.

The “Info” section contains the path to the document – a document that is stored in a SharePoint document library (be that a Teams Channel file space or some other SharePoint document library) will include the SharePoint site name (the Team name in the case of Teams Channel files). Clicking “Open file location” will open a browser tab to the SharePoint document library which contains the file.

A document on a local or network drive will have a path starting with the drive letter. Clicking “Open file location” will open a File Explorer window to the folder containing the document.

And a document that hasn’t been saved won’t have any file information listed.


Did you know … you can sync Teams files to your desktop using OneDrive for Business?

An advantage of using the cloud-based Microsoft Office 365 platform is that you can work just about anywhere you have an Internet connection. This provides a lot of flexibility for mobile workers, but there are still situations where bandwidth is expensive or Internet connectivity is just unavailable. Situations where you want to be able to continue working offline.

Files stored within Teams channels are document libraries in SharePoint Online. Anything you can do in SharePoint Online works with the Teams files. SharePoint Online document libraries can be synchronized to your local drive through OneDrive for Business – which means you can work on Teams documents offline.

To set up the synchronization, you’ll need to open the Teams files in SharePoint. Select the channel and click on “Files”. Then click on the “Open in SharePoint” link.

You are now viewing the SharePoint document library. Click the “Sync” button to set up synchronization to your local computer.

Select “Sync now”

You may be asked to confirm you want to use OneDrive to open the link. You do! Click “Open link” (you can check the box to ‘Remember my choice for grvopen links’ to skip this step in the future)

If you have not yet configured OneDrive, you’ll be asked to sign in. Confirm that your logon ID is displayed and click “Sign in”

You can change the location where OneDrive stores synced files, if you wish. Click “Next” to continue.

Once OneDrive setup is completed, click “Open my OneDrive folder”.

v

You will see a confirmation that the Teams document library is being synchronized.

When you view your OneDrive folder, you will see the Teams channel(s) with document libraries syncing to your local computer.

When you save a new file to the OneDrive location, or update a file, you will see a circle indicating that the file is being synchronized. You will see a green check-mark when the file is successfully synchronized to SharePoint Online.

And the changes will be visible immediately in Teams

If you no longer wish to synchronize the Teams files with your local computer, right-click on OneDrive for Business in your system tray and select “Settings”.

Click “Stop sync” on the location(s) you no longer wish to synchronize.

Files stored on your computer will not be deleted; changes locally will not be updated in SharePoint/Teams, and changes in Teams will not be updated to your computer. The icon in the status column will be removed to indicate the folder is no longer being synchronized. You can safely delete the local folder.


Do you know … Excel VLOOKUP?

I frequently need to correlate two sets of data – generally information about accounts, where the logon ID will be found in both data sets. I’ve imported my information into Access, defined a relationship between the two tables, and used a query to correlate my data. I’ve written quick scripts to pull the data into an associative array for correlation. These are not quick approaches.

Using the VLOOKUP function in Excel, you can search through data in rows and retrieve values from the record’s other columns. HLOOKUP provides the same function, but searches data in columns and retrieves values from the record’s other rows (Vertical Lookup and Horizontal Lookup).

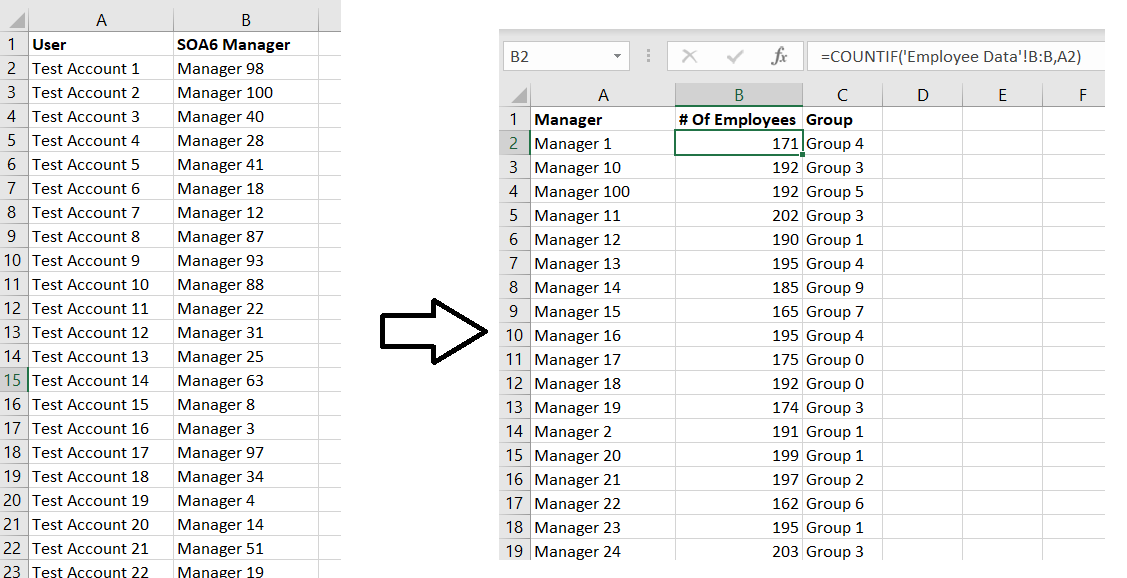
Today, I have a list of individuals with their reporting structure and need to identify which accounts have Skype for Business provisioned.

The Skype user list is, unfortunately, comes from a different program.

To lookup user IDs from the first table against the Skype info in the second table, I use =VLOOKUP(B2,S4BInfo!A:B,2,FALSE)

The first parameter in the function is the information you want to find, the second parameter is the area where you’ll be looking for the data, the third parameter is the column in that range that you want to return when a match is found. The fourth parameter indicates if you want to find the closest match (‘TRUE’) or an exact match (‘FALSE’). So my formula says “find the value in B2 within columns A and B of the SBInfo tab. Return the value from column 2 of that range, and I want an identical match”.

Note that the third parameter column number may not match the column number in the sheet – if I used the range C:D from the table below, I would still want to return the data in column 2 because my target data is still the second column in the search range.

Fill down and I have a single table that contains both the reporting information that I needed and a column indicating if the individual has a Skype for Business account


Did you know … Teams can notify you when someone comes online?

If you send a chat message to someone who is offline, the message will be waiting for them when they sign in. But sometimes you want to know when someone becomes available. And Teams can do that for you!

In the “Chat” app, click on the “Contacts” tab. Click on the ellipses on the individual that you want to know when comes online and select “Notify when available”.

When the person is online, Teams will notify you.

You can turn the notification off the same way you turned it on.

You can view all of the accounts for which you receive availability notifications. Click on your avatar and select “Settings”.

Select “Notifications”.

Scroll down to the bottom of the notification settings and click on “Manage notifications”.

There’s the list – you can add new notifications here and remove no longer needed notifications.


Did you know … you can create templates in Microsoft Forms?

Microsoft Forms is a secure (and free!) alternative to SurveyMonkey, but it can be time consuming to repeatedly create essentially the same form. Fortunately, there are two ways you can use an existing form as a template for a new form.

Log into Microsoft Forms – if you’ve never used Forms before, you’ll need to create a new form. Click the “New Form” button.

Add a title and description to your form, then use the “Add question” button to build your form.

Click on “Forms” in the upper left-hand corner to return to the Forms home page. The form you created will appear under “My forms”. Click the ellipses in the upper right-hand corner of the form listing.

Select “Copy”

Volia – now there is a copy of the form.

You can also create a public form template. When editing your form, click the “Share” button.

Click “Share as a template”

Copy the URL that is displayed.

Anyone (even people outside of the company) can use a form template URL to create a new form. Simply access the URL and click “Duplicate it”.

There is not currently a public library of Forms templates (although I’ve suggested it on Microsoft’s UserVoice site), but if you create a template that would be useful for our organization, feel free to share it in the comments.


HTML Opacity v/s Alpha

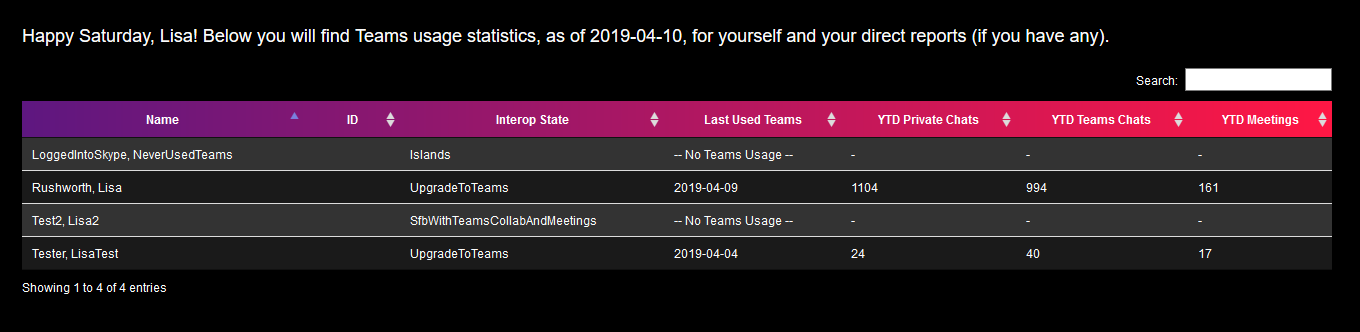
I am building a page that allows employees to search for public MS Teams groups — for some reason, Teams uses a ‘starts with’ search, and our staff rarely manages to find the public Teams that are out there. I wanted the list of teams and descriptions to have a visible line separation, and a table border looked bad with the enterprise color scheme. I decided to use even/odd table rows to display a slightly lighter background color. I set an opacity on the background so the actual background image is still visible.

My font colors changed! The opacity applied to the text as well.

tr:nth-child(even) {background-color: rgb(52,52,52); opacity: 0.5;}

Instead of setting an opacity on the row, I added an alpha channel to the row background color without impacting the text within table cells.

tr:nth-child(even) {background-color: rgba(52,52,52,0.5);}


Did you know … Microsoft Teams’ like button doesn’t need to imply sentiment?

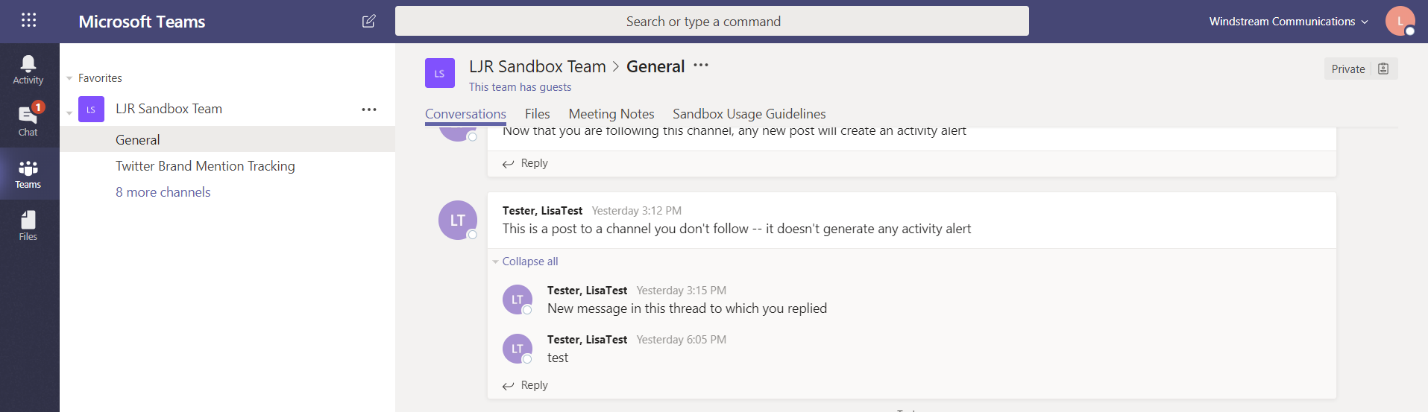
Teams isn’t like Facebook where you’ve got an array of sentiments from which to select – but the “Like” button can be used for something other than saying “I like the information in this post”. When information is posted that doesn’t really warrant a response beyond “yup, I read this” – use the like button instead of replying “got it” or “yup, I did this”.

Why? When everyone replies to an informational post, you can end up with a LOT of replies. Each new reply moves the post down to the bottom of the channel (and alerts anyone following the channel of new activity). Do twenty people really need to know you’ve read the post? Do you want to see this every time a new person acknowledges the post?

Instead of replying to a post, just click the “Like” button – the little thumbs up in the upper right-hand corner of the post.

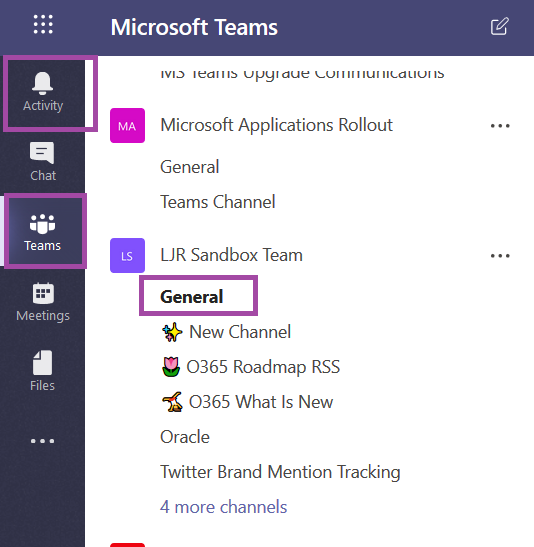
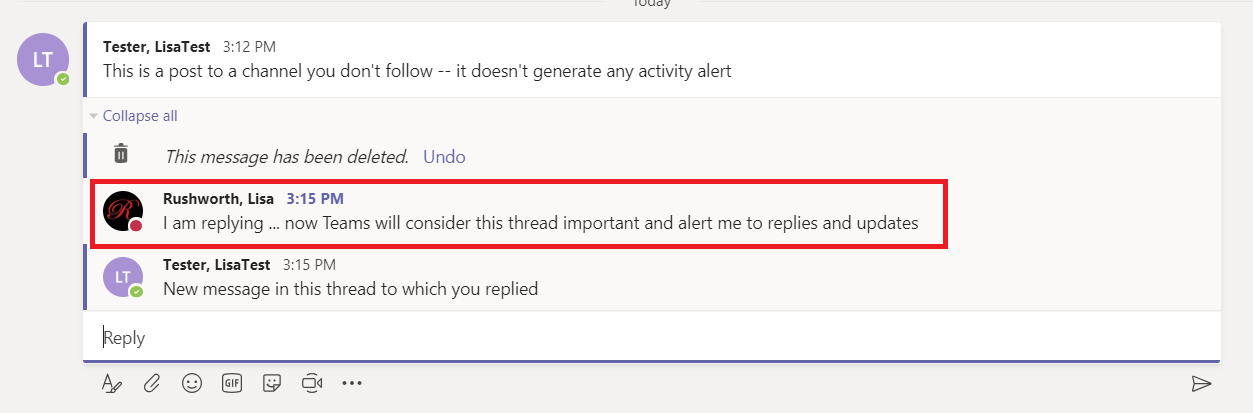
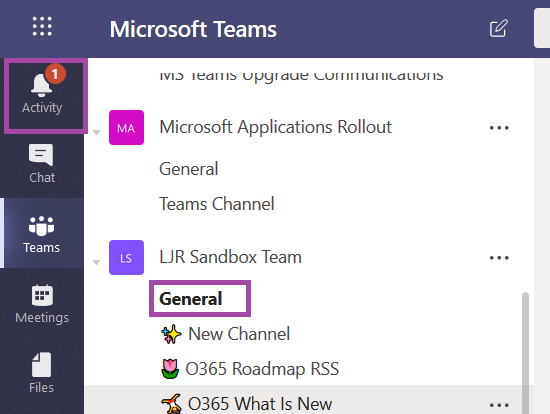
Anyone who wants to track who has read the post can hover their mouse over the like button and see who has responded. Anyone who doesn’t … well, clicking ‘like’ doesn’t count as new activity so the thread isn’t considered unread. Activity notification is only generated for the person who wrote the post. They don’t even know anything happened.

And we can all use context clues to differentiate between “Lisa really enjoyed reading my reminder to complete the Security Awareness CBT by Friday” and “Lisa finished that CBT” 😊


Did you know … Teams is great for in-person meetings too? 

In the mid 1990’s, I taught university classes – everything from introductory physics to string theory and computer forensics. There are some parallels I see between classroom instruction and business meetings. Many classes, and meetings, include some sort of digital presentation – content projected on the wall or a displayed on a TV. Even if the projector can auto-focus and you are using a projector screen instead of the textured, beige wall … it can be a struggle for everyone to see the presentation.  

To combat this problem, we wrote a program, ClassCast, that mirrored the instructor’s computer to all of the student computers – no more squinting to see what was being projected! Students could grab screen-prints of important information or download the presentation from the class’s web page. I frequently added links, textbook references, and additional information into the presentation comments too. 

Teams provides the functionality we built into ClassCast and adds additional features that benefit in-person meetings. Try it – start a meeting once everyone assembles in the conference room. Make sure people’s speakers and microphones are muted! Share your screen in the Teams meeting. Attendees can clearly see what is being projected (you may not even need that projector), notes can be added in OneNote or the meeting chat (a great place to stash questions too). Links and resources can be shared through the meeting chat. If you share a PowerPoint presentation, it is automatically shared out to meeting participants. Even if your presentation isn’t PowerPoint, you can record your entire presentation – complete with a transcription and share the recording in your Teams space. 

ClassCast inadvertently helped with the second problem I experienced as an instructor – attention. In the University setting, inattention often meant students suffering through a core requirement who sat playing solitaire or surfing the Internet; but it also meant the student in the back row, students who could barely see the presentation … well, their attention wandered. When everyone could see the presentation, they were less distracted. Having ClassCast running made it a deliberate act to open a card game or web browser – instead of staring at a desktop with those inviting (fun) icons, students had to close ClassCast. Yes, there were still a few students playing and ignoring my lesson – but it became a rare exception rather than the norm.  

I don’t see deliberate inattention when hosting business meetings, but attention still wanders. An IM pops in, and that flashing box constantly draws your attention. The new message indicator appears in your system tray and it could be important. A director from a former employer had a rule prohibiting computers in meetings, but a text comes across your phone … and his rule became pointless with the advent of smart phones. Having meeting content on your desktop immerses you in the meeting. If you are speaking to a presentation, that presentation content is right there. If the group is meeting to collaborate on a document, instead of having one person performing edits as they are suggested, the document can be edited collaboratively.  

Did you know … you can share PowerPoint presentations in a Teams meeting?

Since you can share your desktop or an application, of course you can share a presentation. And if you start your presentation before sharing the application, participants don’t even watch you click around opening the presentation and starting the slide show. But did you know Teams has special functions just for sharing PowerPoint presentations?

Once you have joined a meeting, select the “Sharing Tray” from the meeting control bar.

Click “Browse” next to PowerPoint and select the source of your presentation – this can be a PowerPoint File you’ve already shared to the Teams space, one stored on OneDrive, or a file uploaded from your local computer.

If you chose to upload a presentation, it will be placed in a location where participants can access it – the channel’s Files section in the case of channel meetings, and your OneDrive (with appropriate permissions added) in the case of private meetings. While this eliminates having to send the presentation to participants after the call, it also means that anything in the file is available to meeting participants. If you routinely hide slides to customize a presentation … just remember meeting participants can access those slides too.

The slideshow will start, and you will have a control bar to navigate through the slide deck. When you start a presentation, participants have the same control bar – they can look through your deck independently.

A participant can even request control of the presentation – you don’t have to “drive” while someone else speaks to a set of slides.

Control is automatically granted – you’ll see a banner, and you will be able to take control back. But you cannot currently restrict who is able to take control of your presentation. A RFE has been submitted to Microsoft to either restrict who is allowed to take control or use requests instead.

If you don’t want people to ruin the surprise (or if you want to ensure participants are focused on the slide being discussed), you can prevent participants from navigating the slideshow on their own. Click the little eyeglasses next to the slide control.

Participants will see a banner indicating that they cannot move through the presentation independently.

Clicking the little eyeglasses again will restore participant’s ability to navigate through the slides.

When you are finished with the slide deck, click “Stop presenting” – you will remain in the meeting, but the slideshow is no longer displayed.


Did you know … you can create a Team using a template?

We’ve created Teams for several similar projects – and it’s time consuming to configure the new team with all the configuration that we’ve found works well for the project. And then I’ve got to add the usual suspects to the new Teams space. None of these are particularly laborious, but not creating the Teams space on a blank slate would certainly save time. Is there a better way?
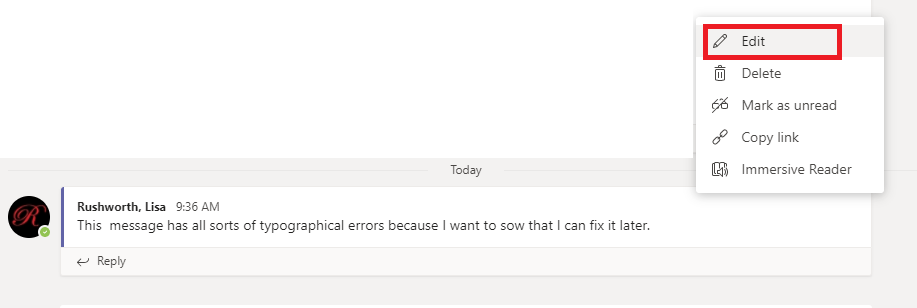

Yes! I can create new Teams using existing Teams as a template. Click “Join or create a team”.

Click “Create team”

Click the link to “Create a team using an existing Team as a template” – there’s no need to add a Team name or description here.

Click the radio button in front of the Team you wish to copy and click “Choose team”.

Provide a name and description for the new Team. You can select which elements will be copied from the original Team – for our migrations, I can put core team members in the template source & add only the specific individuals being migrated.

I’ve had problems with some 3rd party apps partially coming though … not enough that they work, but enough that I cannot just install the app either (or uninstall it). My current recommendation is to remove 3rd party apps from the template team.

When you have finished making your selections, click “Create”.

Wait for it – this takes longer than just creating a team. You can watch the purple line spin, or you can close the status window.

If you watch the purple line spin, you’ll be given the option of adding additional members. Either add members or skip this step.

Voila – a new Team with all of the channels I had set up in my original Teams space.

It is important to realize that content is not copied – while tabs are created, you will need to create a new Wiki, OneNote, Planner, etc. Click on the tab, and you will be prompted to create the item for your new Teams space.

You’ll need to input URLs for Website tabs.

Alternately, you can use the Microsoft Graph API to create Teams. You can create a Teams space with channels, pre-configured tabs, and even pre-installed apps.