Microsoft publishes outage notifications several places –there’s a web portal that provides general status for major Office 365 outages,a customer-only portal that provides a LOT of details on every diminished service state, a Twitter feed with status on wide-spread outages. The common feature of all of these, though, is *checking* to see if there’s an outage –start seeing several calls for the same problem, check the outage site. It works, but it is not proactive.
Twitter could be proactive, but I don’t want to be diving for my phone every time a friend posts some random musing. But Microsoft Teams connects to Twitter, and it posts filtered content into a channel,so I only see pertinent information in our Teams channel. The connector can also search hash tags – useful for tracking brand mentions.
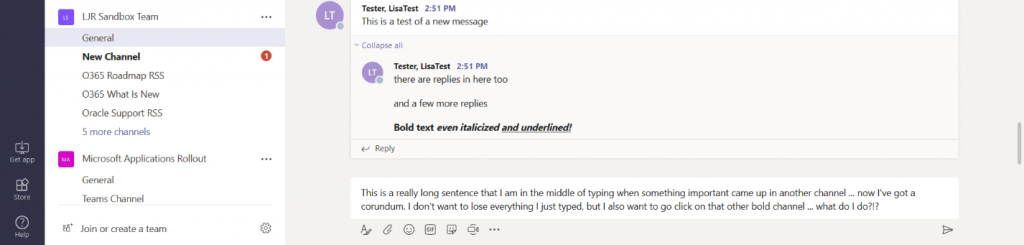
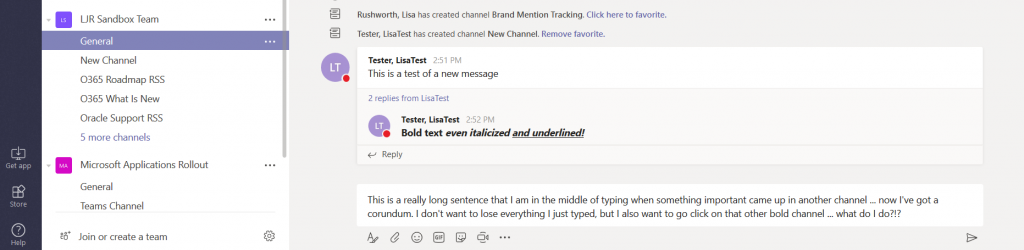
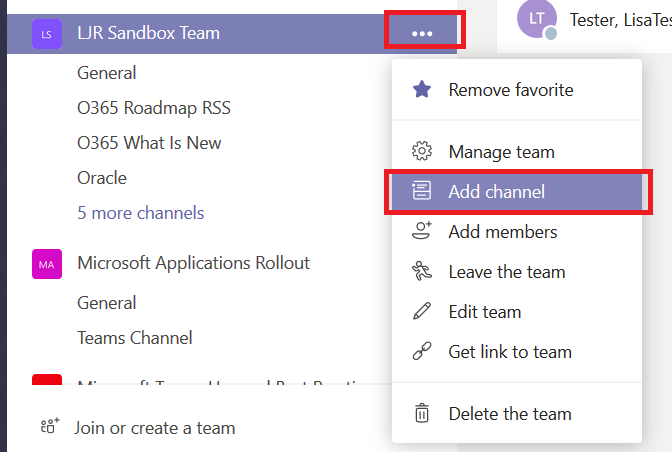
You can include Twitter posts into an existing channel or create a new one. I am creating a new channel to separate Twitter posts from other conversations.
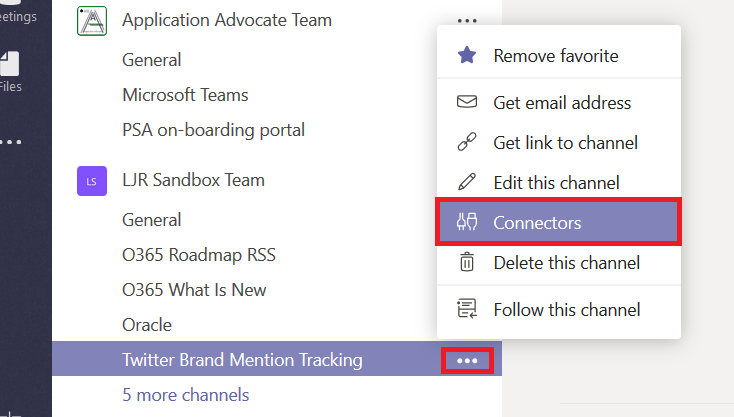
Click the not-quite-a hamburger menu next to the channel into which you want Twitter posts to appear and select “Connectors”.
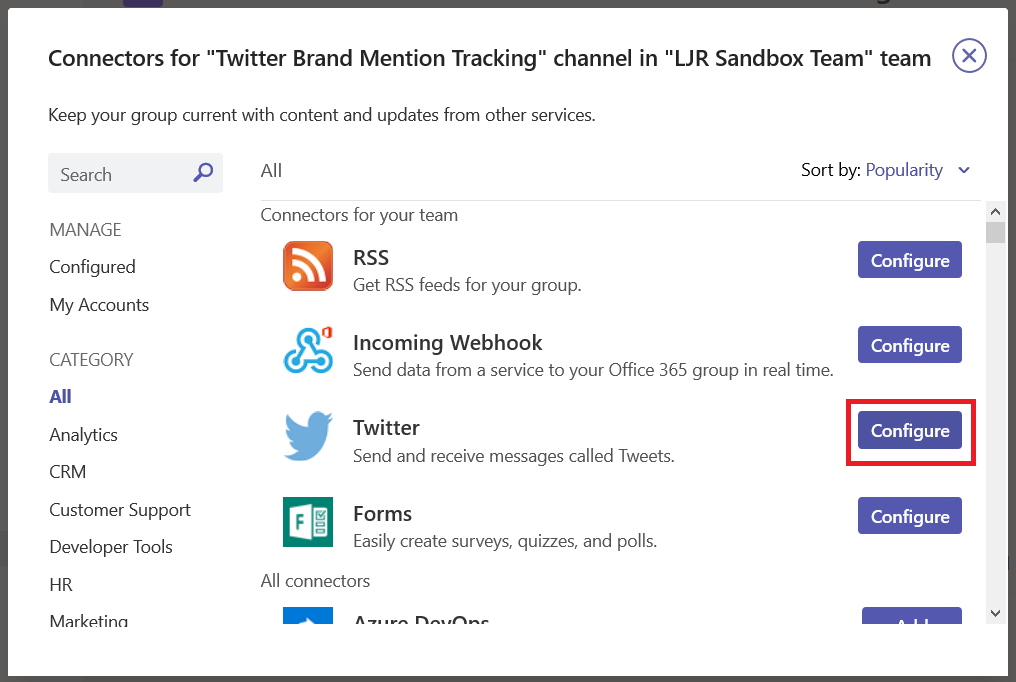
Locate “Twitter” and click “Configure”
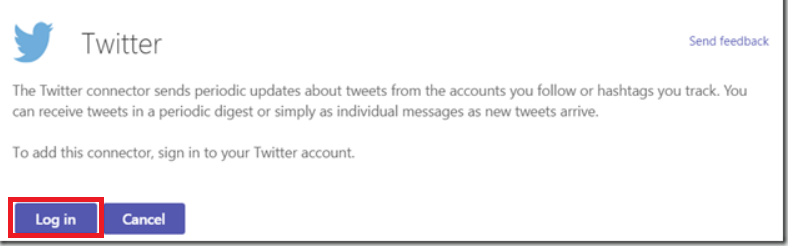
You will need to configure a Twitter account before you can configure the connector. I recommend not using your personal account. Create a new account to be used by your Teams space. If ownership of the Teams space changes, the new owner can take over the Twitter account too. Click “Log in”
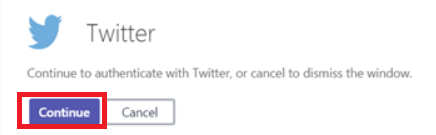
Click “Continue” to proceed with Twitter authentication
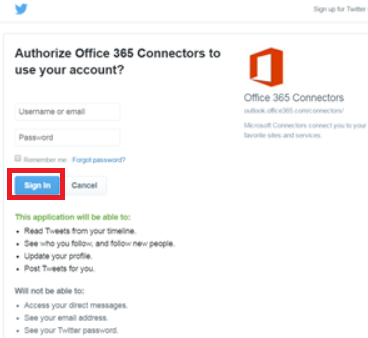
You are allowing the Twitter connector to use your account – read the access request and sign in if the usage is acceptable.
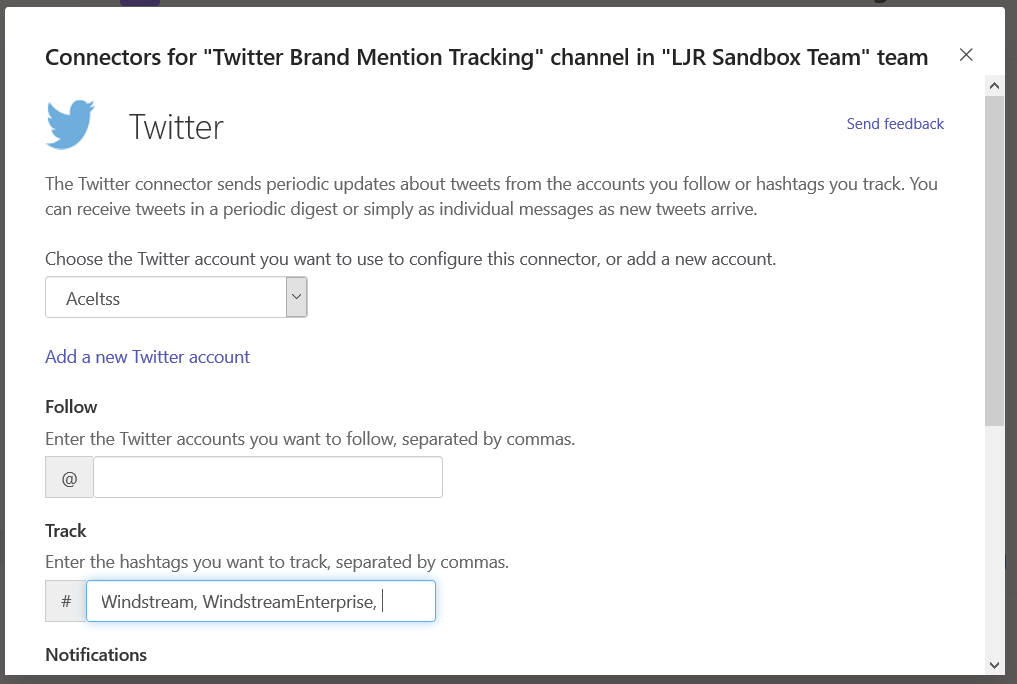
Once you have authenticated to Twitter, you will be able to configure the Teams connector. Enter accounts or tags to see Teams posts for relevant activity – do not put spaces after the commas!
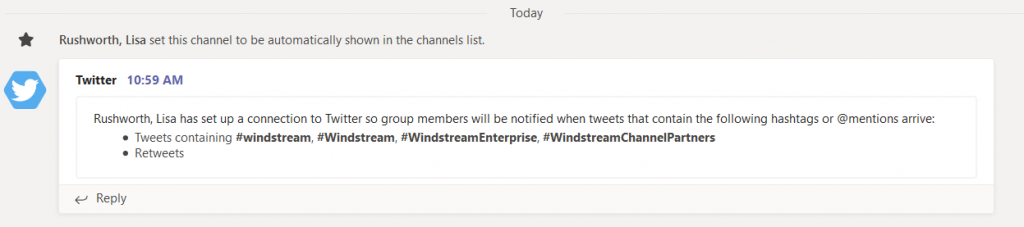
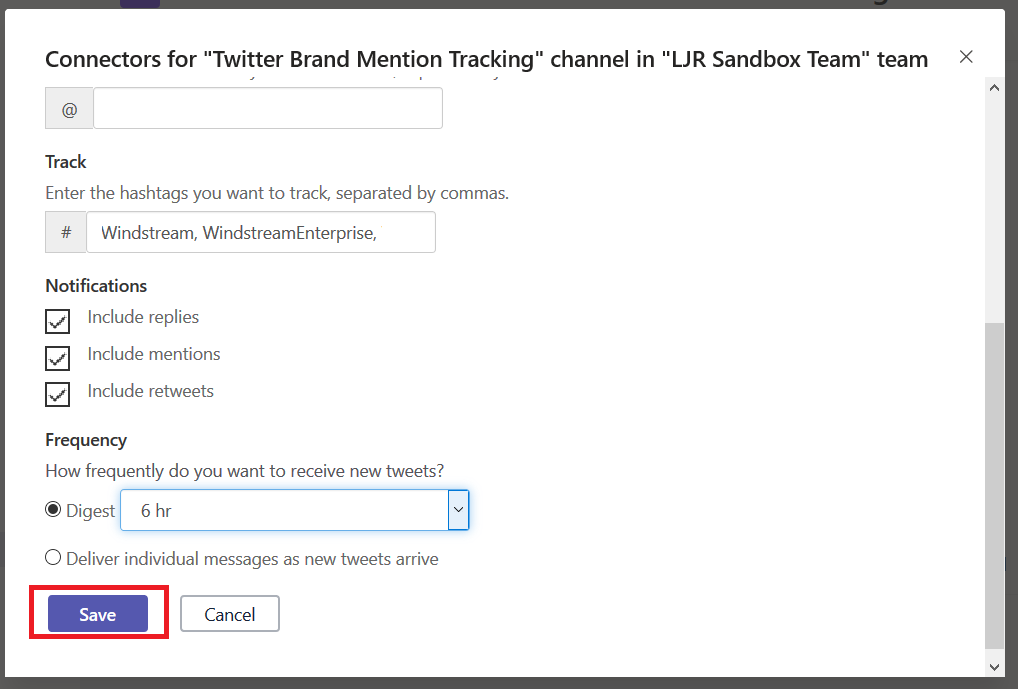
Decide if you want Teams posts for replies, mentions, or re-tweets. Select the frequency with which you want the Teams connector to check for updates – our Microsoft outage notification connector is set to “Deliver individual messages as new tweets arrive”, but I configure most other connectors to create a digest every 1 or 6 hours. Once you have completed the connector configuration, click “Save”.
In your selected channel, you will find a post summarizing the connector configuration.