We had a strange problem with our DSL modem a year or so ago — immediately after a firmware update got pushed to us. If something was plugged into a switch port, the whole thing became inaccessible. Only by unplugging all of the network cables and rebooting the thing would it stay online. Strange thing, though, is we were able to put it in bridge mode, plug something in, and have a network. Unfortunately, speed tests came back between 10 and 20 meg … it worked, we could still watch movies, VPN into work, listen to music … but something was clearly not right. In researching the issue, I’d come across a lot of other people who experienced dramatic reduction in speed when they switched their ISP’s device to bridge mode. Coupled with the fact our emergency spare access point, which got promoted to “access point for half of the house” was flaky and IPL’d every couple of days.
Since I’m able to download the DSL modem firmware from work, we’ve wanted to flash the DSL modem … well, basically ever since we came online after the problem occurred. Someone’s always doing something that precludes dropping the Internet for an hour … but, yesterday, it was time. Scott was working on the local network, Anya’s got plenty of books, and I had an hour to spare. Hard reset the DSL modem (you cannot access the admin page in transparent bridge mode), flashed it with the most recent firmware we’ve approved for use, and voila … it’s all working again. I even brought up ISC DHCPD on the internal server so we can add as many static addresses as we want without concern for nvram usage. Scott hard reset the other access point, updated its firmware, and returned it to its position on the other side of the house. Perfect! We’ve now got two access points that stay online. Except — the Actiontec T3200 has no way to define a static route!? I’m sure 99% of their customers don’t care, but when we bought our new server, I set the libvirt VMs up on their own network. Not for any good reason, that was just the configuration I found in all of the online documentation I reviewed.
While I could shell into the Asus and add a route (even include that command in the j-whatever script that executes on boot), that didn’t let traffic from the Internet in to our reverse proxy or mail server. I needed to move the VMs onto a bridge that used the routable internal subnet. And thus began my re-IP’ing nightmare.
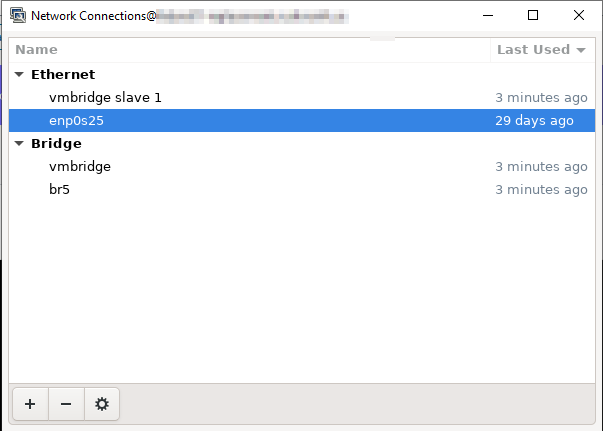
Step #1 — Add a bridge network that exists on the internal subnet. Sounds straight-forward enough, but several iterations just tanked the server’s network. At one point, we could reboot the server and have connectivity, reboot again and get nowhere. I cleared out everything I had added, rebooted, and at least had the main server online. With the X display redirected to my laptop, I used nm-connection-editor to create a bridge and the slave device. Disabled stp manually (nmcli connection modify vmbridge bridge.stp no), but I used the GUI for everything else. I’m certain it’s possible to do this all through nmcli … but it was an exercise in frustration (and I’m a big fan of CLI stuff to start with). I used the magic-me-a-bridge wizard, clicked ‘add’ for its device, ran through the magic-me-a-slave-device wizard, added a new temporary IP address to the bridge, dropped the previously-used Ethernet (wired) interface, and brought the bridge online. Voila, network. I added the IP address from the Ethernet interface to the bridge. I’m certain this isn’t The Right Thing To Do(TM), and it’s quite possible that I could safely drop the temporary IP I’d put on the bridge to maintain access to the server. But after eleven hours of problems getting to this state, I’m loathe to rock this boat.
Step #2 — Add a bridge to the libvirt config. Create an XML file with the bridge definition
 2020-06-10 12:21:32 [user@host ~/]# cat bridge.xml
<network>
    <name>vm-bridge</name>
    <forward mode="bridge"/>
    <bridge name="vmbridge"/>
</network
Then use net-define to create a bridge based on your config (virsh net-define bridge.xml). Start your bridge (virsh net-start vm-bridge) and, assuming everything works well, set it to autostart (virsh net-autostart vm-bridge).
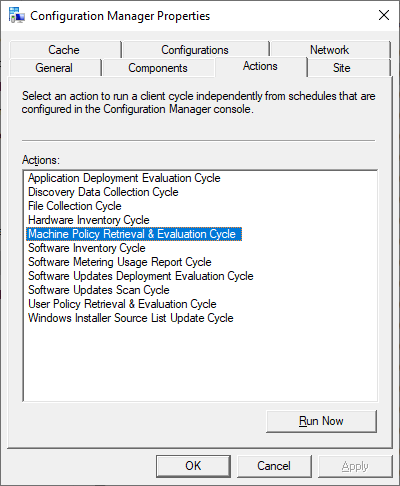
Step #3 — The next step *should* be to move your VMs to the new bridge — this involves updating the IP addresses … since I won’t be able to access the servers until that is done, I’ll need the GUI to connect into each server. Unfortunately, my next step actually was to get virt-manager working again when it freaks out. At some point, I had a virt-manager session shut down improperly or something. Attempts to launch virt-manager resulted in the error “Error starting Virtual Machine Manager: g-io-error-quark: Timeout was reached ” … which isn’t particularly helpful. Killing the virt-manager PIDs and restarting libvirtd (systemctl restart libvirtd) restored the management interface.
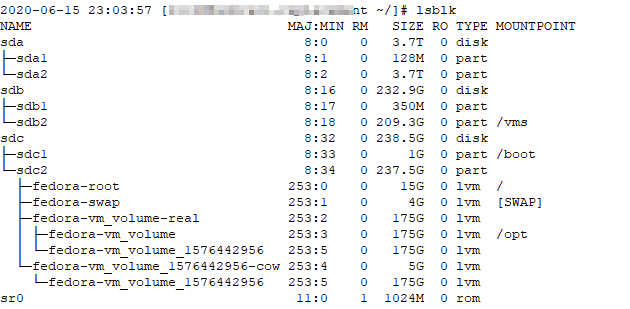
Step #4 — Move the VMs to your new bridge and change the IPs for the new subnet. I used virt-manager to switch the network interface to my new bridge, booted each server, and updated the IP in the OS. This is somewhere that statically assigning IP’s through DHCP would have made things a little simpler … but updating the IP on Fedora and Windows is straight-forward enough.
Step #5 — Getting Exchange back online. Most documentation tells you Exchange doesn’t care about its IP — which is not exactly true. I knew I would have to edit a few configurations to reflect the new subnet — my mailertable records for internal routing, bindings within Apache HTTPD config files, the Exchange send connector smarthost (set-sendconnector -identity “Connector Name” -SmartHosts “[w.x.y.z]”) since my sendmail server’s IP changed too

And update the binding for the Exchange receive connector. Wasn’t sure why I bound the receive connector to the specific IP interface, so I bound it to all interfaces on port 25. Now that everything’s set up and ports all show up as open … I’m ready to clear through the queued mail. A quick “sendmail -q -v” command and …. uhh, that’s no good. I’m getting “451 4.7.0 Temporary server error. Please try again later. PRX3”
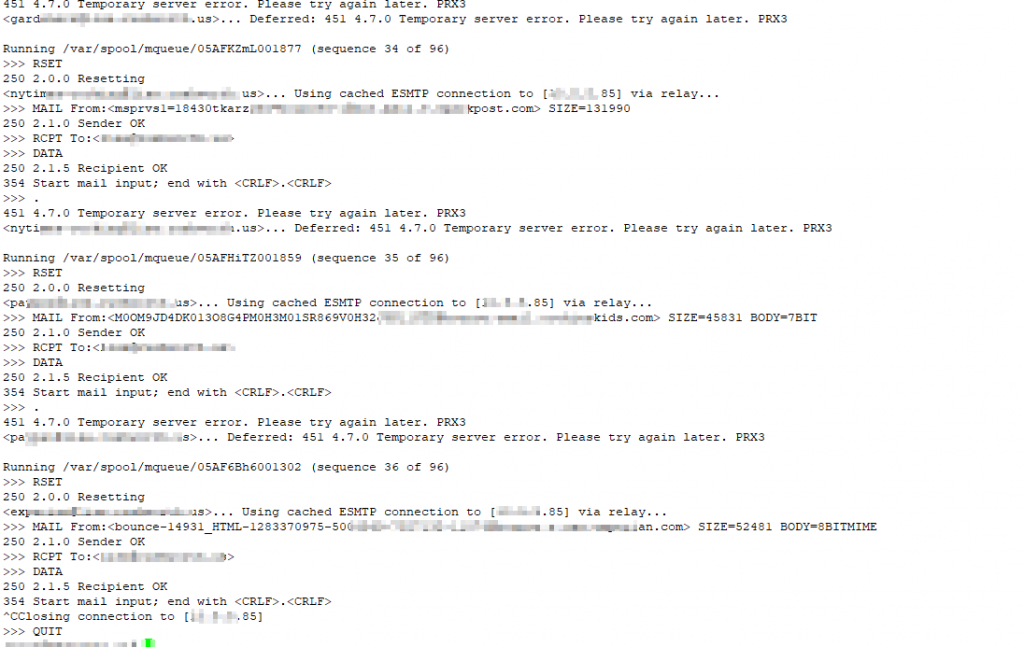
I realized that my previous config had the receive connector bound to a specific IP address for a reason. While changing it to 0.0.0.0 saves a config step if I have to re-IP again, Exchange doesn’t work well when the SMTP server is bound to all interfaces. I had to bind it to the specific IP (set-receiveconnector -identity “Server\Connector Name” -Bindings “w.x.y.z:25″,”[::]:25”) … the IPv6 binding may need to be specific, too, if you actually use IPv6. I don’t … so it’s not.

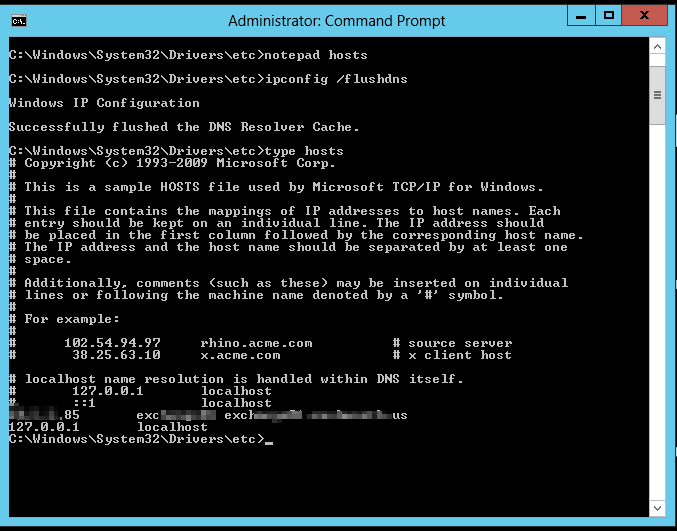
One final thing to remember — Exchange likes to have a hosts entry for itself. No idea — some Linux-based apps have the same quirk, so I never bothered to investigate farther. Update the hosts file, flush the dns cache (ipconfig /flushdns), and finally I’ve got mail dropping into my mailbox.
I’ve finally returned to the state I was in yesterday afternoon. Well, I went from 10-20 meg speed tests to 50-80 meg speed tests. Upload went from 1-3 to 8-10, too. My Internet speed is very fast 🙂