Category: Homesteading

Deodorant Recipe

I needed a recipe for deodorant that didn’t melt in the summer heat, so I added some beeswax to my normal recipe:

  • 2 oz beeswax
  • 6 oz coconut oil
  • 4 oz shea butter
  • 6 Tbsp baking soda
  • 8 Tbsp arrowroot powder

Melt the beeswax and oils, stir in baking soda and arrowroot powders. Pour into container and stir as mixture cools and thickens.

Go, Hops, Go!

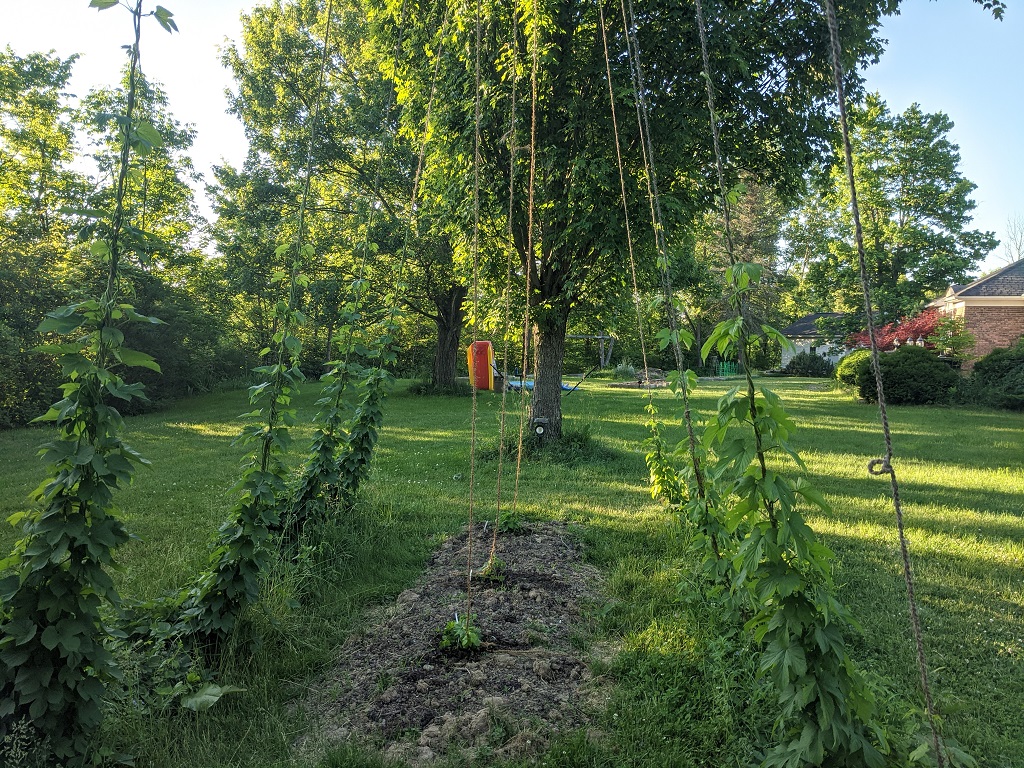
We got our hops on their ropes shortly after they started sprouting, and we’ve got a few vines that are a good 12 feet up the rope already. Hoping to get a big harvest this year! Our new hop plants are big enough to reach their ropes too — I don’t expect to get more than a few cones to taste, but the rooted plants are growing well.

CowPots

I purchased CowPots to start seeds — a giant box of 330 tall #4 pots was 60$ in 2017, and I have enough for next year still. Four years of seed starting comes to around 15$ a year (it looks like the giant box is now 80$, so more like 20$ a year). I love the things because they’re made of compost – no peat, no paper. And they claim that roots grow through th pot walls and the entire thing breaks down incredibly quickly once in soil.

I can attest that roots grow easily through the pots — I’ve started seeds and seen the roots break through (yeah, I should have gotten those things out to the garden sooner!). But I’ve always been curious how quickly the pots decompose in soil. Hard to tell, since it’s in soil. I’ve had some pots sit outside for over a year, so I suspected the “quick” decomposition wasn’t so speedy. The pots that had been sitting outside in the weather for over a year? I turned them into my compost pile. They’ve been there for about a week now. Which substantiates my suspicion that they don’t fully decompose in a few short weeks. Doesn’t really matter, since the plant roots are readily growing right through the pots … but we’ll see how long these things remain visible in the middle of a hot compost pile.

Update: Garden Expansion

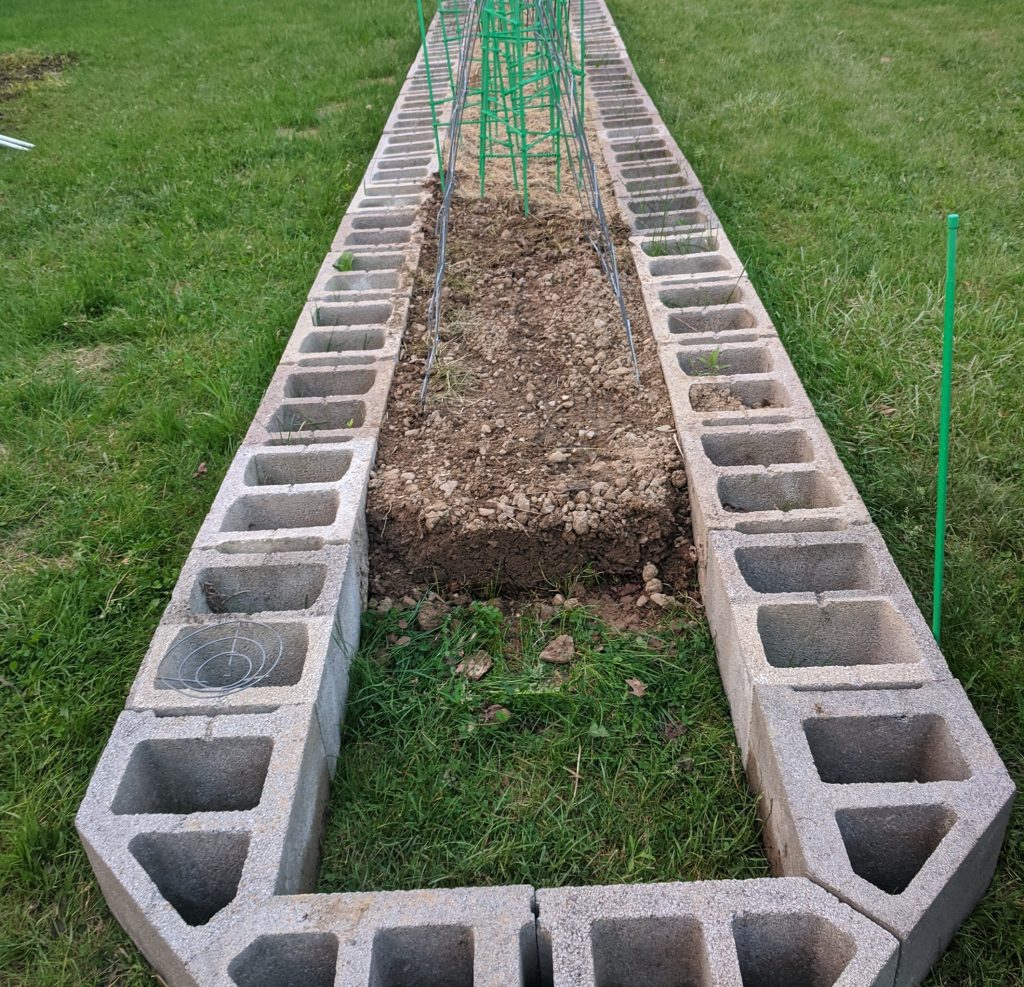
We had a few extra large blocks left over, so we expanded the first bed — now there are a few extra feet of growing space.

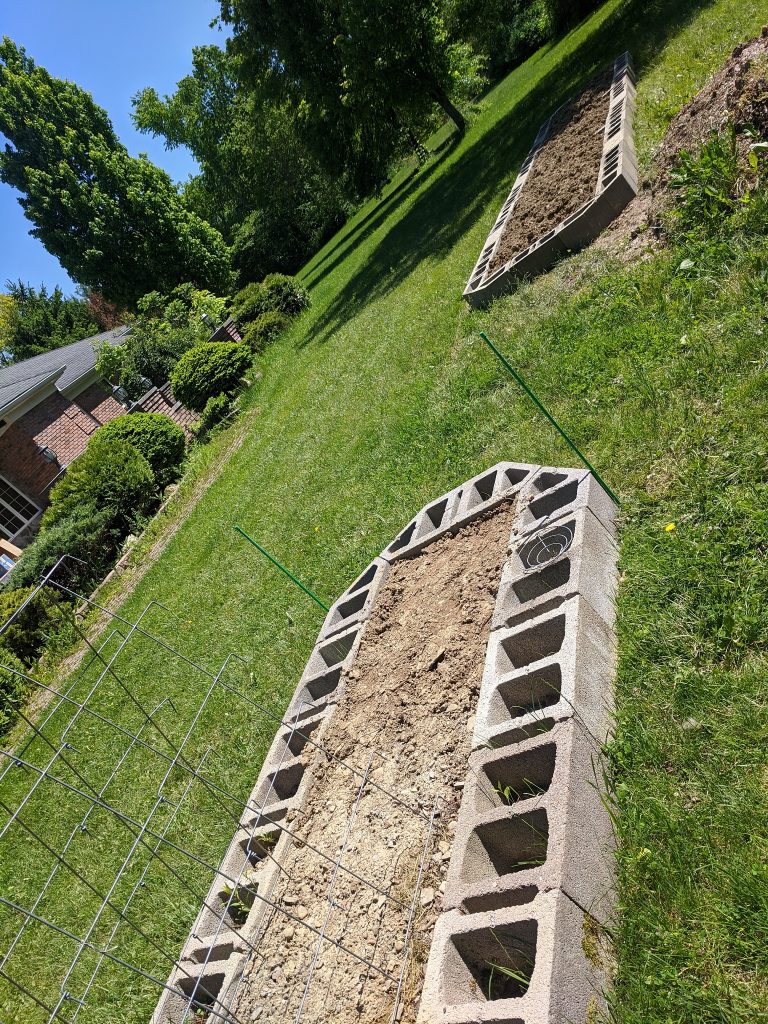
We used the smaller blocks to build a second bed to the south of the first one.

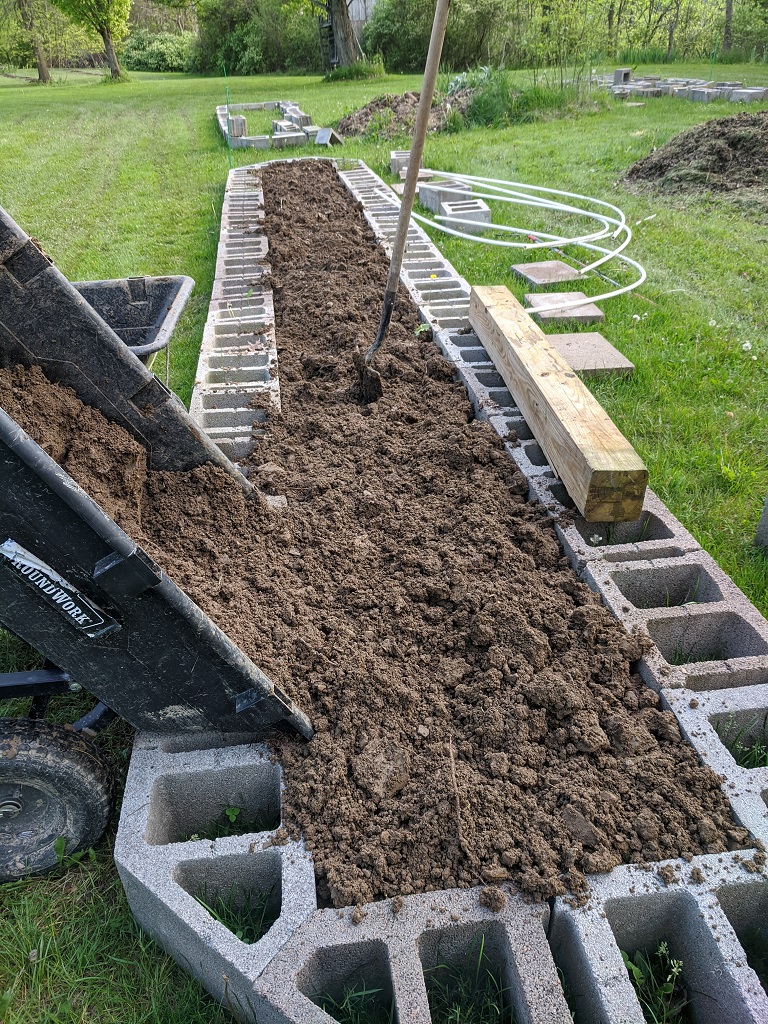
And filled both the new bed and the extra space in the first bed with dirt.

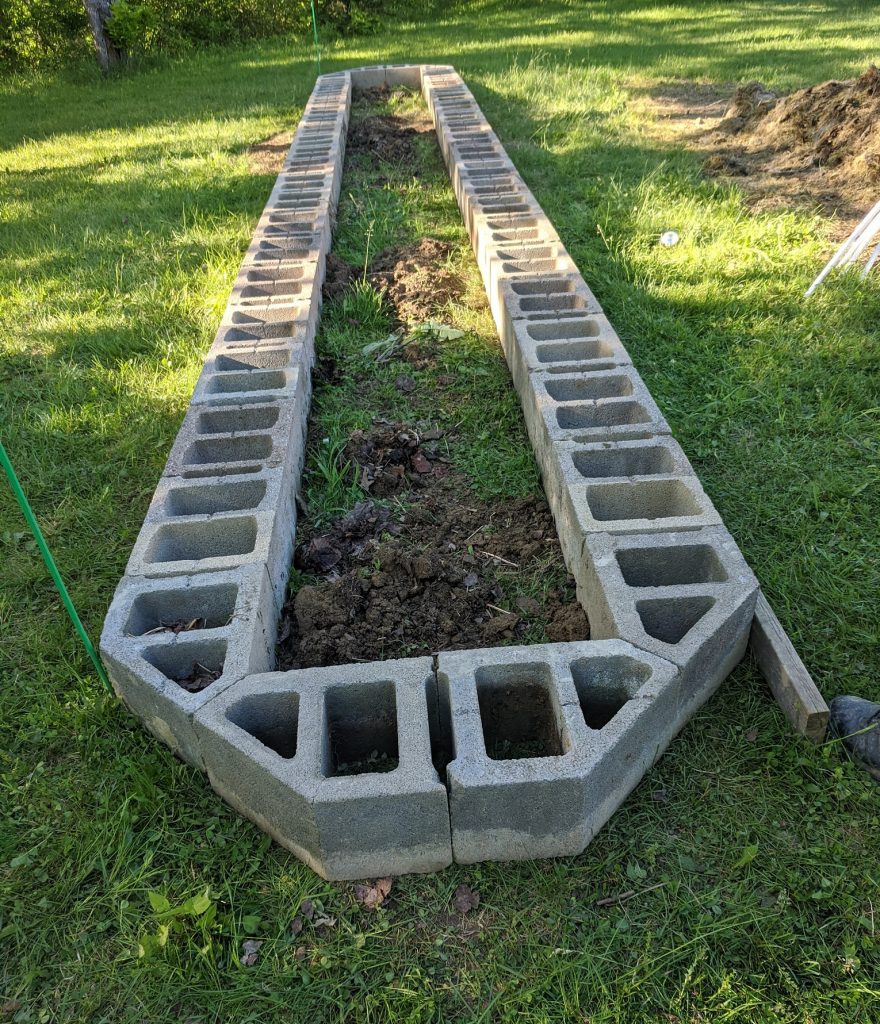
Today, we finished assembling the third bed. We’ll get the fourth bed together and fill them both with dirt.

More Progress: Raised Beds

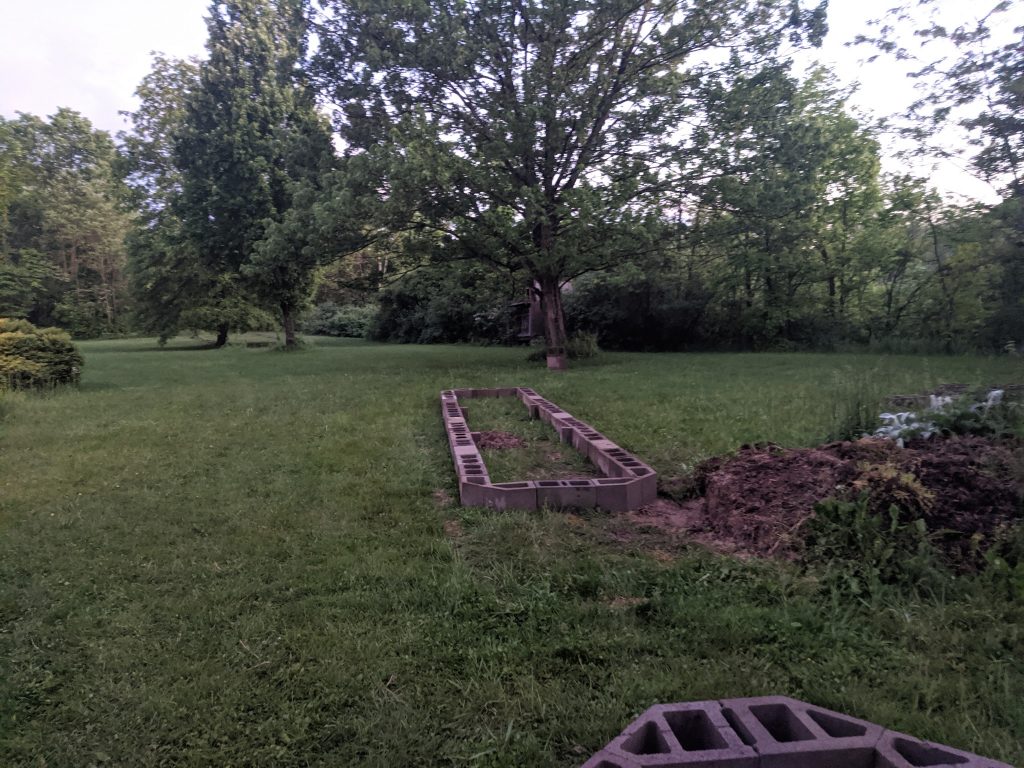
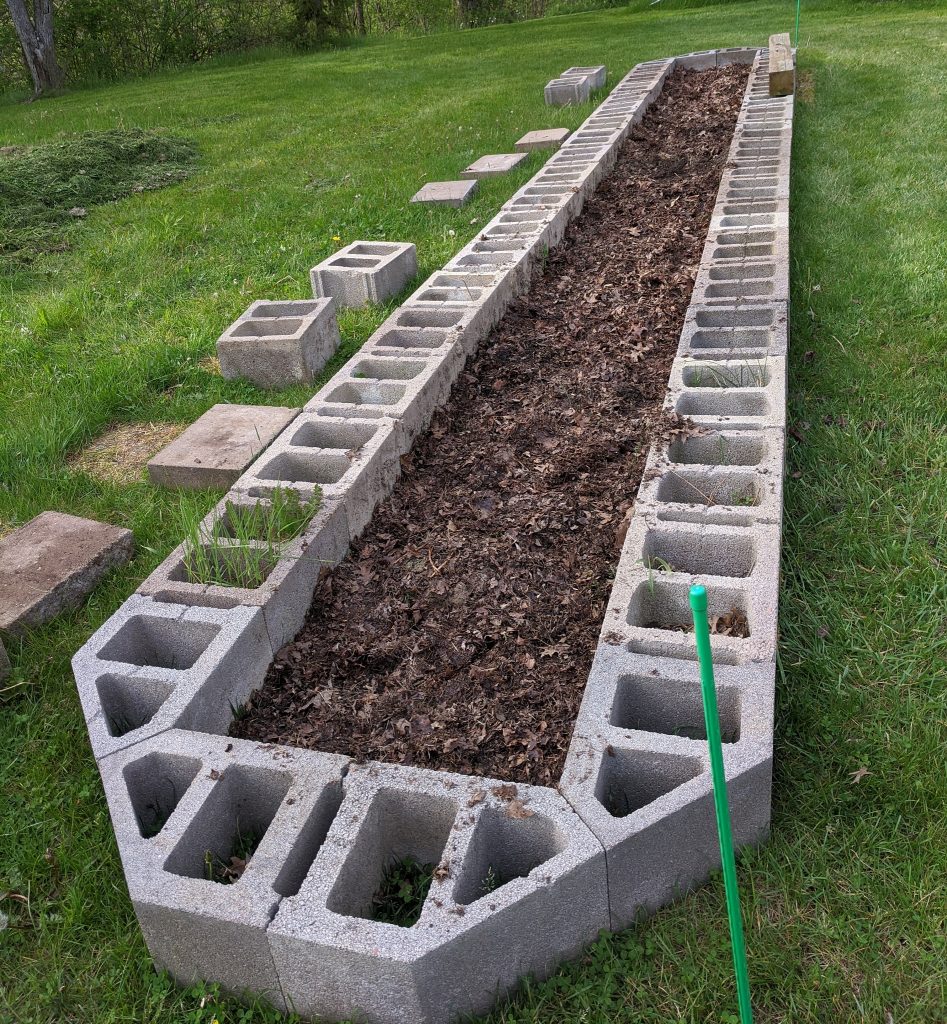
We’ve got one raised bed completed — the soil raked out, blocks pretty much straightened (and all of the other blocks from the old garden beds have been transported to the new garden location, so we’re ready to get more raised beds started)
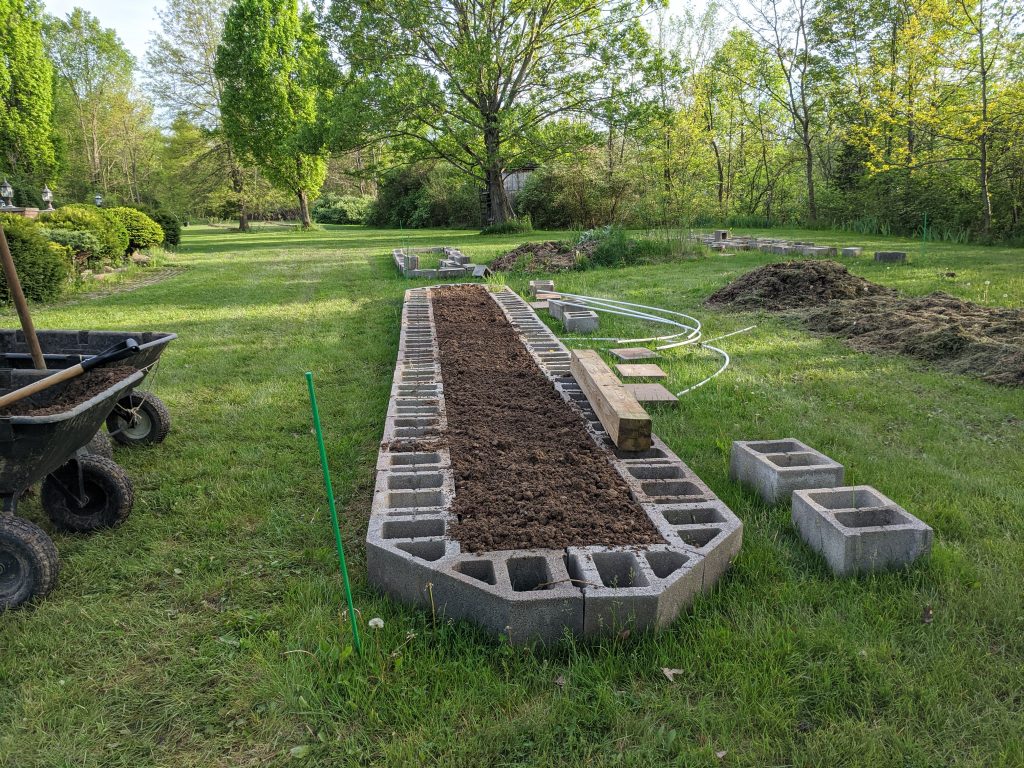
That means it’s time to get some plants in the ground — we brought the ten tomato plants and ten pepper plants that have been growing indoors since April 15th. I placed the tomato cages in the garden and set a pot inside each cage. Anya and I built the pepper cages (and then rebuilt the pepper cages because a few bent stakes + half a dozen in use to mark out the other bed locations mean I didn’t quite have enough to build squares … but we got ten triangles). Then it was time to dig. Anya was excited to use the gardening tools I got her a few years ago (and even let me keep my trowel in her bag).
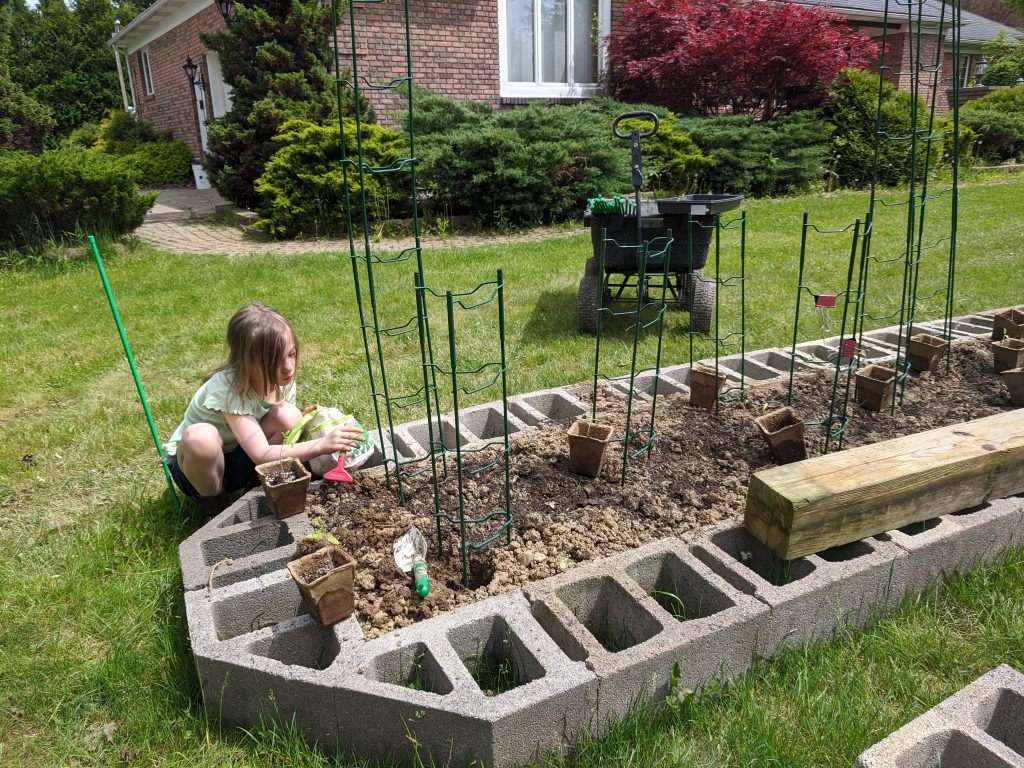
85-90 degree days probably aren’t the best time to plant starter plants, but we had a couple five gallon buckets of water from the well and ensured the soil was nice and wet before planting. Lots of digging …
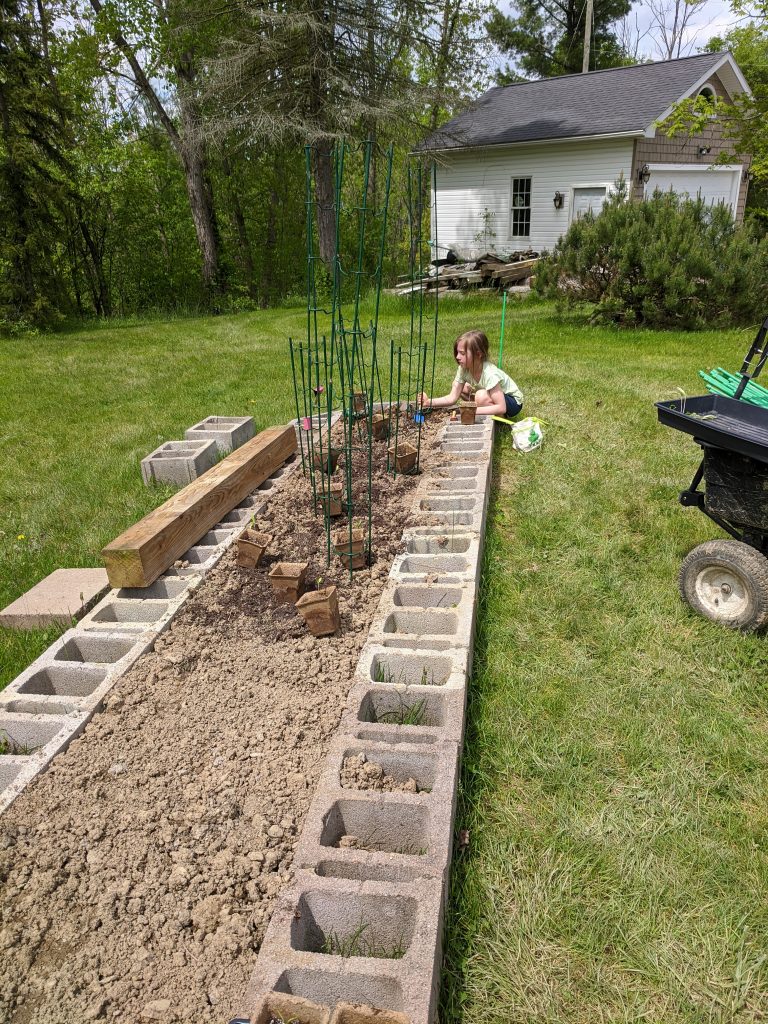
And still more digging … we have twenty plants outdoors.
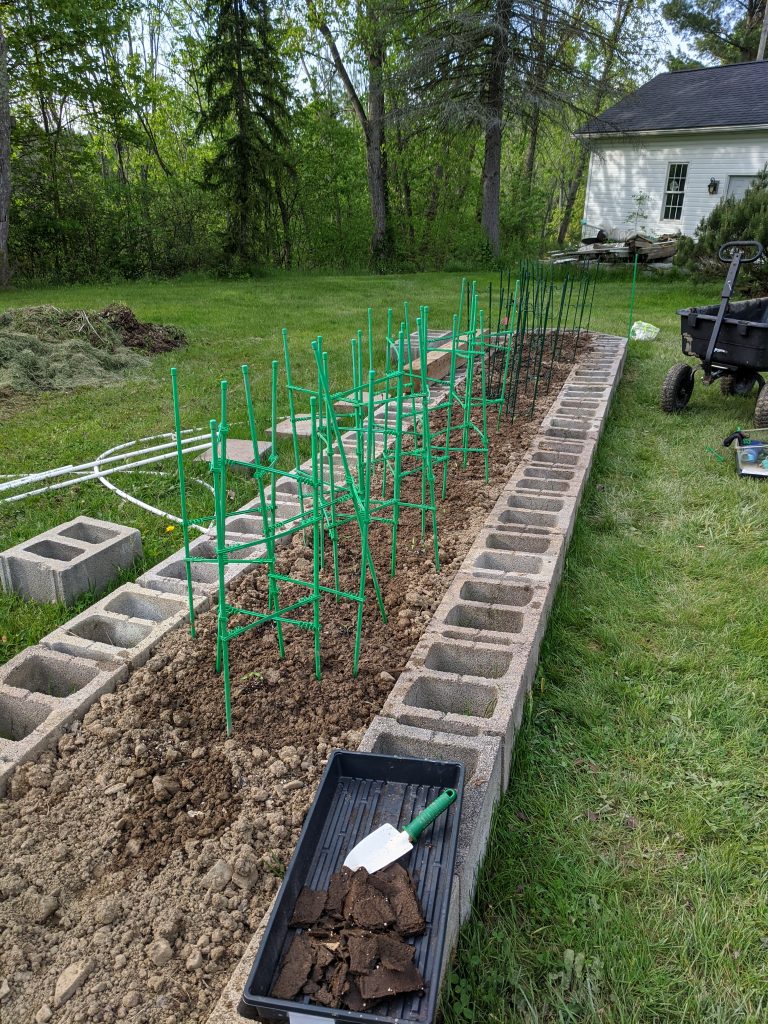
Since it’s been so hot, I wanted to add some sort of mulch to keep the soil from drying out. About an inch down, it’s moist and cool … but the top inch is getting very dry. I told Anya about the first garden Scott and I had in Ohio — a friend of his ran a greenhouse, and the friend’s dad rented out plots of land for gardening. The guy’s dad told us to plant our tomatoes really deep because the stems would actually root out and make a stronger plant. Figure the stems would root out better if they weren’t in hot, dry soil!

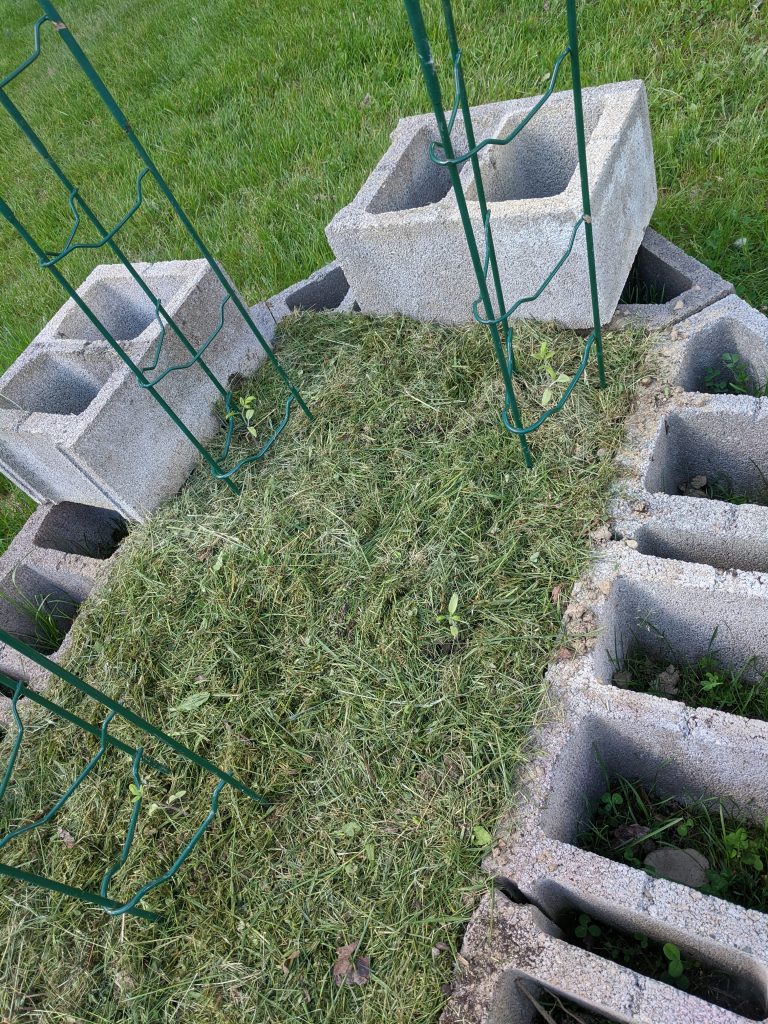
We have grass clippings that I’ve been mixing with leaves from last year as I haul the leaves from the old garden beds (I threw a couple inch layer of leaves on top of the bed at the end of the season to act as a mulch until I was ready to plant again). But I’ve only got about half of our grass clippings incorporated, and the old garden is about 75% cleared of leaves. I’ve certainly got extra grass available. Now fresh grass can pull some nitrogen as it first decomposes — it’ll return that nitrogen eventually — and it gets hot as it decomposes. I’ve intentionally sprinkled a thin layer of grass mulch instead of heaping an inch or three of mulch around the plants. Now we’re ready to grow!
 

Notes on Meat Chickens

While we’ve got egg chickens on order, we’re thinking about meat chickens too … I’ve got a odd problem keeping both. Not sure (and I know you don’t really) how you explain to the egg chickens why some of their friends randomly disappear. Seems kind of unfair — even the meat chickens that are kept for breeding … but if we do decide to get meat chickens, I found these Bresse chickens from France.  https://www.bressefarms.com/store/p108/White_Bresse_Chicks_.html

Progress: New Raised Beds

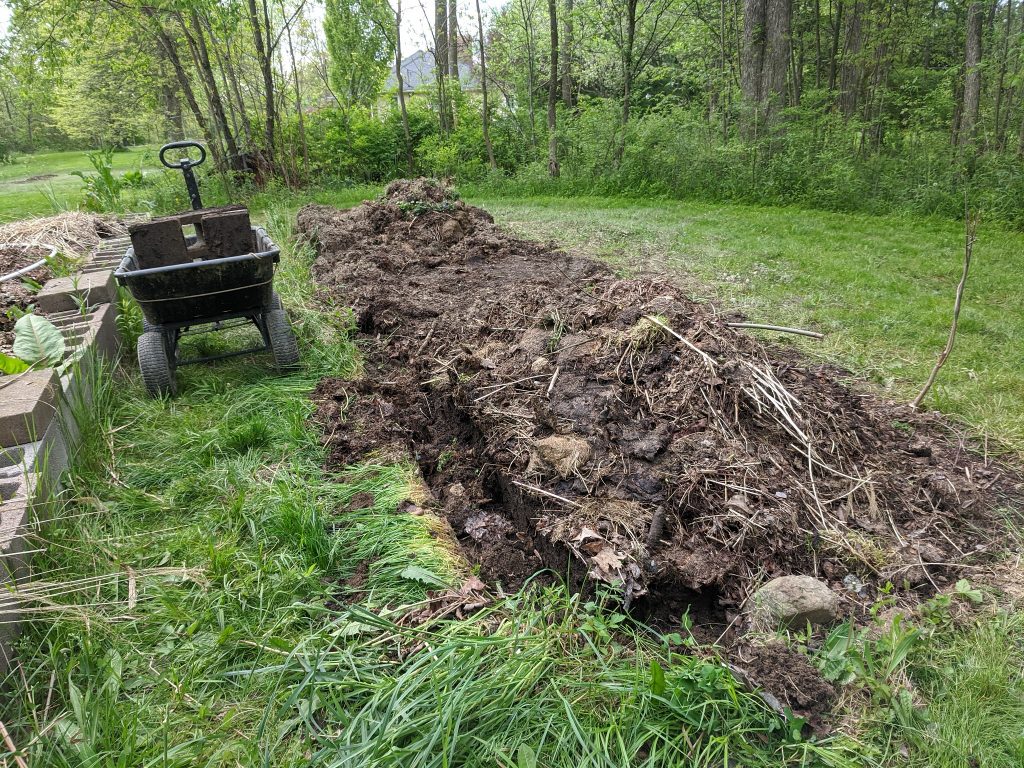
We had a day-long break in the rain yesterday, so I put some work into rebuilding the raised beds. I transported all of the small blocks to the new garden area. There’s a pile of not-yet-composted material (and some clay soil) that will need to get hauled over to our new compost area … but that’s the last step.

I also got a tightly packed leaf layer along the bottom of the bed. Reading about building raised beds on existing lawn, people put down a layer of cardboard or newspaper to prevent the existing plants from invading the garden. It’ll rain all day today, and we’ll stomp it down again tomorrow. Then there’s a bunch of dirt to haul before I can get some plants out into the new garden space.