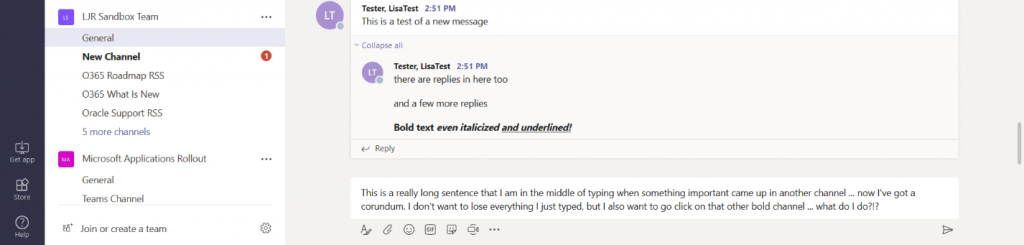
While cognitive research says we focus best if we’re not switching topics every few minutes,sometimes I find myself needing to switch to a new channel in the middle of a thought. Desktop notifications, important content flags … but Teams will save what you’ve already typed even if you leave the channel or chat session.
I’ve switched over to the channel with that important activity – I can even send a new message here.
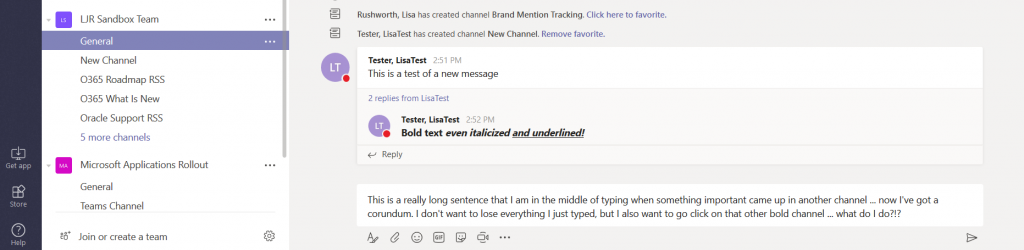
And when I return to my original channel, everything I’ve typed is still in there. Teams even saves the un-sent post if you close the client (I still copy my post to notepad just in case if I’m doing anything more than re-launching the browser to apply updates, but I haven’t needed the saved post content yet)
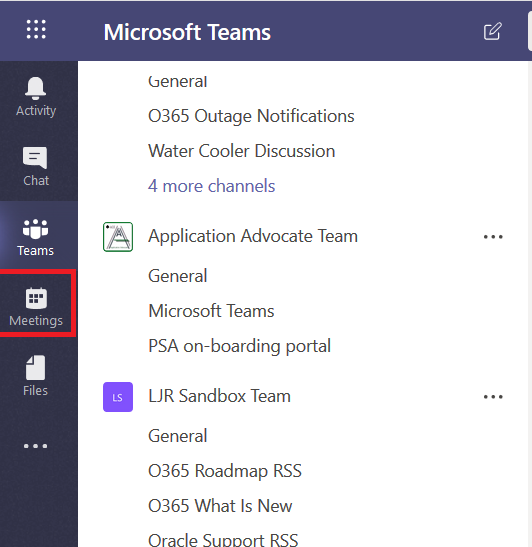
You can! From the Teams side-bar, select Meetings.
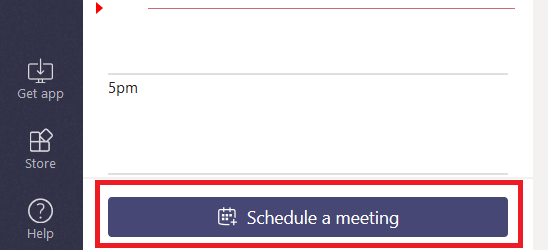
At the bottom of your screen, along the left-hand side click “Schedule a meeting”.
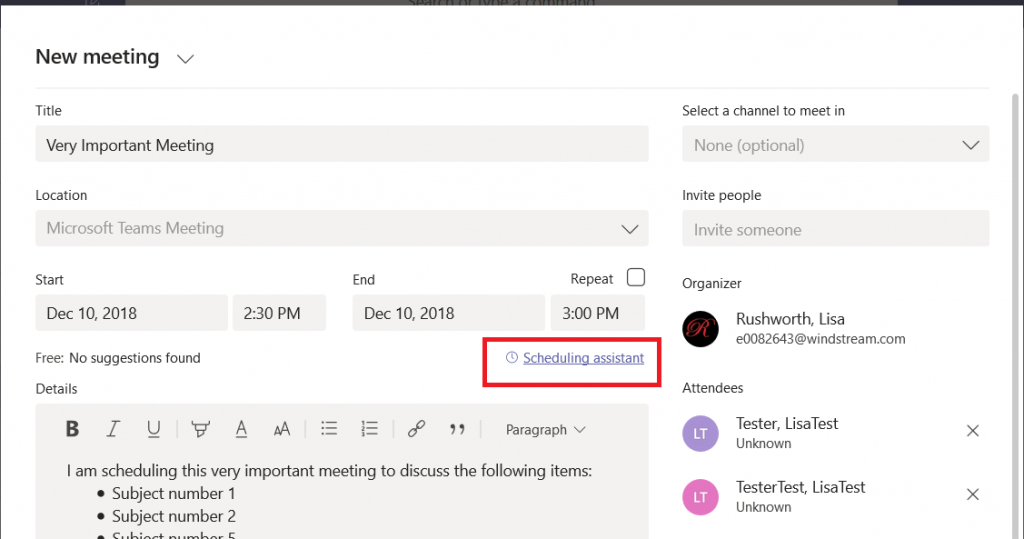
Add the usual stuff – a title, time, agenda. Click under “Invite people” and type in some names to add people to the invitation. They don’t all have to work here – you can type in SMTP addresses as well.
Once you’ve added your attendees, click on “Scheduling assistant” to view attendee availability.
You will see each person’s published availability to the left of their name, and text under their name will indicate if they are free during the selected time interval.
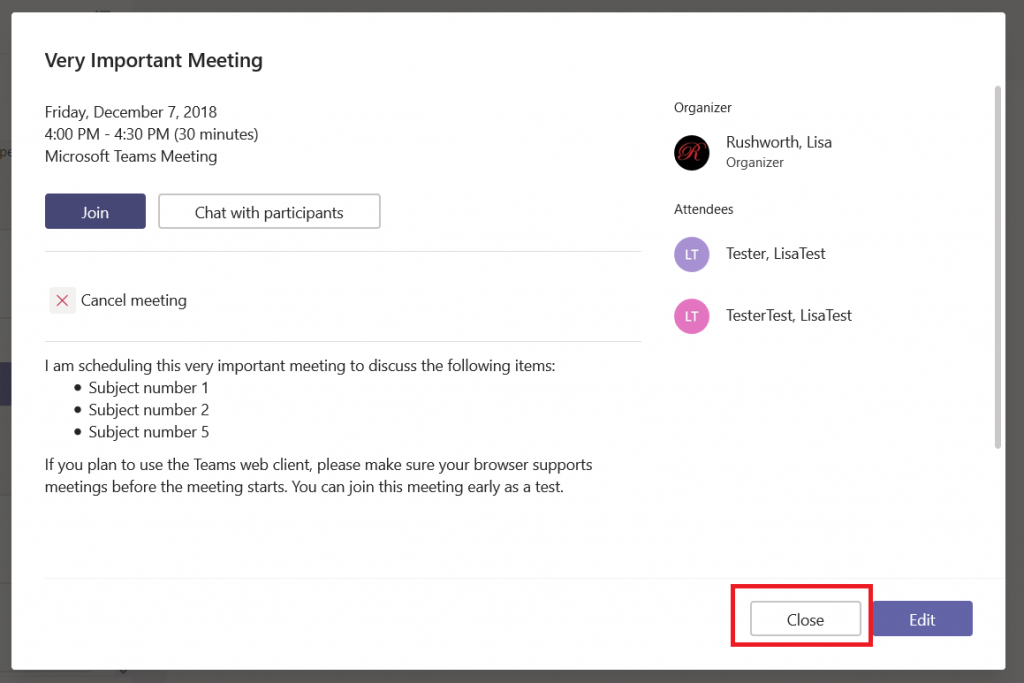
Select a time and click “Schedule”.
A meeting summary is displayed. You can edit the meeting if needed or click close.
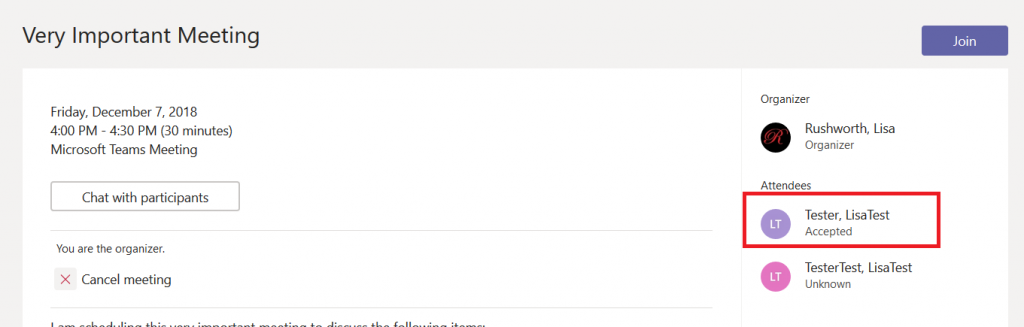
As attendees accept your invitation, you will see their acceptance within your meeting.
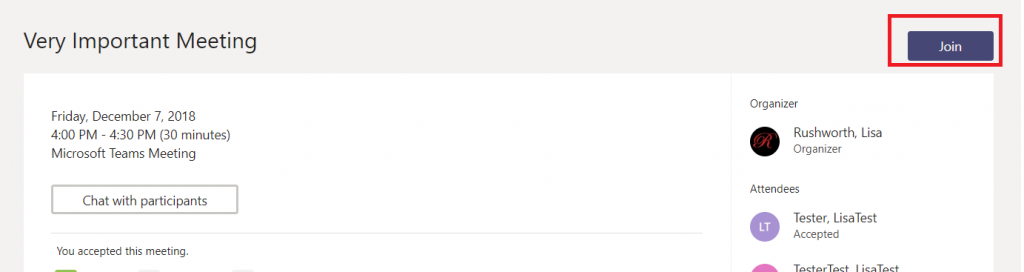
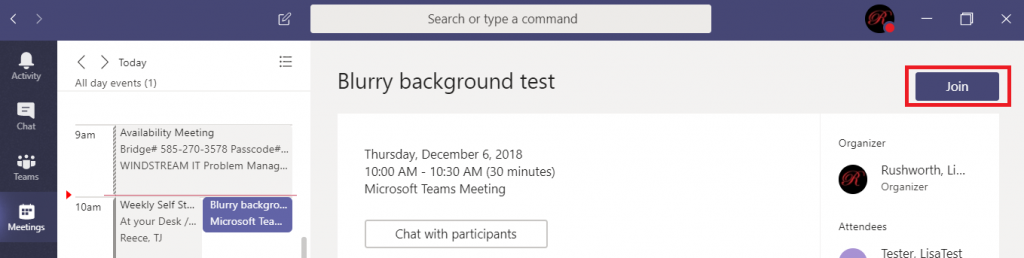
To attend the meeting, click the “Join” button.
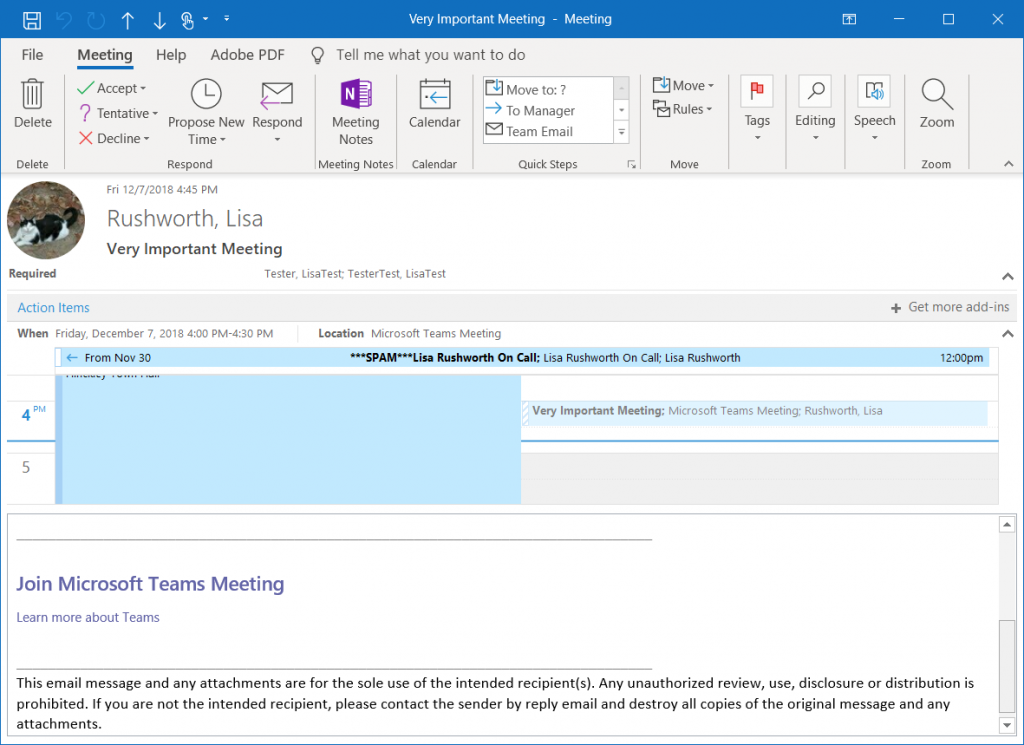
If you’ve invited individuals who work outside of Windstream,
they can still use the “Join Microsoft Teams Meeting” link to join the meeting.
They’ll be joining anonymously, and someone will have to let them join the meeting
… but they’ll get there too.
As you use Teams to chat with colleagues, you may find your “recent”chats include several entries with almost the same list of people. And now you’re clicking between groups with someone’s name to find the right group chat. Don’t! You can rename group chats to make it easier to find a specific conversation.
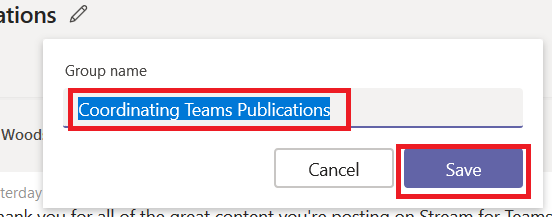
Within the group chat, click on the little pencil next to the participant names.
You will have an edit dialogue where you can add a group name – this is displayed to the other participants so select the name accordingly 😊 Click ‘Save’.
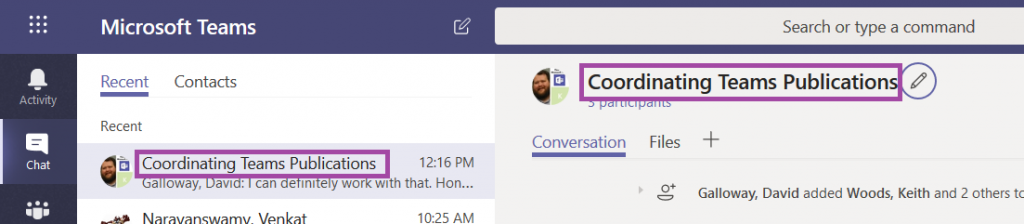
The conversation is now listed with the name you’ve supplied. Should you want to remove the name, simply click the pencil again and delete the name. Save a blank name, and the conversation will be titled with the participants again.
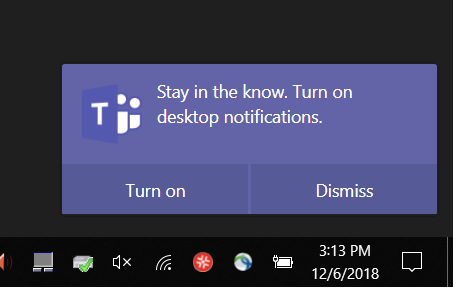
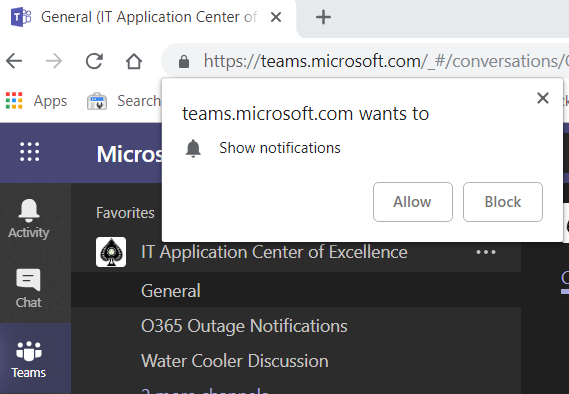
The *one* disadvantage of using Teams in a web browser was not getting notifications for new activity, but the Teams web site now supports desktop notifications. Next time you log into Teams in a web browser, you’ll be asked if you want to turn on desktop notifications – click “Turn on”.
You may see an additional browser prompt asking you to confirm you wish to grant the Teams website the right to show notifications –click Allow.
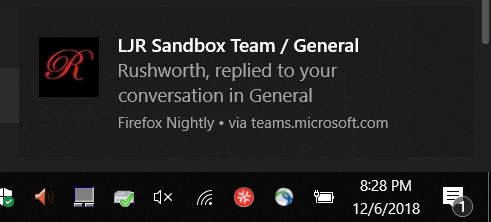
If you have Windows 10 notifications enabled, you will now get notifications in the lower right-hand corner of your screen and the Windows notification panel.
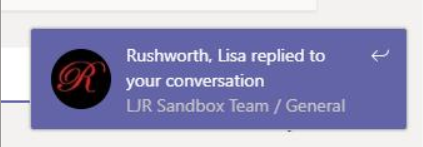
You will get notifications even if you’ve disabled desktop notifications.When you are on the Teams tab, you’ll see notifications in the lower right-hand corner of the browser.
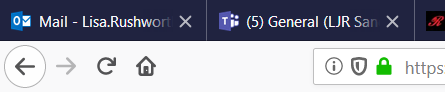
And when you are not on the Teams tab, you’ll see a number indicating the number of new notifications that have been sent.
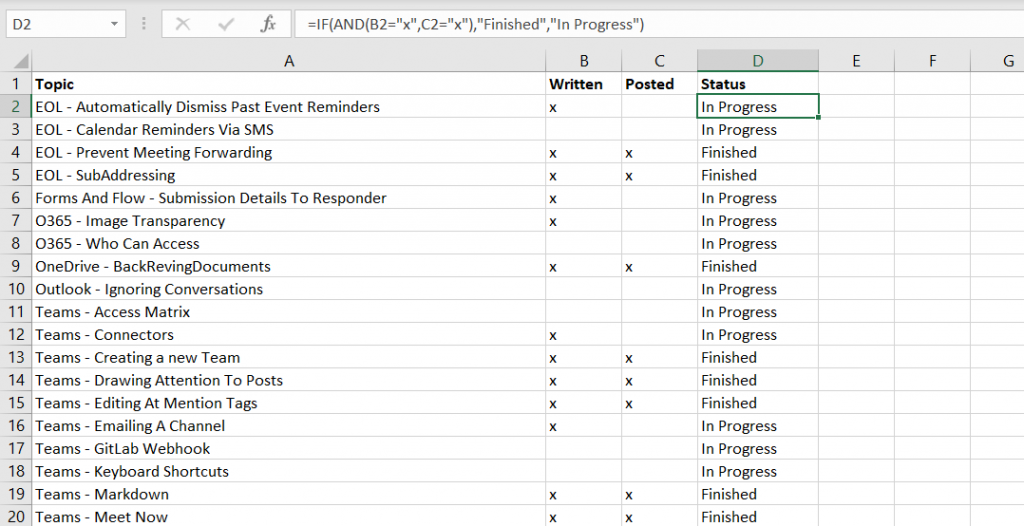
I have been writing a lot of “did you know” articles as part of our Microsoft Teams reintroduction, and I have an Excel file that lists topics for which we want articles. To avoid posting the same article twice (or worse, writing the same article twice!), I mark off when the article is written and posted. With a long list, though, it is difficult to identify which articles still need to be posted (yeah, I know I’m not apt to have posted an article that hasn’t been written so I could have just used a filter on the ‘Posted’ column … but there are plenty of cases where a simple filter does not suffice). Sometime you can build an advanced filter that isolates the specific data you need, but there’s an easier way — the Excel IF function.
In my spreadsheet, I
added a column, named “Status”. The “IF” function displays different
text when the test evaluates to TRUE and FALSE: if(B2=”x”,”Written”,”Not written”) displays “Written” in all of the rows where column B has an x, and “Not written” in the remaining columns.
In
conjunction with IF, I can use the Boolean AND function to display
“Finished” in any row where both columns B and C contain an X: =IF(AND(B2=”x”,C2=”x”),”Finished”,”In Progress”)
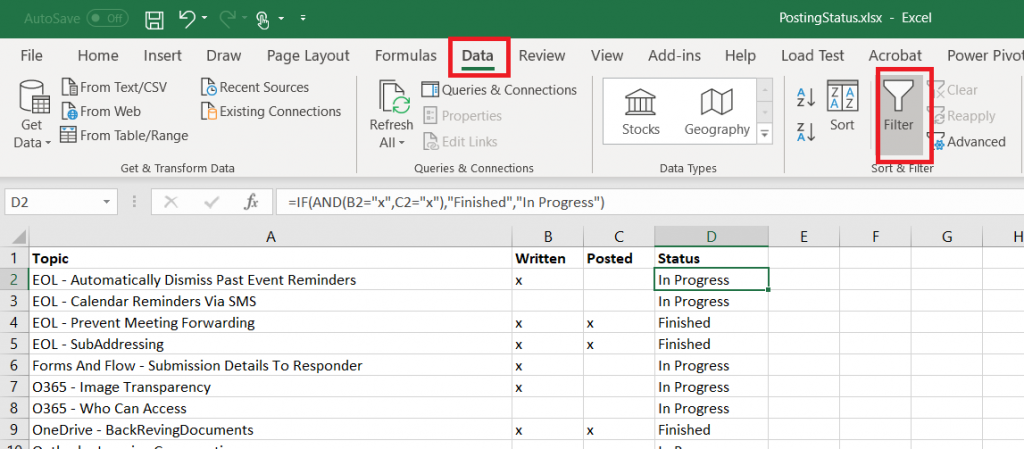
The content of the Status cells can be used as a filter. On the “Data” tab, select “Filter”.
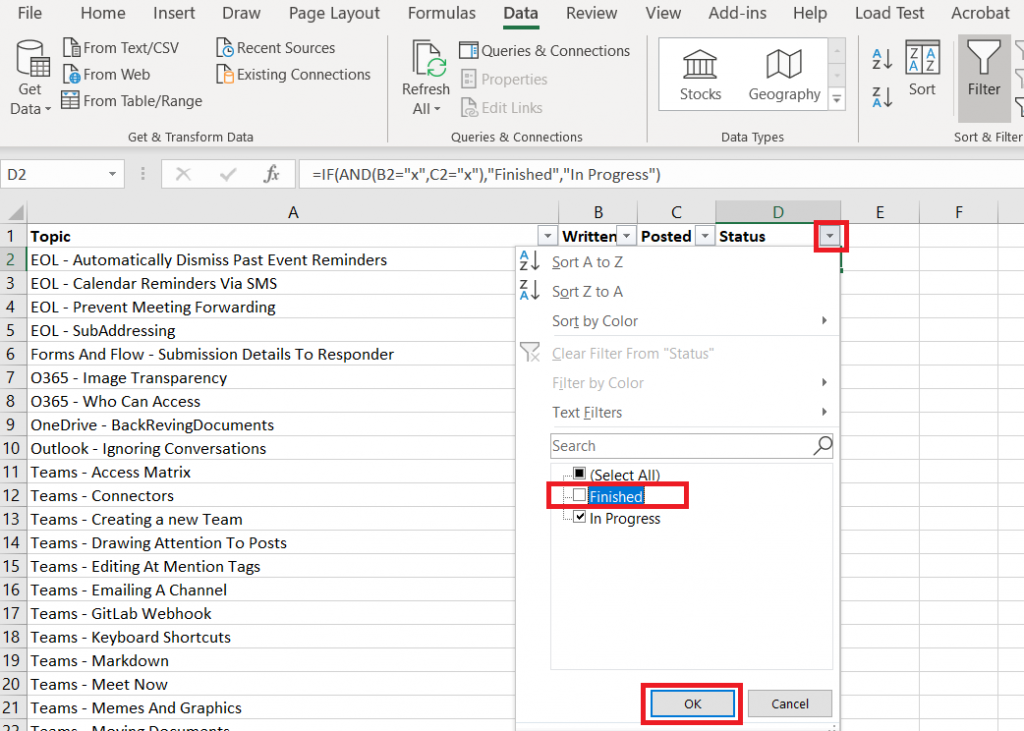
Click the drop-down menu on the “Status” column, deselect whatever values you do not wish to display, then click “OK”.
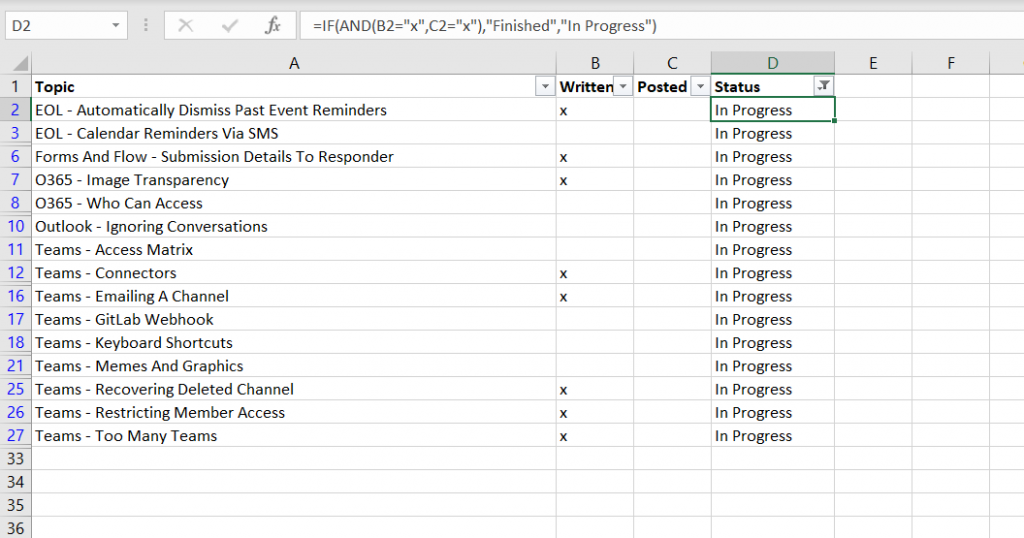
Voila! Now I see only the articles where the status is not “Finished”.
I frequently collaborate on documents with a small group of people – not that I don’t want everyone’s input, but starting a discussion with thirty people and a blank sheet of paper can become a cat-herding endeavor. I start drafting a document with a small group of people and then present the mostly finished information to a larger team for final review. I do not want to keep track of different versions of the document spread across multiple Teams! Fortunately, you can move documents between Teams.
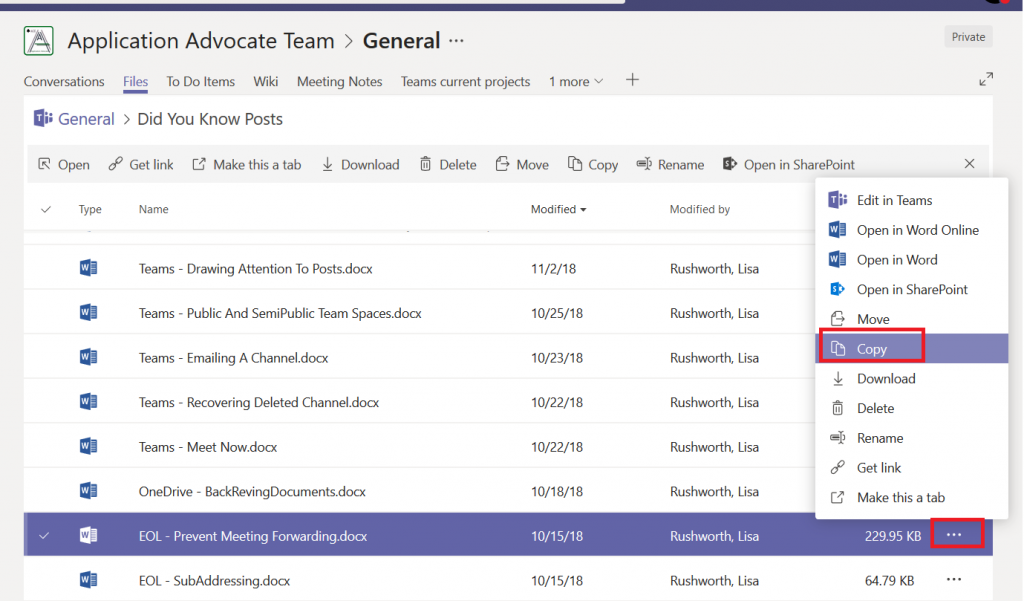
Find the document that you want to move. Click the not-quite-a-hamburger menu to the right of the document listing. Then select either “Move” or “Copy”.
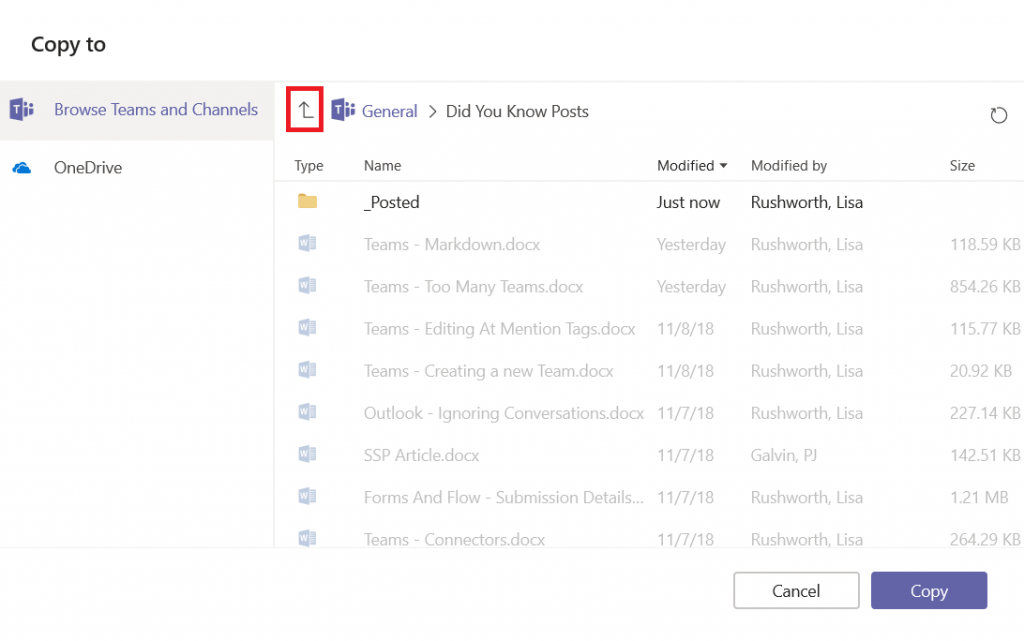
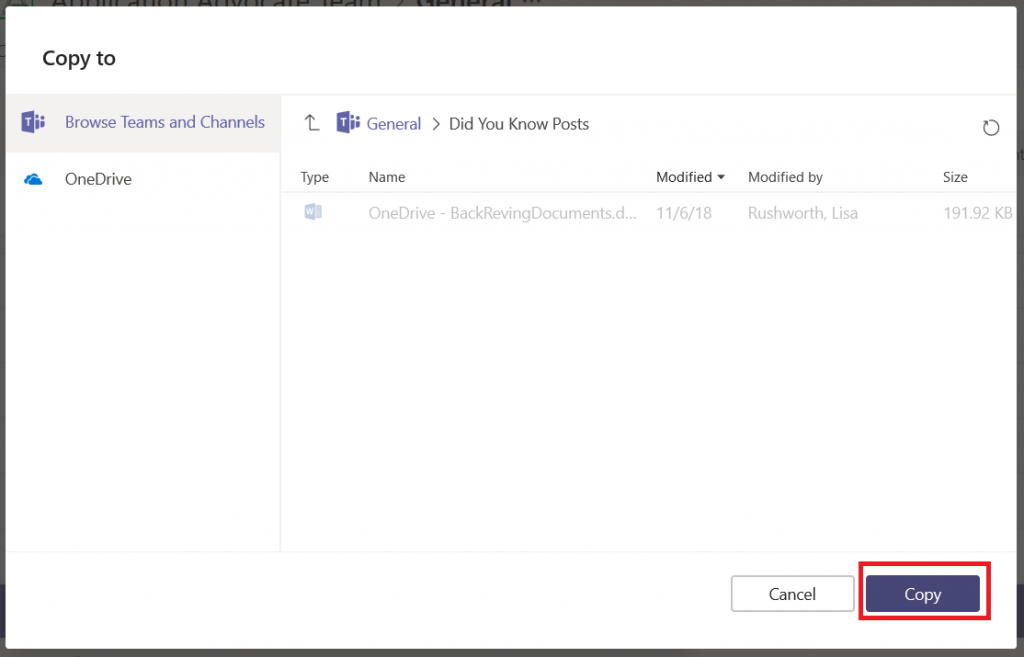
A “Copy/Move To” dialogue will open, allowing you to select where you want to document to appear. You can navigate the folder structure within the channel’s file space or click this arrow to move outside of the channel’s file space.
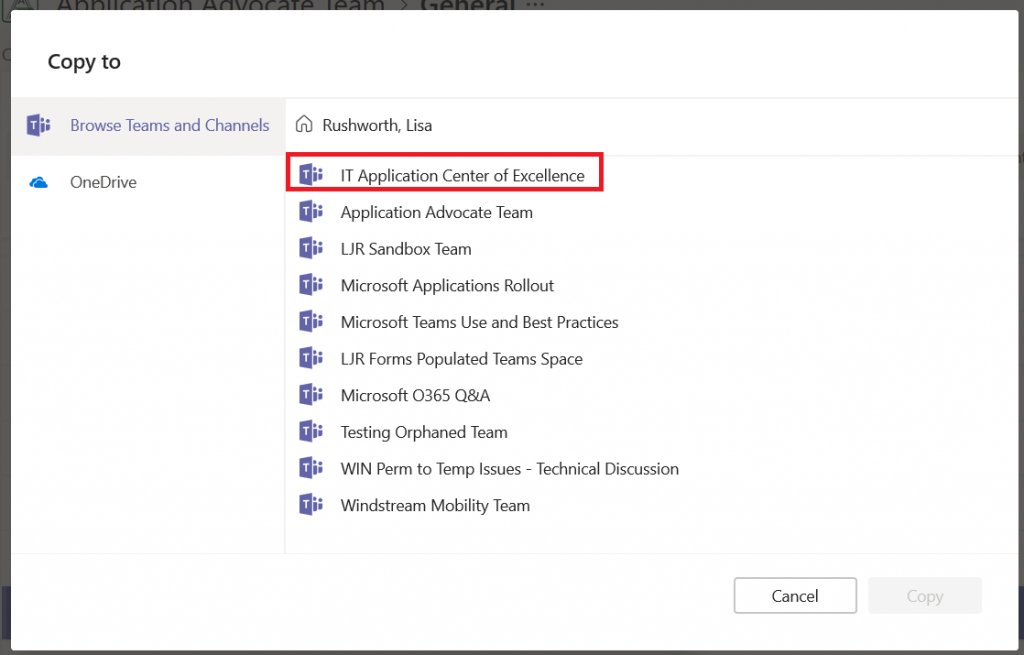
Clicking the arrow once will bring show the channels within the team. Clicking it a second time will display all your Teams. Click on the team into which you want to move the document.
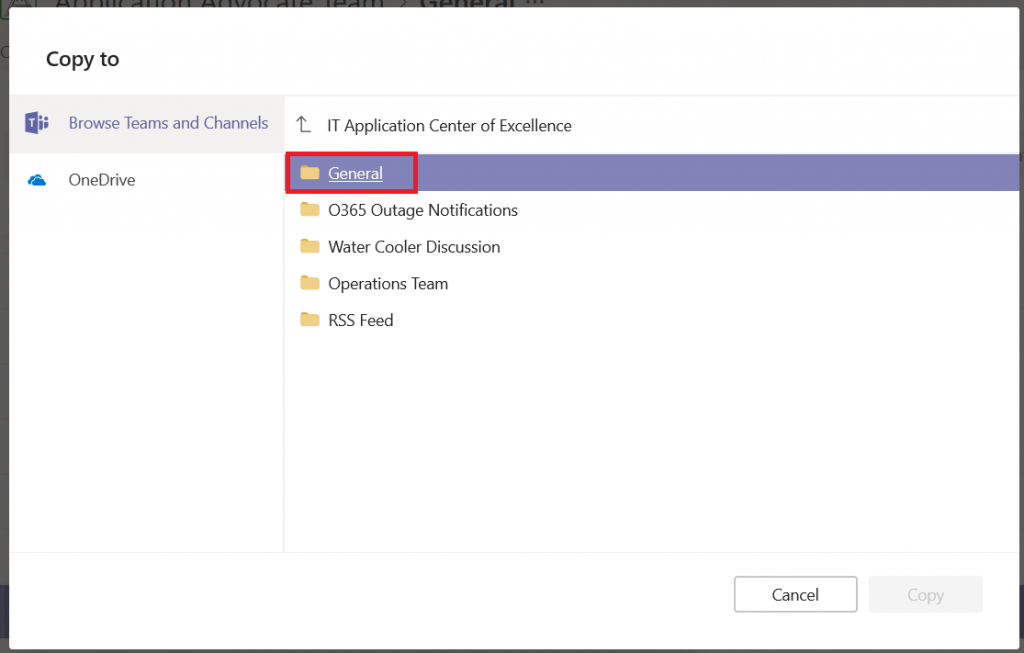
Select the channel in the new team where the document will appear.
If there is a folder structure within that channel’s file
space, select the folder path you want. When you’re in the right place, click “Copy”
or “Move”.
They are! But to make them reallyuseful, add them as tabs to one of your channels. Pick the channel where you want the OneNote and/or Planner tabs to appear. In that Channel, click the “Add a tab” button.
OneNote is straight-forward – select OneNote
And
then select the notebook with your new team’s name. Click “Save” and
the notebook will be available as a tab on the channel.
Planner is a little trickier – the automatically created Planner board does not show up until it is used (you’ll
be asked to create a new Planner board if you try adding a Planner
board before the automatically created one has been used). But how do you use the one that’s already there instead of making a new one? Open Planner from https://portal.office.com and select “All plans”. Find the Planner board with your new team name. Click on it to open it.
And then close it 🙂 Now you can add the Planner board to your Teams space. Click on the “Add a tab” button within your channel.
Select “Planner”
Click
the radio button before “Use an existing plan”, then click the inverted
caret, and the automatically created Planner board is a valid
selection.
Click “Save” and the Planner board will be available as a tab in your channel.
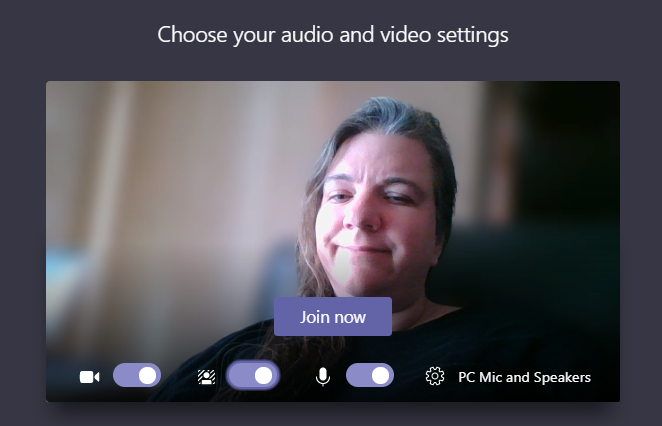
Do you have a two-foot-high stack of papers on the desk behind you? Does your whiteboard contain information that isn’t quite ready to be broadcast? Or maybe you are working from the aeroport and your camera is facing the main terminal hallway – all of those people running past can be distracting. Video meetings humanize participants, but what’s behind you isn’t always something you want to share with others. When you join a scheduled Teams meeting, you can use a video filter to blur all of that stuff.
Click to join a meeting.
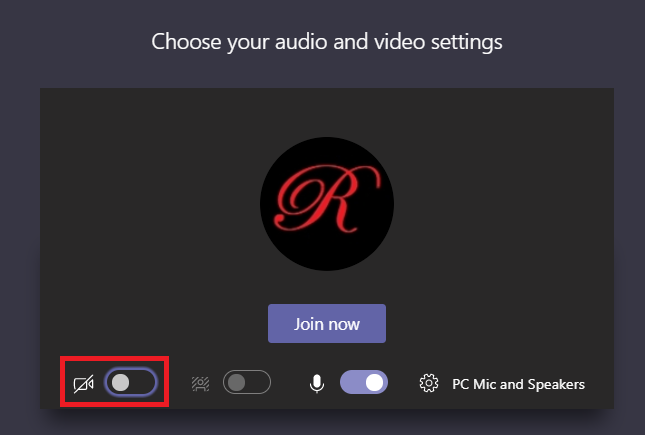
Click the slider next to the video camera to join the
meeting with video.
You will see a video preview. Click the middle slider to activate
the background blurring filter.
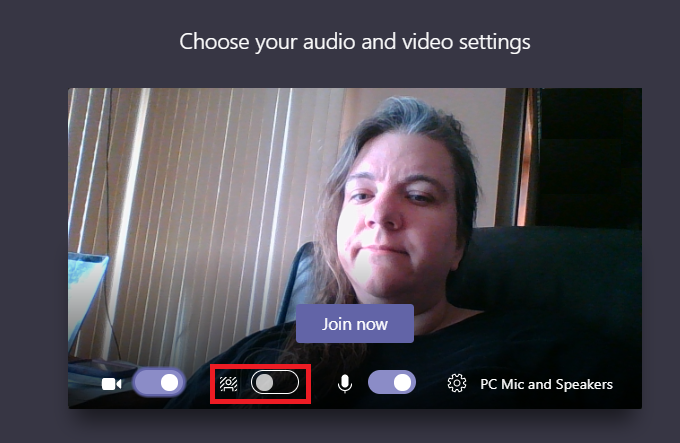
The video preview shows the changes. If the blur
sufficiently obfuscates whatever you didn’t want to show, click ‘Join now’ and
join the meeting. If your desk still looks a mess … move your stuff 😊
The blur effect is not applied to things the filter considers to be in the “foreground”
… so you might be able to achieve
more blurring by pushing an object farther from the camera.
It does! You can share your screen within a meeting, or you can share your screen in a chat (screen sharing with chats is currently being rolled out — it is available in the Teams desktop client, but may not appear in your web client yet).
Screen Sharing In A Chat:
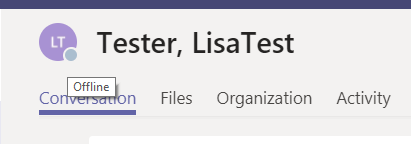
While you are able to chat with someone who is offline, they’ll need to be online before you can share your screen with them. Check the circle before their name — a little gray circle in it means they are offline (or hover your mouse over the larger circle to see their presence in text).
Once the person is online, click the “start sharing your screen” button to start sharing your screen.
Select what you want to share – “Desktop” will share everything you have active on your desktop. Selecting an individual application listed under “Window” will only share your screen when that application is active – convenient if you’ve got confidential information in other desktop applications, as you cannot inadvertently display it within the screen share.
Screen Sharing In A Meeting:
In a meeting, you can begin sharing before others arrive. After you have joined a meeting, click the “Open share tray” button.
Select what you want to share – as in the chat-based screen sharing, you can share your entire desktop or select a specific window. You can also share a PowerPoint presentation or a virtual white-board.
Using Screen Sharing:
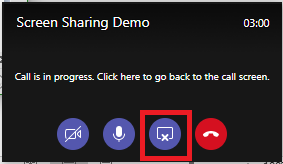
When you are sharing your screen, the shared content will be outlined with a red box (the red box in the screenshot below isn’t something I drew in) to remind you that your screen is being shared.
You can move your mouse to the top of the screen to reveal a screen sharing control bar. From this bar, you can give another person control of your mouse and keyboard (or take back control).
Select the person to whom you want to give control
You can also stop sharing your screen with the “Stop presenting” button. There is also a meeting control window that appears in the lower right-hand corner of your screen – you can click the “Stop sharing” button there to stop sharing your screen too. If you were in a meeting, you’ll still be in your meeting … .just not sharing your screen. If you were in a chat, you’ll be returned to your chat.
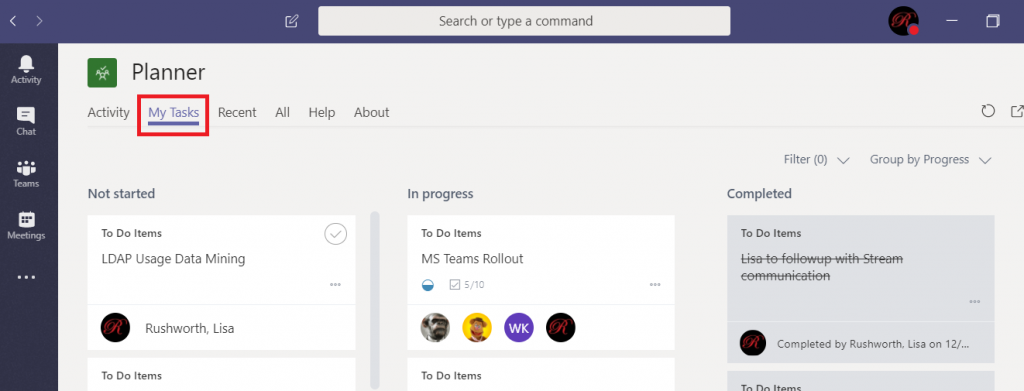
Adding a Planner board to Teams spaces is a great way to manage tasks within a group or for a project, but it can be a little difficult as an individual to keep track of tasks scattered across various Teams. Microsoft Teams also provides a view of your tasks.
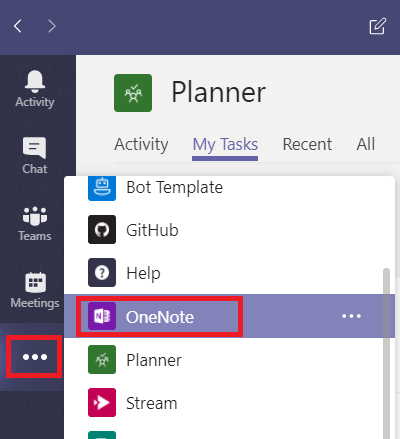
Click on “More apps” on the left-hand toolbar and select “Planner”
Click on “My Tasks”. You will see tasks in any Planner board that have been assigned to you. You can edit task content, change labels, and change the completion status from within this view.
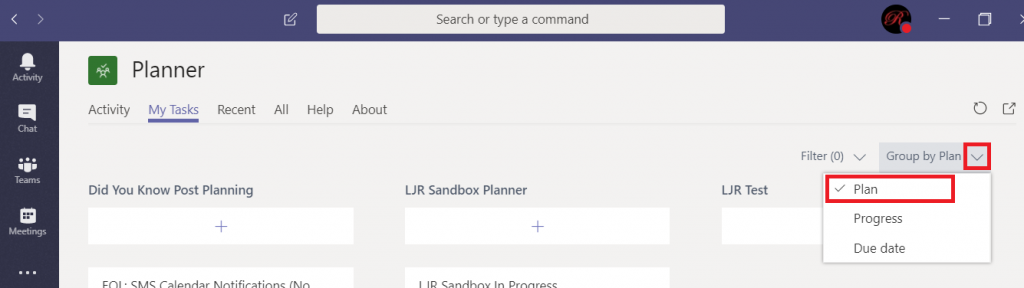
Although you can edit most of the Task details, you cannot drag it between buckets on the Planner board. To do that, you need to open the containing Planner board. Currently, there’s no way to navigate directly to the Planner board from within this view. You can click the inverted caret next to “Group by …” and select “Plan” to see the name of the Planner board that contains your task. You can then find the board on https://tasks.office.com