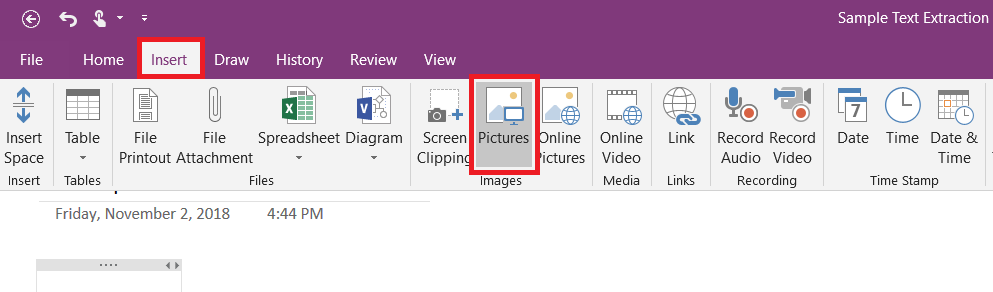
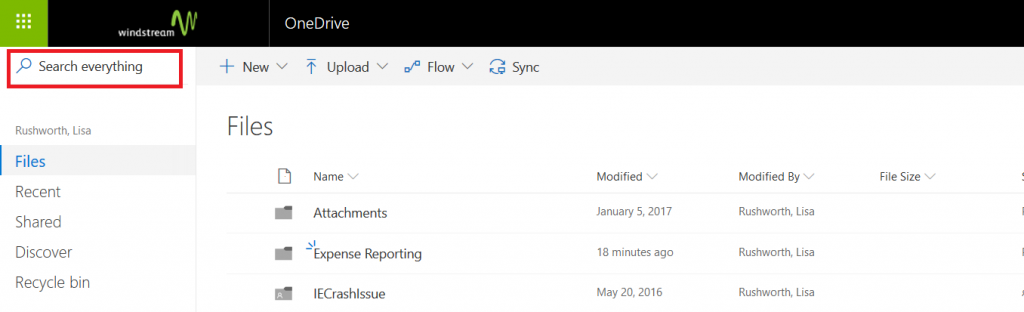
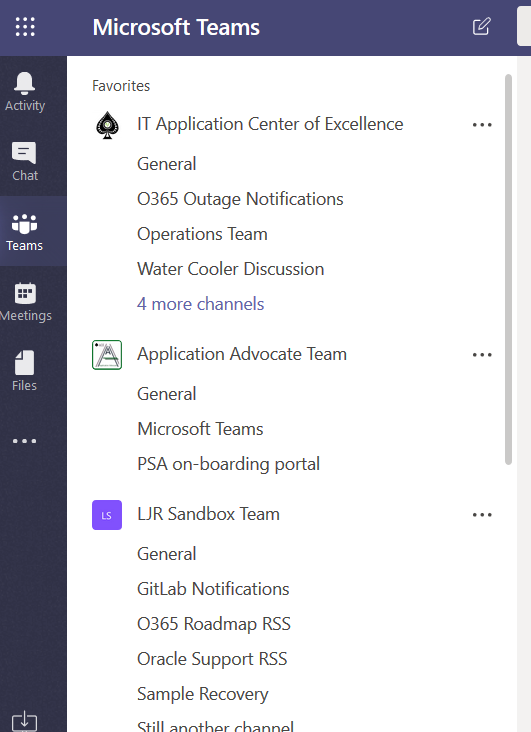
You’ve encountered some odd error in an application and need to send IT support a picture. Or you’rewriting documentation. There are lots of reasons you need a picture of your computer screen. You can hit the “Print Screen” button on your keyboard (even hold Alt and hit print-screen to isolate the image to the active window). But did you know Microsoft Office programs can do that for you? On the ribbon bar, select “Insert” and locate “Screenshot”
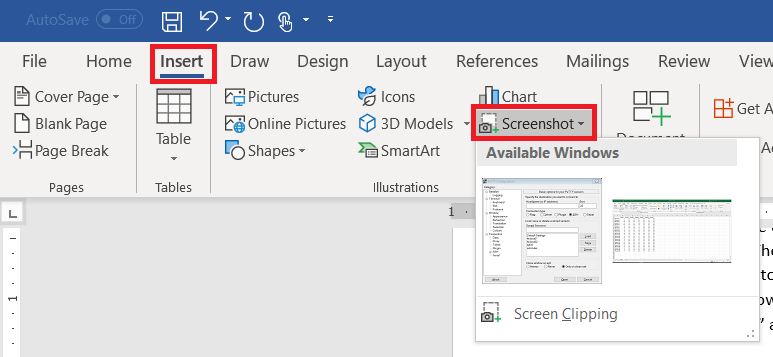
Click on one of the “Available Windows”, and an image of the window will be inserted into your Word document, Excel spreadsheet, Outlook e-mail, or PowerPoint presentation.
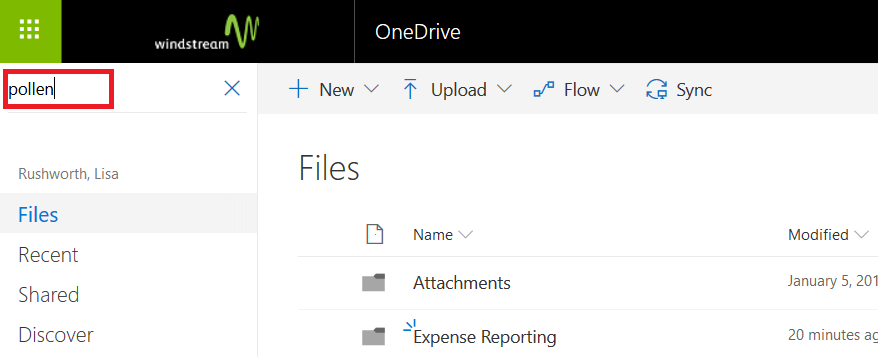
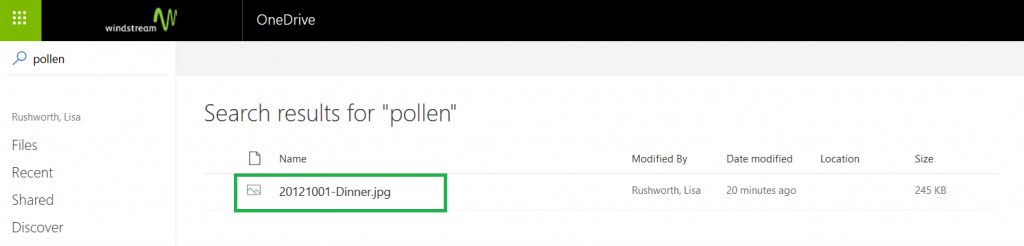
Use the “Screen Clipping”selection to grab part of a window. Minimize all of your Windows. Bring up the Window of which you want an image. Now bring up the Office document into which you want the image inserted. Use Insert => Screenprint => Screen Clipping, and wait a minute. Your Office document will be minimized, your screen will get washed out, and you’ll have a cross-hair instead of a mouse pointer. Click and drag to draw a rectangle around something. When you release the mouse, whatever is in that rectangle will be pasted into your Office document.
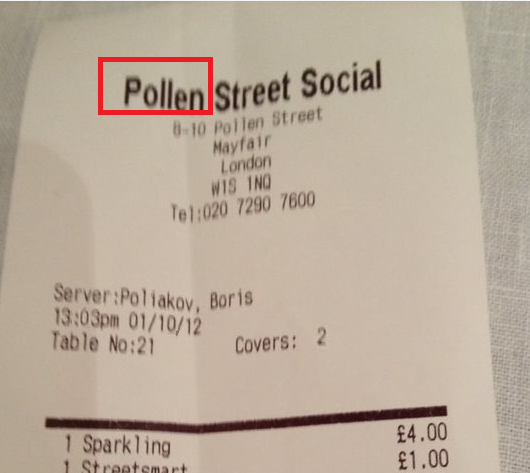
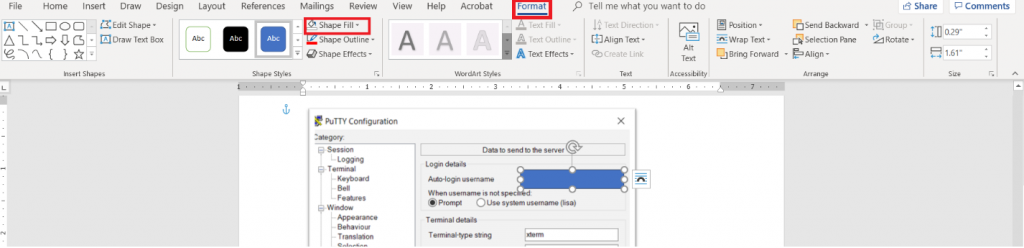
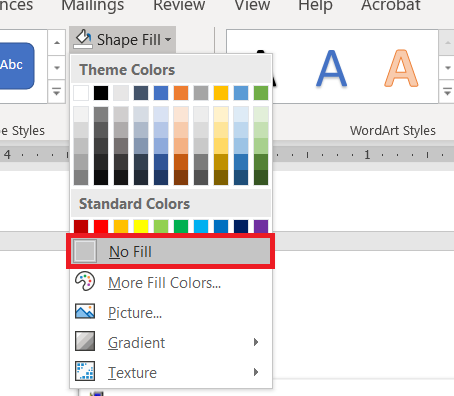
Wait – what about those rectangles I use to highlight the image? From the ribbon bar, select “Insert”and “Shapes”. I took a University course where debugging screen shots had to have the “important bit” highlighted with a red square – that stuck with me. You’ve got an array of shapes and colours available. Pick one. Draw the shape over your image – yes, it looks like the shape covers the important part. Draw it anyway. While the shape is still selected, click “Format” in the ribbon bar. Select “Shape Fill”
Select “No Fill” (you could also use a highly transparent fill colour if you’d prefer).
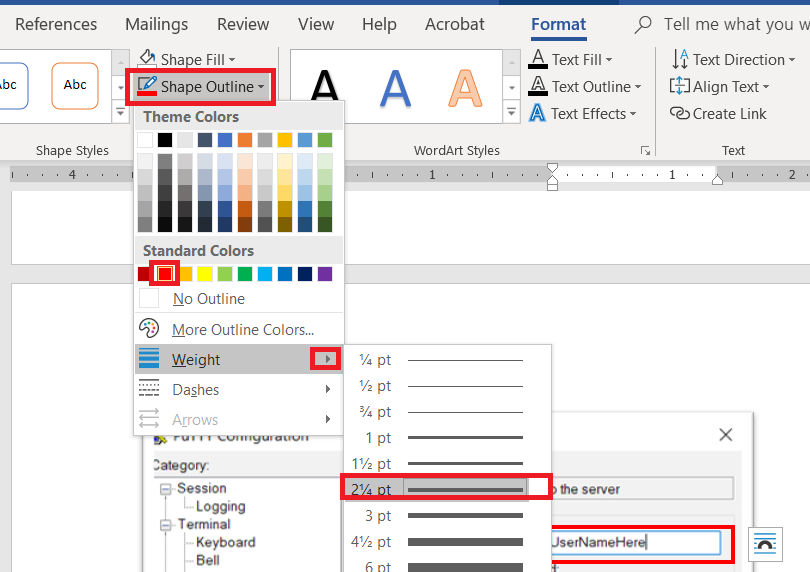
Click “Shape Outline” – pick a colour, and if the line is not thick enough select “Weight” to increase the line width.
When I’m writing documentation with a lot of images, I’ll still use an image editor and ‘print screen’. There are filters that just don’t exist in the Office image editors – sometimes I want to selectively blur screen text so my work conversations are not included in documentation. Sometimes I want to create a composite image. But for small documents – showing someone the error I get on their web site, “click here, type this” – using a single application is efficient.