Category: Office 365

Did you know … you can add a “Share to Teams” button to your web content?

If you can add script tags to the page head, you can add a “Share to Teams” button on your web site. This can be used to allow employees to share internal sites to Teams, but it can also be used on public sites to allow visitors to post links to their Teams organization.

How? There are two steps – add “<script async defer src=”https://teams.microsoft.com/share/launcher.js” ></script>” in HEAD. The post that is made to Teams is *prettier* if you have  meta properties for title, description, and image within the linked page.

Then add a div with class “teams-share-button”. The “data-href” value is the URL to be shared. If you don’t want a page preview to render, you can set “data-preview” to false.

Sample page content:

<head>
    <title>Teams Share Test</title>
    <meta property="og:title" content="Lisa Rushworth Home Page">
    <meta property="og:description" content="Lisa Rushworth's Home Page">
    <meta property="og:image" content="https://www.rushworth.us/lisa/RedR.png" />
    <script async defer src="https://teams.microsoft.com/share/launcher.js" ></script>
</head>
<body bgcolor="black" text="white">
    <div class="content">
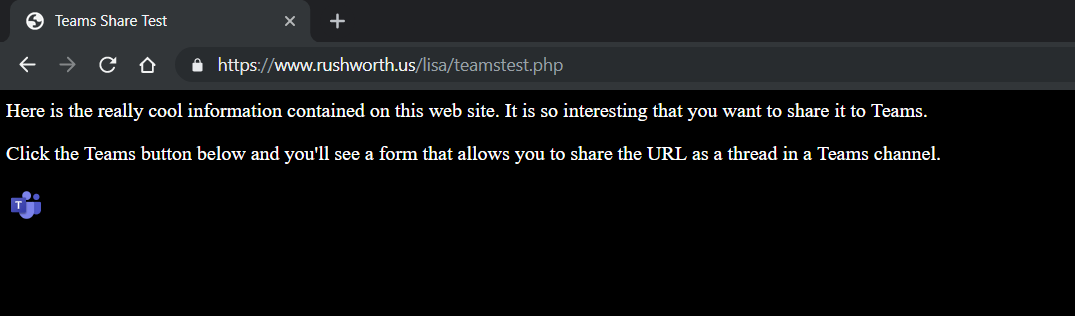
        <P>Here is the really cool information contained on this web site. It is so interesting that you want to share it to Teams.</P>
        <P>Click the Teams button at the bottom and you'll see a form that allows you to share the URL as a thread in a Teams channel.</P>
    </div>
    <div class="teams-share-button" data-href="https://www.rushworth.us/lisa/teamstest.php" data-preview="true">
    </div>
</body>

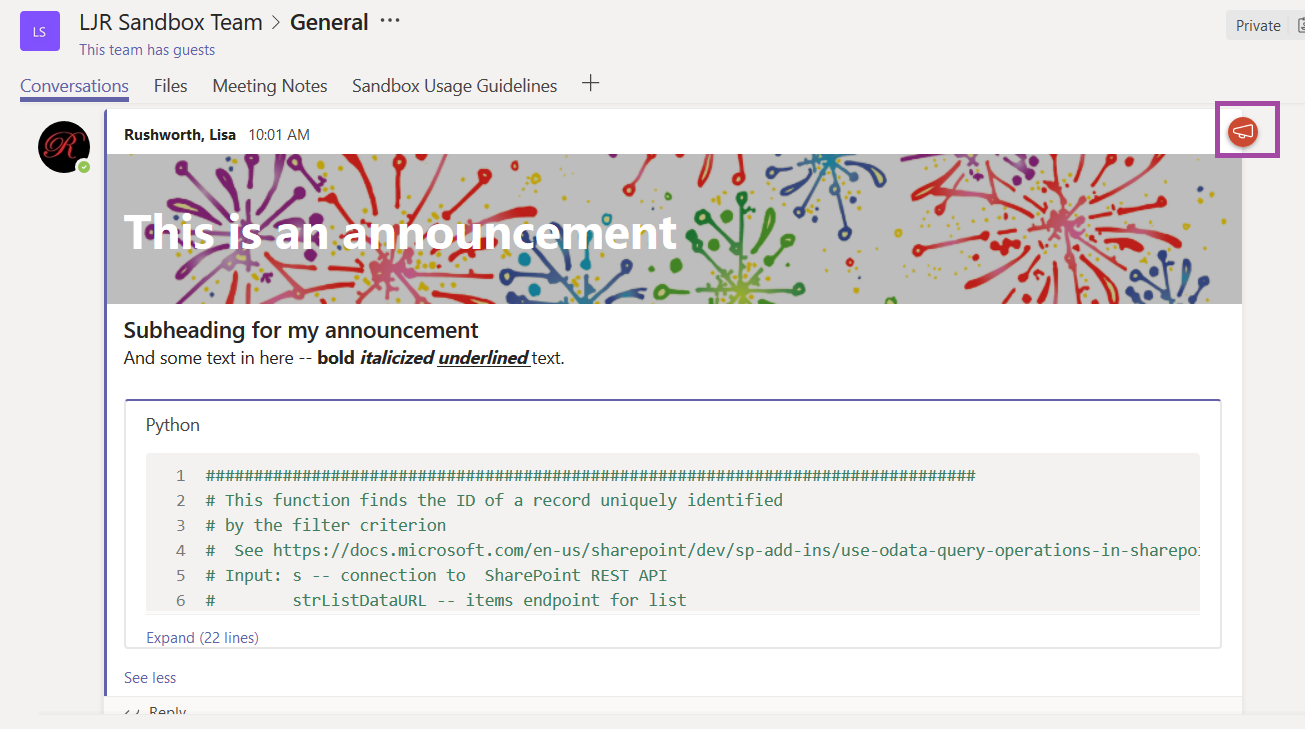
Visitors will see a small Teams logo in the teams-share-button div. To share the URL in Teams, they just need to click on the Teams logo.

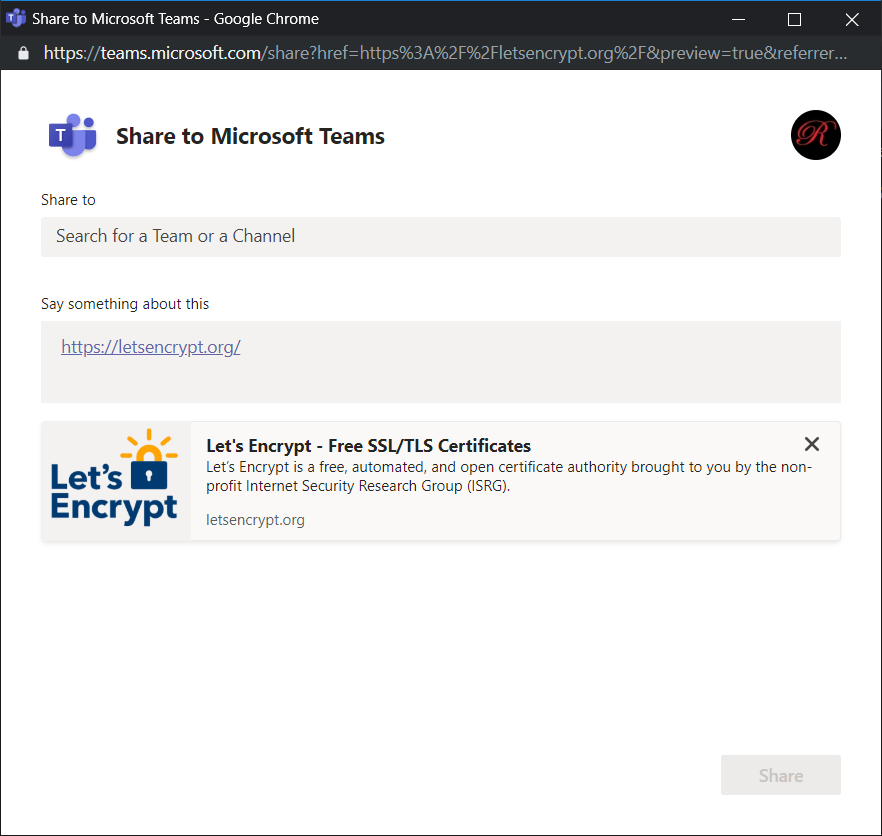
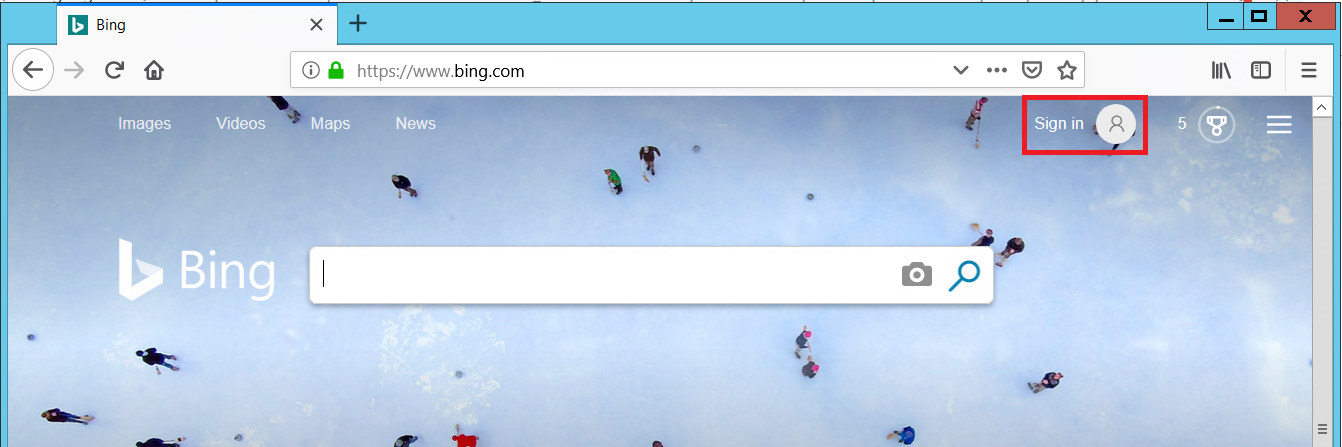
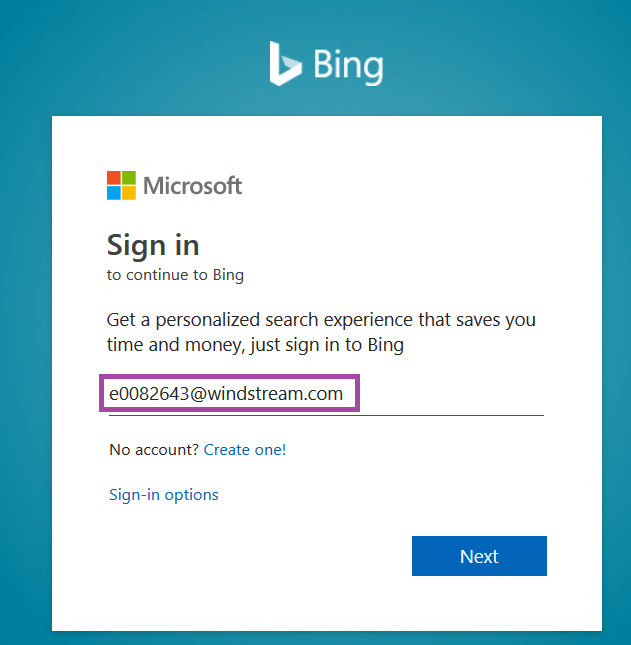
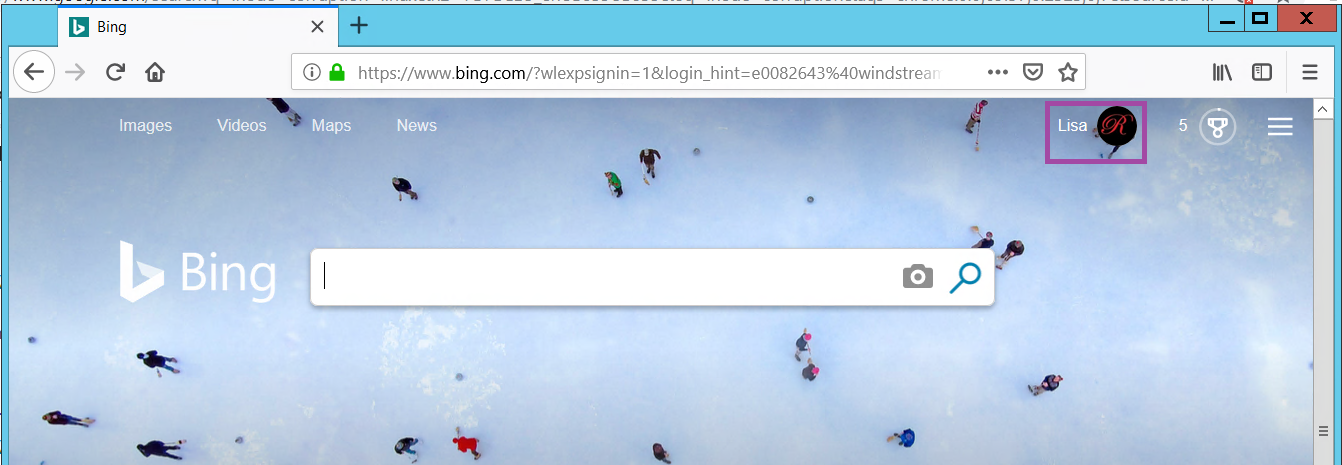
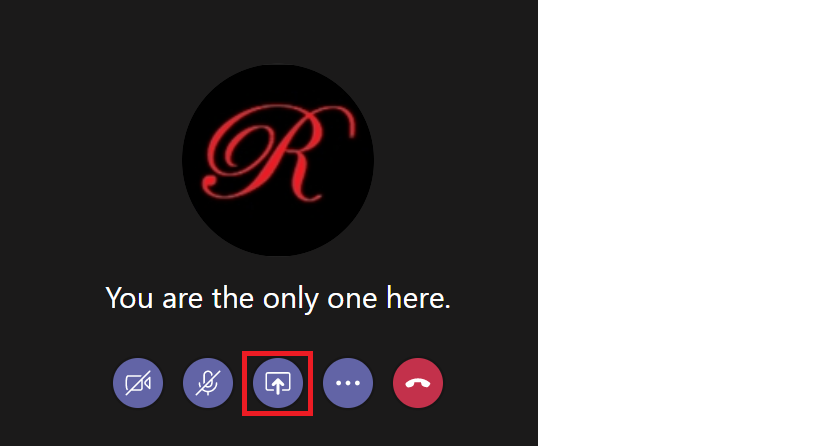
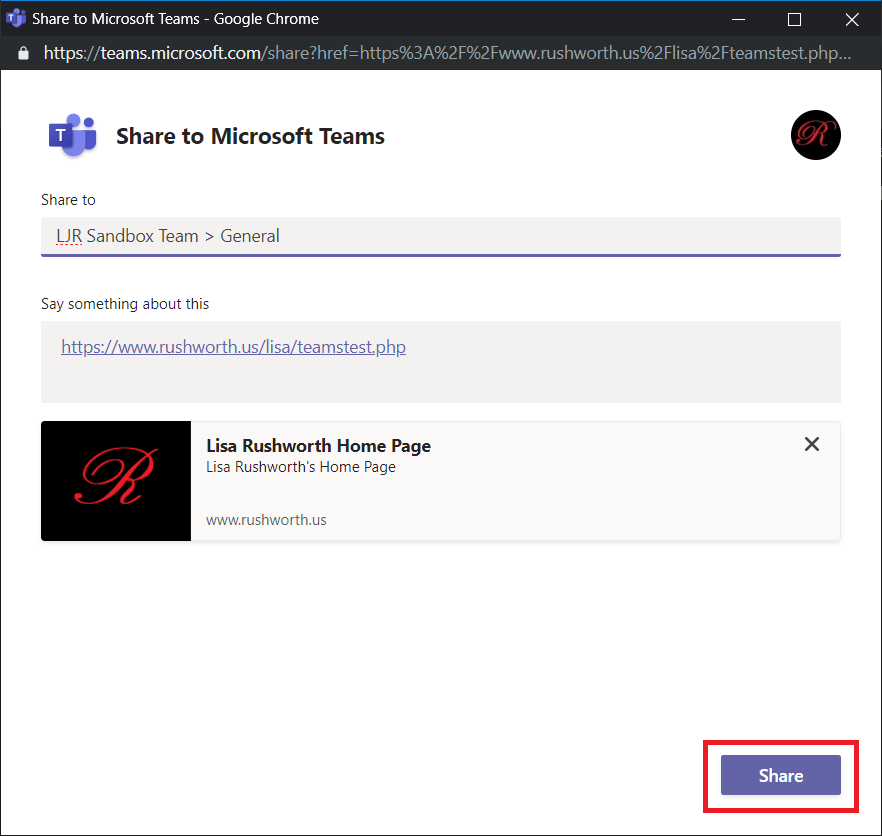
A new window will load. If the user is not logged into the Team web site, they will be prompted to log in. Once logged in, the share dialogue will be displayed. If your site has title, description, and icon meta tags, a preview card will be included at the bottom.

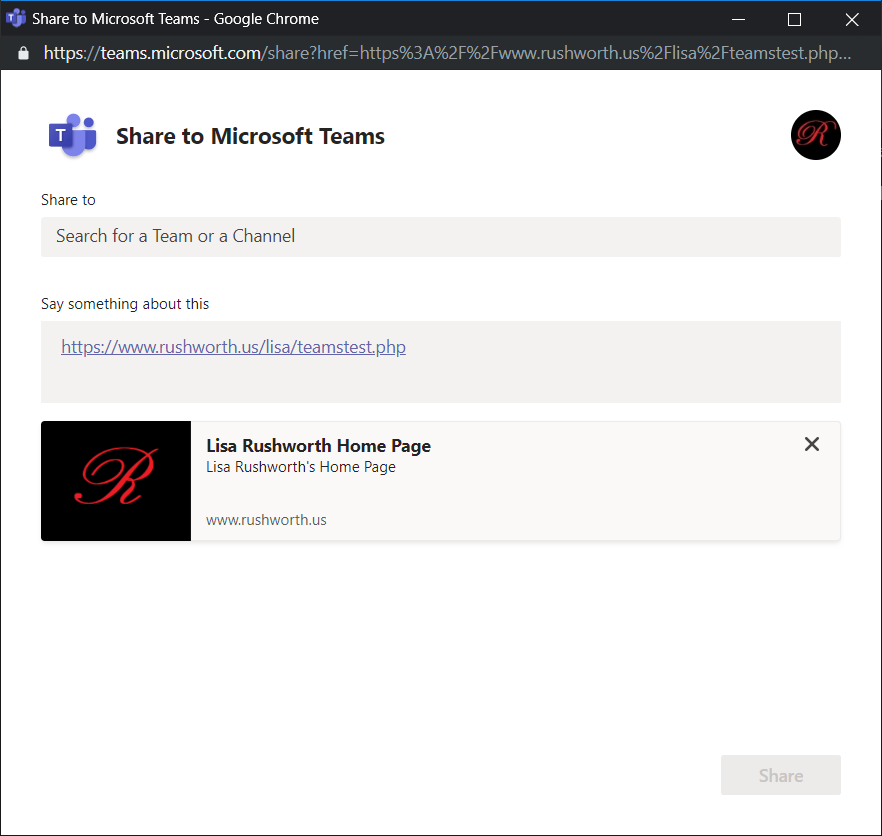
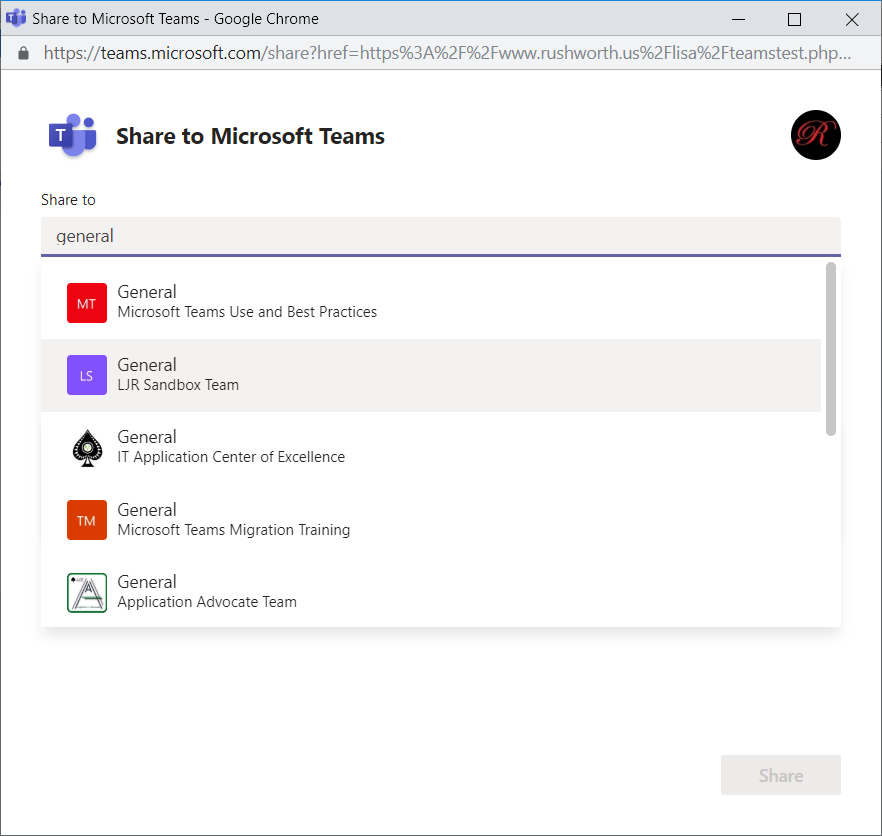
Click in the “Share to” field and type a Team or Channel name – Teams and Channels from the user’s organization will be displayed.

The user can add text to the thread. Click “Share” to share the link to the selected Teams channel.

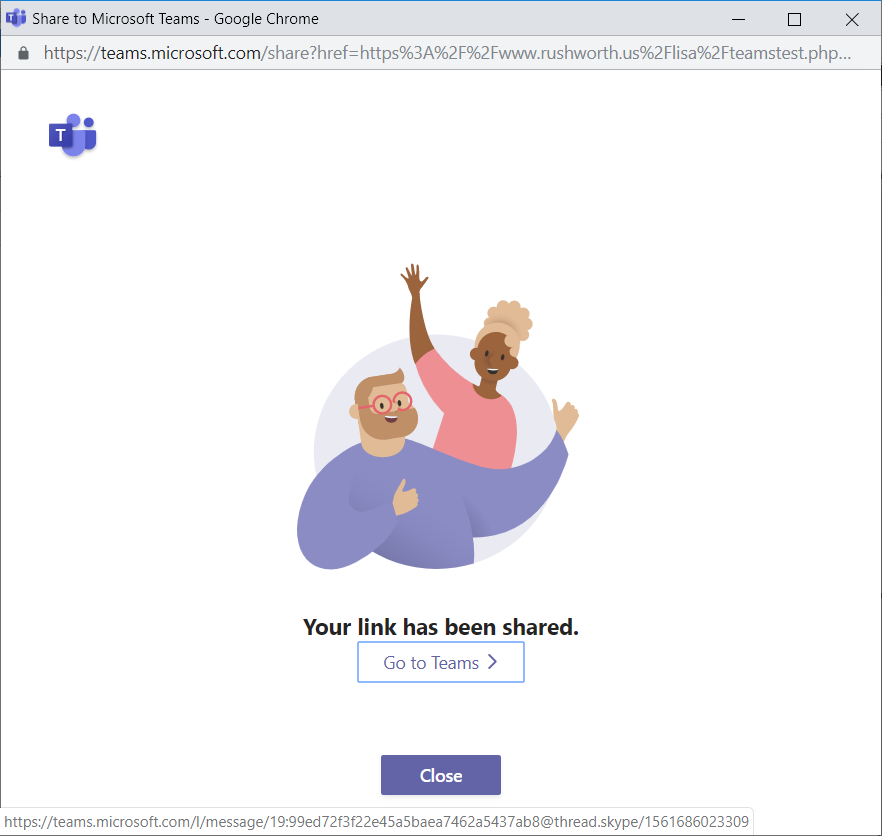
A confirmation page will be displayed.

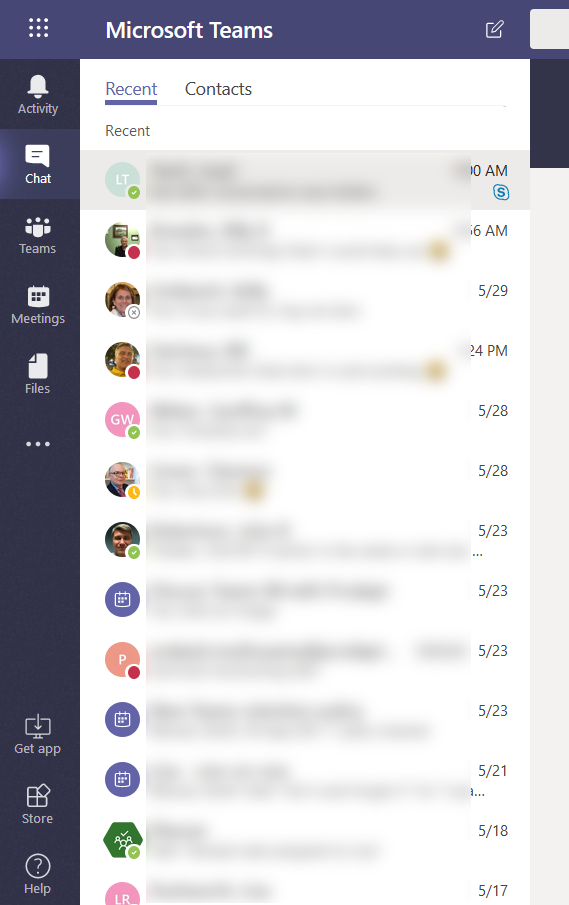
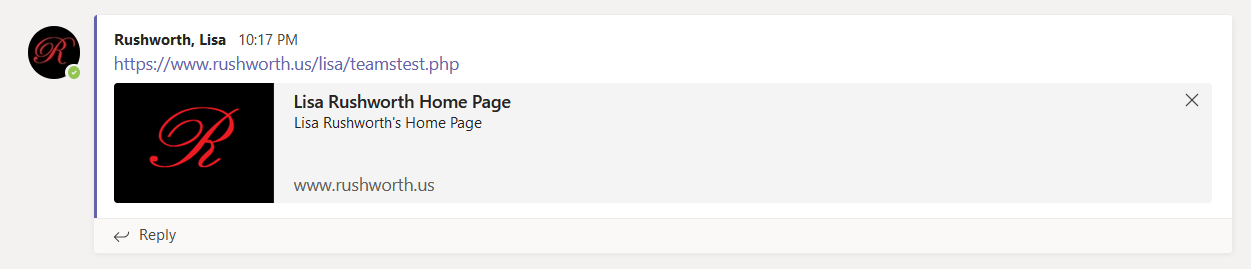
In Teams, a new thread will be created. This is the thread for my shared URL.

The URL used in the teams-share-button DIV doesn’t have to match the page on which it is used — I can add a ‘share to Teams’ button that posts any URL to Teams.

Did you know … Bing can search your Teams chats, SharePoint Online, and OneDrive?

Searching for documents can be a time-consuming process – querying different locations for the same search string. Microsoft Search is beginning to unify searching across the Office365 environment. From one location, you can search SharePoint online content, OneDrive for Business files, and Microsoft Teams chats and channel conversations.

Head out to Bing, Microsoft’s public search engine, and search for something you’ve discussed recently in Teams … there are results, but nothing from your chats or files. Our information is private!

Click “Sign in” in the upper right-hand corner of the search page.

Log in using your Windstream account

Once you’ve signed in, Bing looks basically the same … but you’ll see your avatar in the upper right-hand corner of the screen.

Search for that recent discussion topic again – you’ll see the same public search results, but you’ll also have a link to “See work results”.

Voila – work results 😊 Results are grouped by where the information is stored – “Sites” for SharePoint Online sites, Files for SharePoint or OneDrive files (Teams “Files” are stored in SharePoint Online, so will be found in here too), and Teams for Teams chats and channel conversations. Search results only include documents and conversations to which you have access. And no, random people on the Internet aren’t seeing your files and conversations.

Clicking on a search result will open it in the appropriate application.

In addition to providing “one stop shopping” for my searches, I’ve found this particularly useful when researching programming or telecommunication topics – if someone has public OneDrive or SharePoint information on the topic, I supplement the generic Internet search results with information specific to Windstream.

Unfortunately, there’s not a UserVoice site for Microsoft Search. If anyone else wants to suggest they incorporate Exchange Online data into the search, there’s a “Feedback” button in your search results 😊


Did you know … you can customize Teams channel notifications?

Microsoft has created additional notification options in Microsoft Teams – and you can now customize those settings for individual channels to ensure you’re getting notifications when and were you want to see them.

To access your general notification settings, click on your avatar in the upper right-hand corner of the Teams window. Select “Settings”.

Click on “Notifications”. You will be presented with a long list of activities and can select the type of notification you wish to receive for each activity. Notice “Show only in feed” is now an option – this means new activity will appear in the “Activity” section of Teams but not display the big purple notification box (a.k.a. “the banner”) in the lower right-hand corner of your screen.

You can also customize notifications for individual channels – maybe you want a banner notification for a really important channel, or you don’t want to be notified about every reply to a message. Click the ellipsis next to the channel name and select “Channel notifications”

Here you can customize the notification you will receive for channel posts and at-mentions (you’ll still get notified about Team or individual at-mentions). You can also un-check the “Include all replies” box to get notified about new threads.

All of the channels that you followed previously will use your Teams-wide notification settings. Channels that you weren’t following will have notifications off. Newly created channels will have new post notifications turned off and channel mentions set to “Only show in feed”.

** If you still see “Follow” and not “Channel Notifications”, click on your avatar in the upper right-hand corner of the Teams app and select “Check for updates”. Once the updates have been applied, click the tip to “refresh” Teams.


Did you know … Microsoft Teams private chats can include 100 people?

In January, Microsoft expanded Teams Chats to 50 people. I’ve heard from a few individuals who wanted to be able to chat with more people — essentially to use Teams to send broadcast messages to a lot of people. Last week, Microsoft upped the limit for private chats to 100. Hopefully they’ll extend the Graph API to allow applications to initiate those chats because adding 100 people to a chat seems like it would take a while!

Did you know … there are now reactions in Teams?

If you hover your mouse over the upper right-hand corner of a post – where the little thumbs-up used to be

You’ll see a reaction bar. Click one of the emojis to “react” to a post.

Now you’ll see reactions on a post instead of just thumbs-up.

When a post receives different reactions, you’ll see icons for each reaction and a number showing you how many people selected each reaction.

Did you know … you can post announcements in Teams?

Teams announcements are another way to bring attention to a specific post. This doesn’t address the desire to pin a post so it’s always visible in the channel (click the link and vote if that’s something you want to do too).

When you are in the advanced editor (click “Format” or use Ctrl-Shift-I), you will see a drop-down to change conversation posts to an announcement.

When creating an announcement, the editor will have a banner at the top. You can put text in the banner and customize the banner background. Click either the color selector or the image selector in the bottom right-hand corner of the banner.

You can upload a custom image – you’ll want something that is a long, horizontal rectangle. Select “Upload an image” and select the file you want to use as the background.

You’ll probably need to crop the image – you can adjust which portion of the image is shown and zoom into the image as needed. Click “Done” to accept your crop selections.

Compose the rest of the message as normal – you can add a sub-heading and any of the message content available in regular posts. Post the announcement

The post will have a little megaphone logo (this doesn’t show up as a filter option yet, but I expect it will be added in the future) and the banner will make your post stand out in the conversation listing.

They make your post stand out with a caveat – just like marking all of your posts as important, announcements lose their efficacy when every post is an announcement. Use sparingly!


Did you know … you can delete files shared in Teams chats?

Deleting a file shared in a Teams space is straight-forward — go to the “Files” tab, click the ellipsis next to the file name, and select “Delete”. But when you do the same thing with files shared through Chat … there’s no delete option. If you click the ellipsis on the file’s card in the chat dialogue, still no delete option. That’s not because files cannot be deleted — how to delete chat files is just non-intuitive.

Hover your mouse over the message that was posted when your shared the file. You’ll see the reaction toolbar and another ellipsis. Click on that ellipsis.

Here’s the option to delete the message. Deleting the message about the file deletes the file from the “Files” tab in the chat.

When you use the “Files” tab to share a file, a new conversation item is created. But, when you use the little paperclip at the bottom of the message composition dialogue to share a file … your file and message text can be combined into one item (upper rectangle with text and a file combined in one chat post). Not a problem until you want to remove the file from your chat and have to delete the conversation text too.


While it makes a lot of sense to provide context to a file — why are you sharing this, what am I meant to be doing with it — I recommend posting the context message and then posting a blank message into which the file is attached (lower rectangle with two independent chat posts). To delete test.txt in this scenario, I can hover my mouse over the post with the file, delete it, and leave the text within the chat history.

Note: Chat files are shared from OneDrive. You can select an existing OneDrive file, and files you upload through Teams are stored in the “Microsoft Teams Chat Files” folder of your OneDrive. Because it’s possible that you’ve shared the same file with multiple individuals, or that you still want the file even though it’s no longer shared with a specific person, deleting a file from the Teams chat does not delete it from OneDrive. If the file is no longer needed, make sure you remove the file from OneDrive as well.

Did you know … you can share your screen from the Teams web client in Chrome?

I use the Teams web client as my primary Teams application – I like it, but it’s also important to be able to identify where the web client falls short of full Teams functionality. There is one big “missing” feature to me – screen sharing. I can view shared screen, but I cannot remote control shared screens and cannot share my own screen.

But now you can share your screen in a Teams web client. You have to schedule a meeting, and you still cannot perform remote control operations in the web browser. But it’s awesome to be able to show someone what I’m working on or let a tech support engineer follow along as I reproduce an error.

To share your screen from a Chrome browser, first open https://teams.microsoft.com in Chrome. Schedule a meeting and join it. Open the sharing control panel.

Select “Screenshare”

Select the appropriate tab to share your entire screen, a single application, or a single Chrome tab. Select the screen/application/tab that you want to share and click “Share”.

Voila! You are sharing your screen. Click “Stop sharing” when you are done (or just disconnect from the meeting).


Did you know … you can “clean up” your Teams chat history?

My inbox has 7,582 messages in it. This fact doesn’t bother me at all because “Unread: 2” indicates what still needs to be addressed. I mark a message as unread to keep them in my “needs to be worked on” queue, so seeing thousands of messages in my inbox doesn’t feel like an overwhelming pile of outstanding requests.

Some people move messages from their inbox – either deleting the message or sorting it into an appropriate folder – and, for them, the item count is their “needs to be worked on” list. My mom is one of those people – she gets a little stressed out just seeing the pages (and pages, and pages!) of messages in my inbox.

I mention this because it never bothered me that the Teams chat list is cluttered with the last 30 days of private chats, chats from within meetings, Planner notifications. Nothing is in bold, there’s no activity indicator on the Chat tile … to me, that says “you’re all done here”.

But that’s not true for everyone. Some people see the pages of conversation history and subconsciously see a bunch of messages they still need to address. Or they see clutter — “when you’re done with it, put it away” and this isn’t away! If you don’t like to have dozens of finished conversations hanging out for a month, you can hide them. Hiding conversations does NOT delete the messages – if you receive a new message from the individual or address a new message to them, your previous chat history will still be there. Hidden chat messages are still displayed when you search for information. But hiding chats reduces the number of “recent” conversations displayed in Teams.

To hide a conversation, move your mouse over a listing and click the ellipsis which appears.

Select “Hide” from the menu.

The hidden chat record will no longer be listed in your recent conversation history. Repeat as needed with the rest of your chat history.

If the person sends you a new message, you will see an activity indicator on the “Chat” tile and the conversation will pop back into your recent conversation listing. If you address a new chat message to the person, the conversation will pop back into your recent conversation listing. You can hide the conversation again when you’ve finished the discussion.


Did you know … Conditional Formatting can highlight data based on date?

As we are upgrading groups to Microsoft Teams, we need to be able to identify which activities need to be performed each week. While highlighting today’s date is a start, it is better to identify which tasks need to be performed in the upcoming week so we can plan ahead.

To accomplish this, I use a conditional formatting rule. It highlights all of the date values that fall between today and seven days in the future. How? In conditional formatting, you can use a formula to determine which cells to format. My selection rage is E2 through J20, so the conditional formatting formula is based off of the E2 cell.

The formula AND’s to IF functions. If the difference between the cell date and today is less than 8 (less than 8 days in the future) AND if the difference between the cell date and today is greater than or equal to zero (today or a future date), the rule evaluates to TRUE and the highlighting is applied.

=AND(IF((E2 – TODAY()) <8,1,0),IF((E2 – TODAY()) >= 0,1,0))

The result – every activity we need to plan for in the upcoming week is highlighted.