I want to make slippers to wear around the house. I was thinking about making quilted slippers – with the Dream Puff batting I used in Anya’s sleeping bag, I’m sure quilted slippers would be warm. And I could use a sturdy fabric like denim for the exteriors. But then I saw these warm fuzzy slippers … with the Sherpa fleece inside.
Tag: Crafts
First Sewing Projects
Anya’s birthday present this year is learning to sew with a machine. I’ve already got sewing practice papers ready to go, and need to come up with a few projects for her to get started. She’ll do the project end to end (i.e. we’ll read through the instructions, figure out what it requires, shop for fabrics {shop may mean peruse mom’s stash} and hardware {certainly means peruse mom’s stash. Any component I don’t need quickly, I order direct from China via AliExpress for 80-90% less than retail.}, measure, mark, cut, sew. The only thing I’ll do is run the edges through the serger to ensure she doesn’t have frayed fabric.
So far, I have three projects for her:
A two layer gathered skirt – a project for the author’s five year old. I would love to find an all-over eyelet fabric in black and use it over a bright neon solid, but haven’t been able to find any all-over eyelet fabrics. So we’ll see what Anya likes. This teaches sewing straight lines & running elastic through a casing.
The ‘magic pillowcase‘ – I made one of these, so I know it’s pretty easy. This requires more straight line sewing, but adds complexity because the multiple layers of fabric need to be lined up. Also teaches the idea of getting some fabric out of the way so you can stitch things together.
A fabric belt with D-rings at the end. Turning a small tube right side out and top-stitching.
Kid Sewing
Anya wants a sewing machine — and while I try not to be a crazy overprotective “everything is going to kill you” mom … well, high speed pokey things coming at little fingers kind of freak me out. I kept her request in mind, though. Then this month’s Nancy’s Notions catalog had a finger-safe plastic foot in the front cover, complete with a young girl using the machine. That is exactly what I didn’t know I needed. So I set out to research a good beginner sewing machine for an almost five year old kid.
There appear to be two paths – a quasi-toy with a lot of safety features and simplified operation or portable sewing machines that are riskier to use and can be frustrating for few sewists. The deciding factor for me was the device’s useful life. I don’t want to buy something that will need to be replaced in a year or two when she’s more experienced in operating a machine. And I figure it’s best to learn everything at once rather than add the foot controller later — a bit like learning with a manual gearbox v/s learning with an automatic and then having to un-learn some bad habits that weren’t bad habits on an automatic. Plus Anya knows when we have a ‘real’ one and she’s got a ‘fake’ one for kids. I decided on the Janome Derby – a little five pound machine that has several stitch options. Happened to find it for sale at Michael’s for 60$ and they had a 20% off almost everything coupon — 51.60$ including tax!
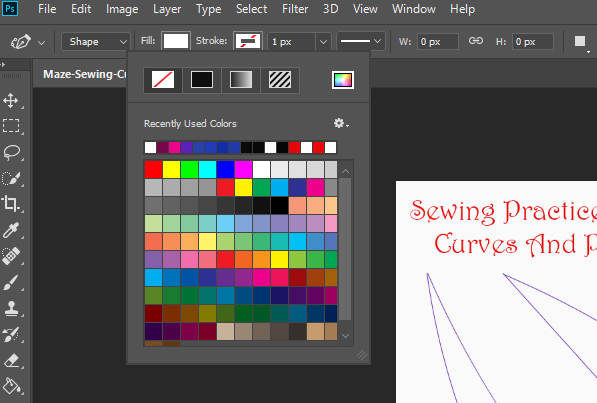
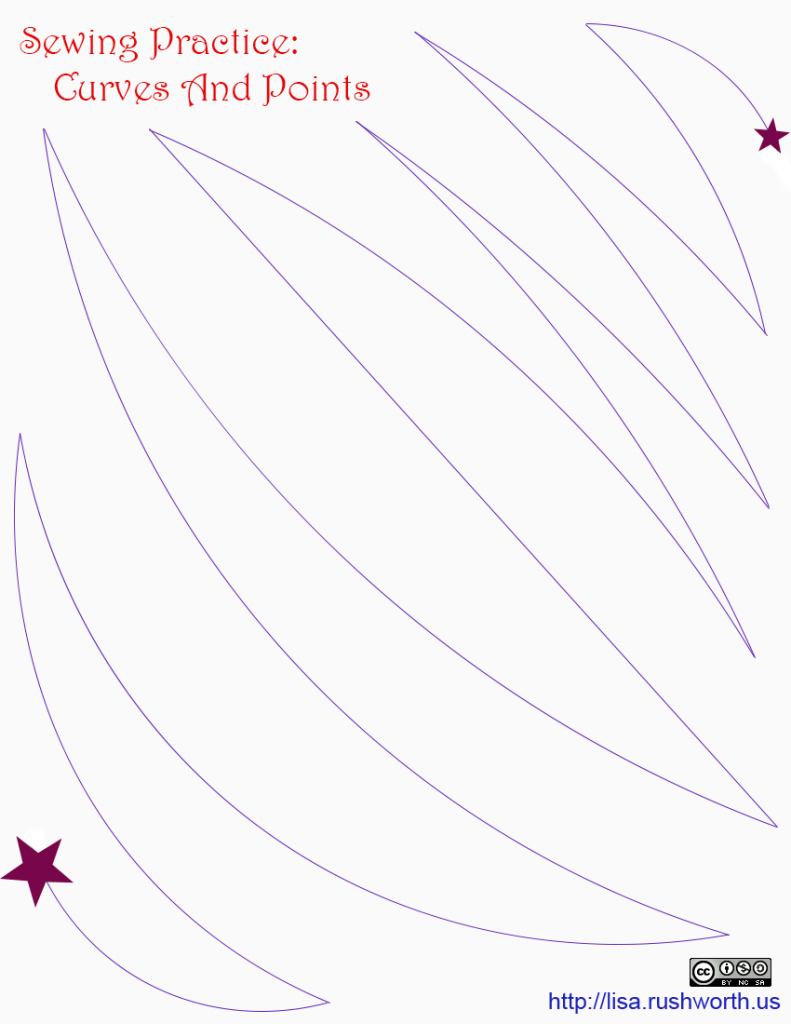
I wanted to come up with some sewing practice for her, and I found a printable ‘sewing maze‘ online. Such an awesome idea – you haven’t “ruined” a project if you don’t sew exactly on the line. I printed a few copies for Anya (and a few for me). I could not find anything similar to practice sewing curves. Longer than I’d like to admit figuring out how to get Photoshop’s curvature pen to make a shape instead of a light blue ghost that doesn’t actually show up anywhere. (Once you’ve selected the tool, you have to change the ‘stroke’ setting from the white with a red line through it to, well, something. I nulled out fill, but I do not know if that was necessary.)
Once I could draw a smooth curve that prints instead of a fully printable squiggle or a lovely curve that disappears when you print or export, I have my own sewing practice sheets for curves and points! Now I just need to think of a cool project to do next.
Halloween 2017: Lion Mask – Completion
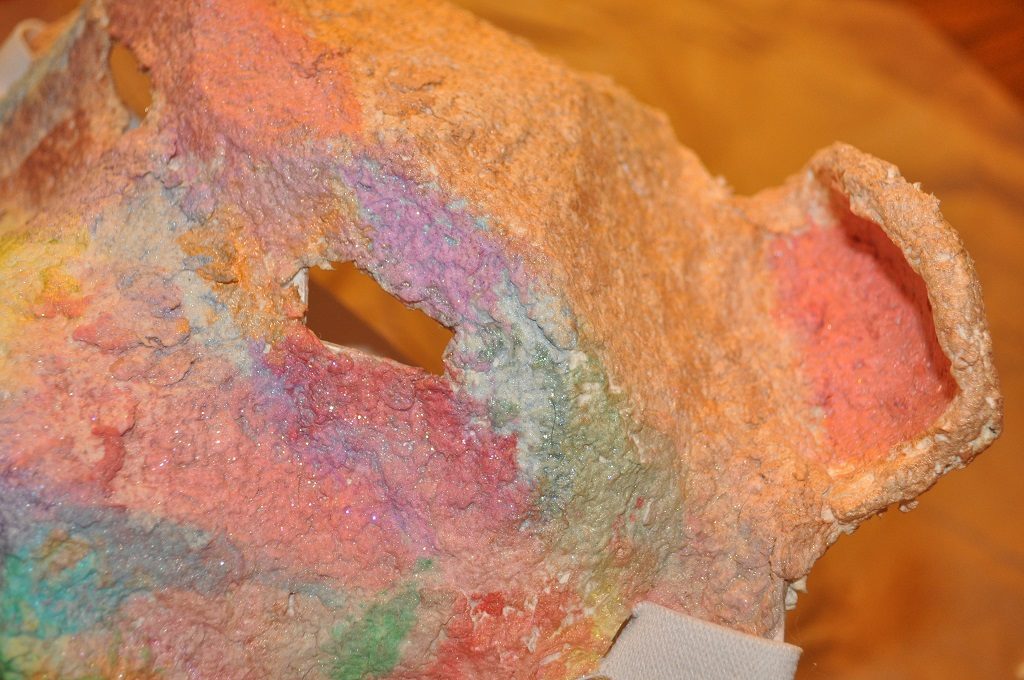
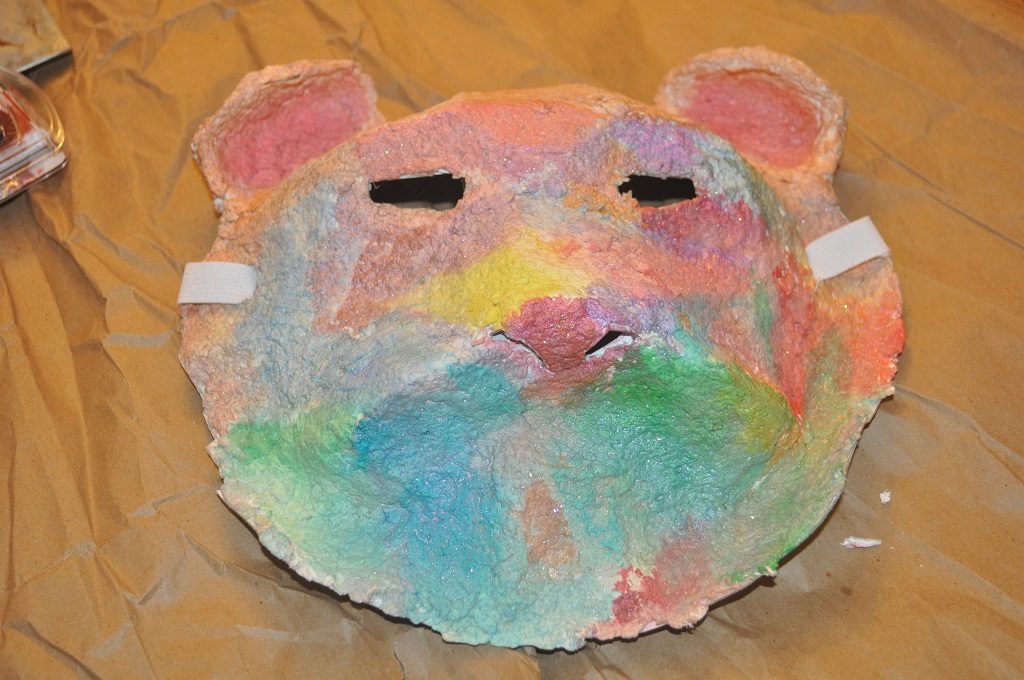
I cured Anya’s lion mask in the oven at 170 degrees F for several hours, and it got hard. Then we painted it. Anya wanted to be a rainbow lion. I had planned to blend a couple of pearlescent water colours — orange, yellow, brown, and cream — to make a tan-ish tone for the fur, then combine the red and cream to make a subtle pink for the ears.
When we were making the mask, I was worried the ears would be unstable. So I’d added a coating of papier-mâché on the back, extending down past where the ears mount to the main mask. This gave us solid ears that don’t seem like they’re going to snap off.
Anya painted the rest of the mask while I worked on the ears.
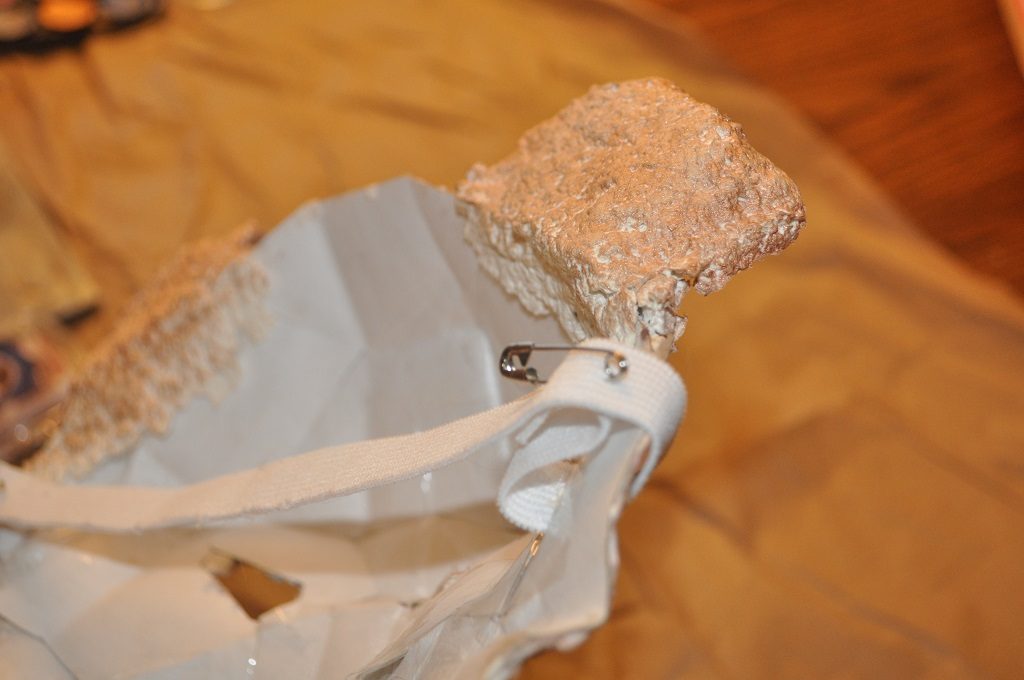
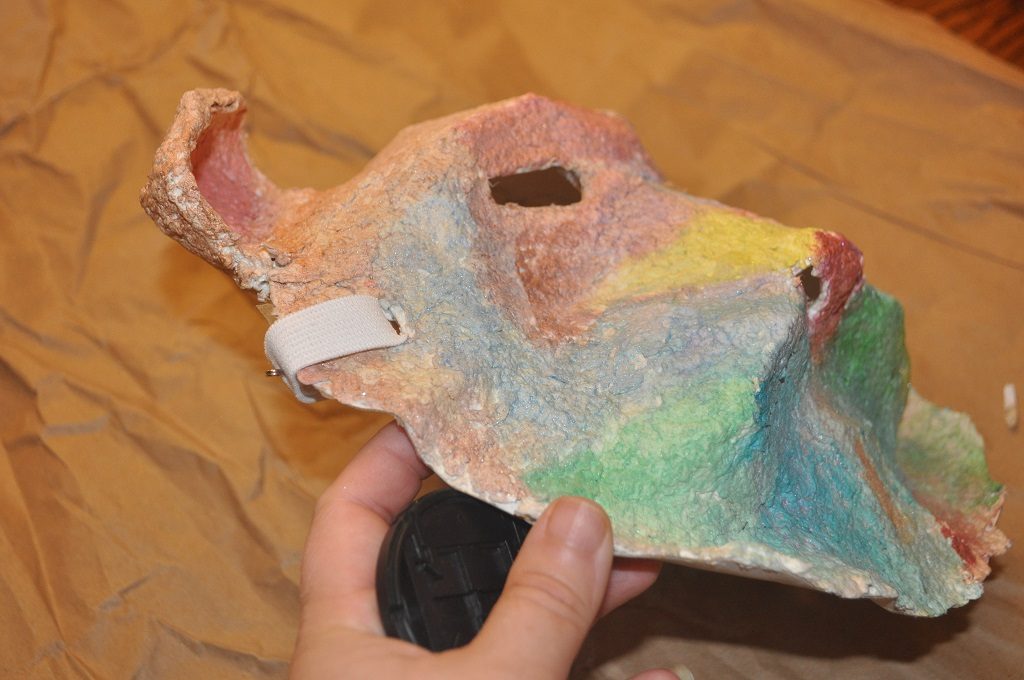
From the side — I’d left a void through which the strap could be run
We then used a glitter infused soft-gel watercolour paint to give the mask some sparkle – didn’t seem like a lot of glitter when the paint was wet, but the mask developed a nice sparkle as the paint dried. The tones are fairly subtle, and I took a wet brush to blend her sharp edges.
Halloween 2017: Lion Mask
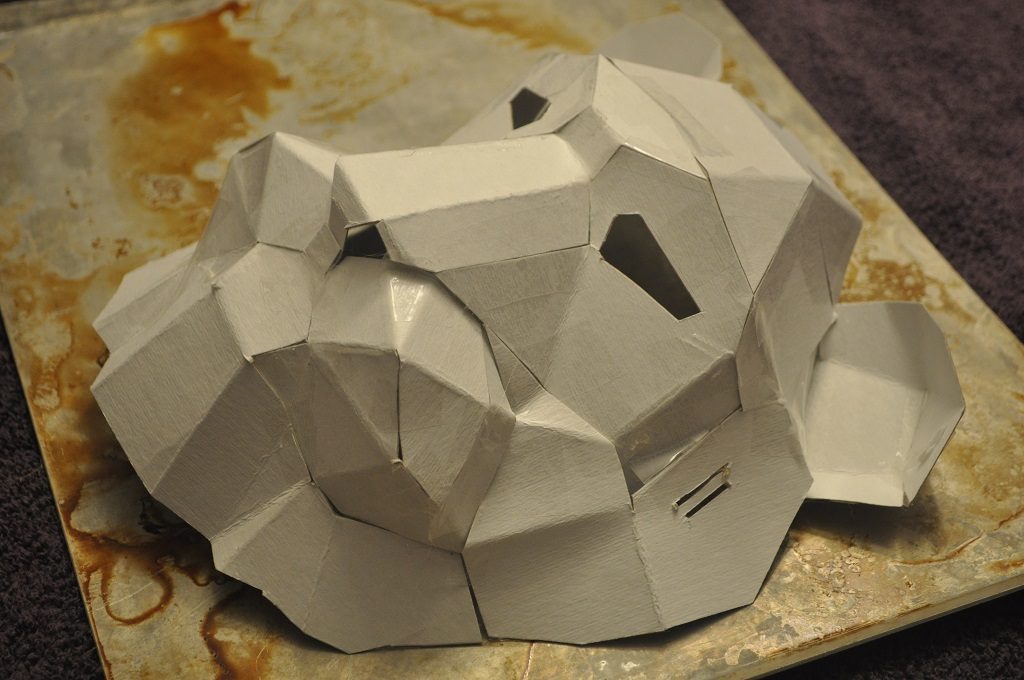
We made Anya’s lion mask a few weeks ago, but I couldn’t get the cardboard to hold together without using a lot of tape. Which meant the surface wasn’t consistent and was not easily painted.
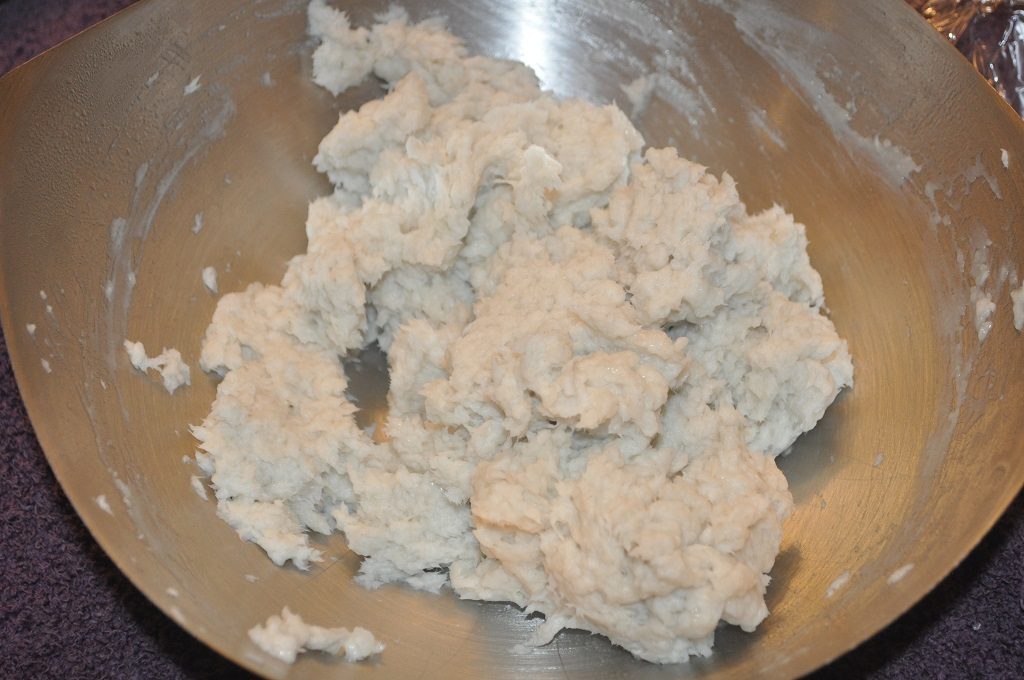
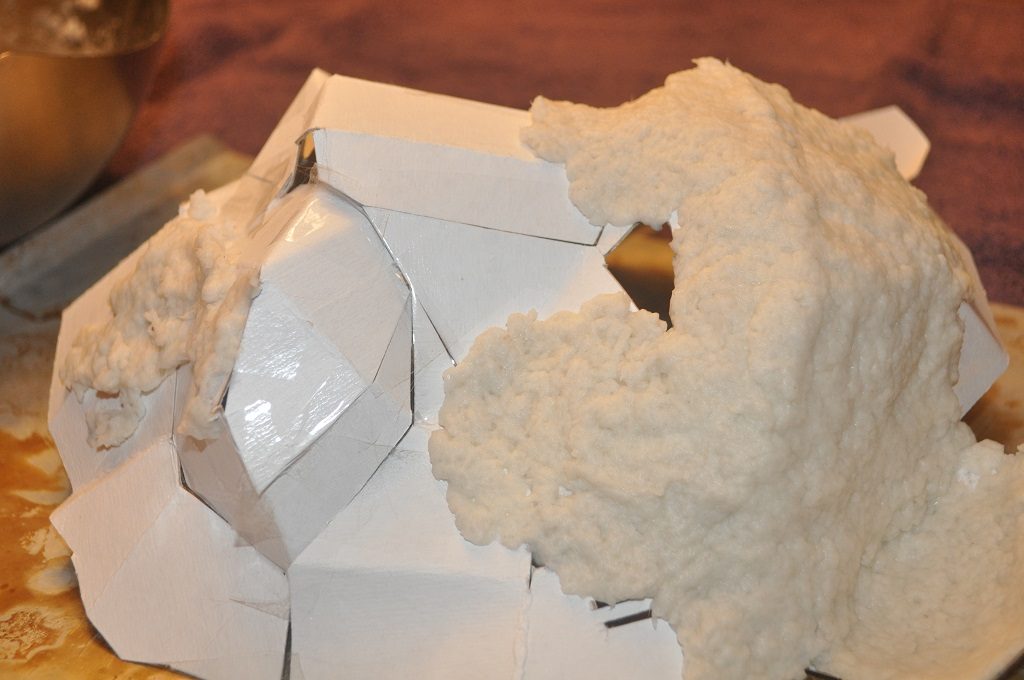
So I decided to use the mask as a base for papier-mâché. First step – make papier-mâché goo. A good bit of research, and I realized there are a lot of ways people make this stuff. But since it’s going to be on her face, I didn’t want to use building supplies or even PVA glue. Decided to try the boiled flour/water binder. Boil a cup of water. In a separate container, stir together 1/4 c flour and 1/4 c cold water and stir until it is smooth. Once the cup of water is boiling, slowly whisk the flour into the water and boil for a few minutes until it thickens.
The paper – I used my pasta pot, and the paper fibers stayed within the basket quite well. Boiled paper for about ten minutes to soften it up, then used the immersion blender to break it up. Pulled the basket out of the water, and set it to drain. It was still wet, so I put the blob into a towel and pressed out more water.
Once I had a fairly dry blob of paper fibers, I mixed in the binder and used the immersion blender to form a consistent paste-like texture.
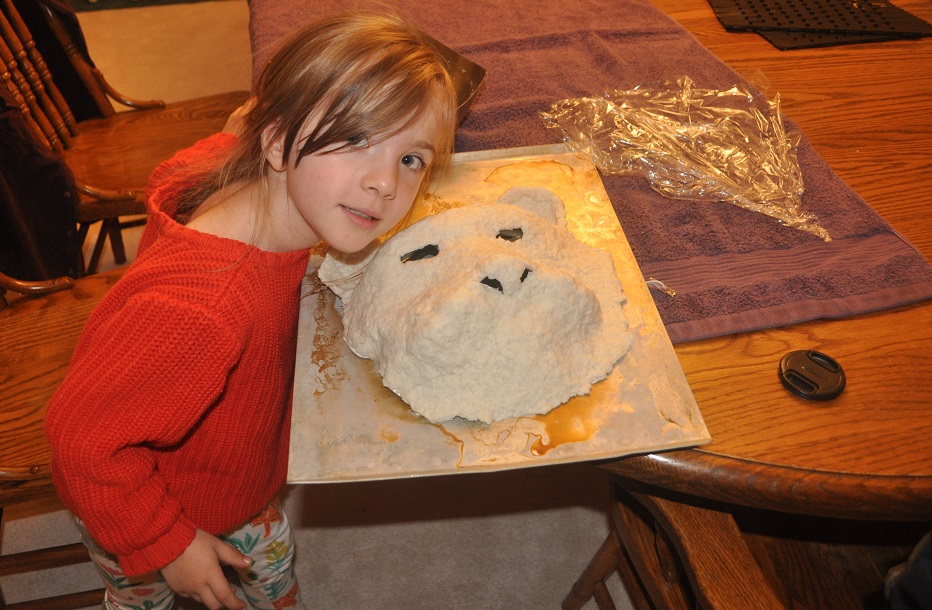
Then we pressed a thin layer over the mask – tried to get a texture that looks a little bit like fur.
Most important thing, Anya enjoyed glooping the stuff onto her mask, and she likes the finished result. I popped it into the oven on warm and am checking it every half hour or so to make sure we don’t burn it.
Tomorrow, we’ll paint it with a glittery tan paint, adding some pink paint in the ears, nose, and mouth area. Probably sort something for whiskers too.
Aquarium Decorations
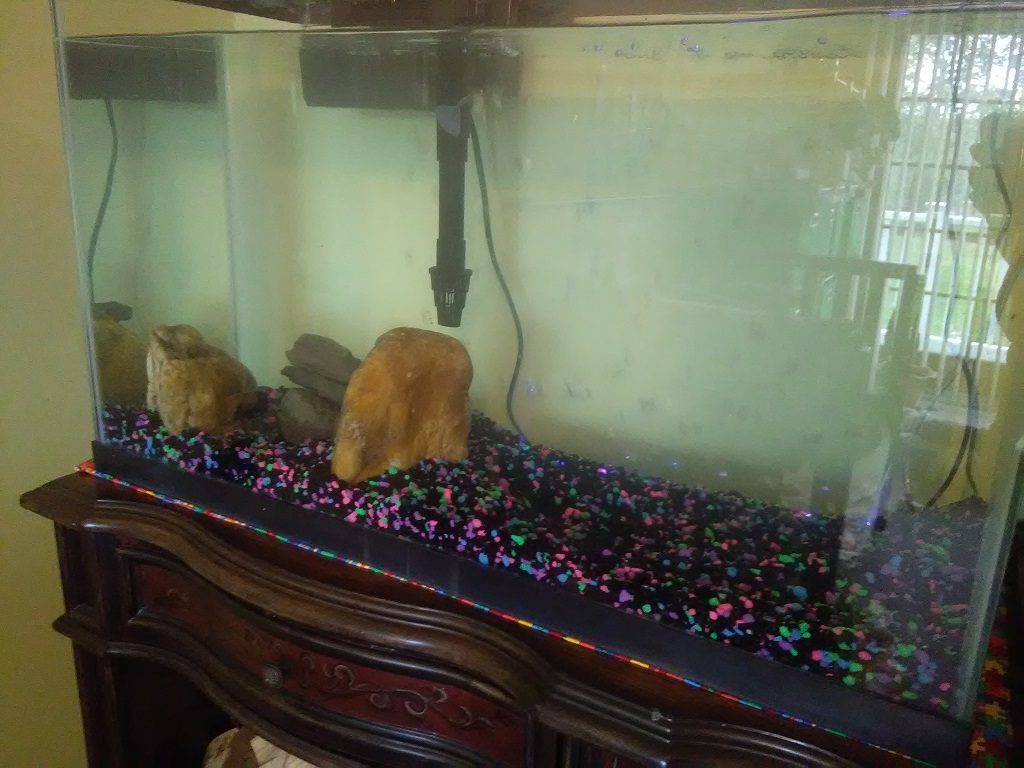
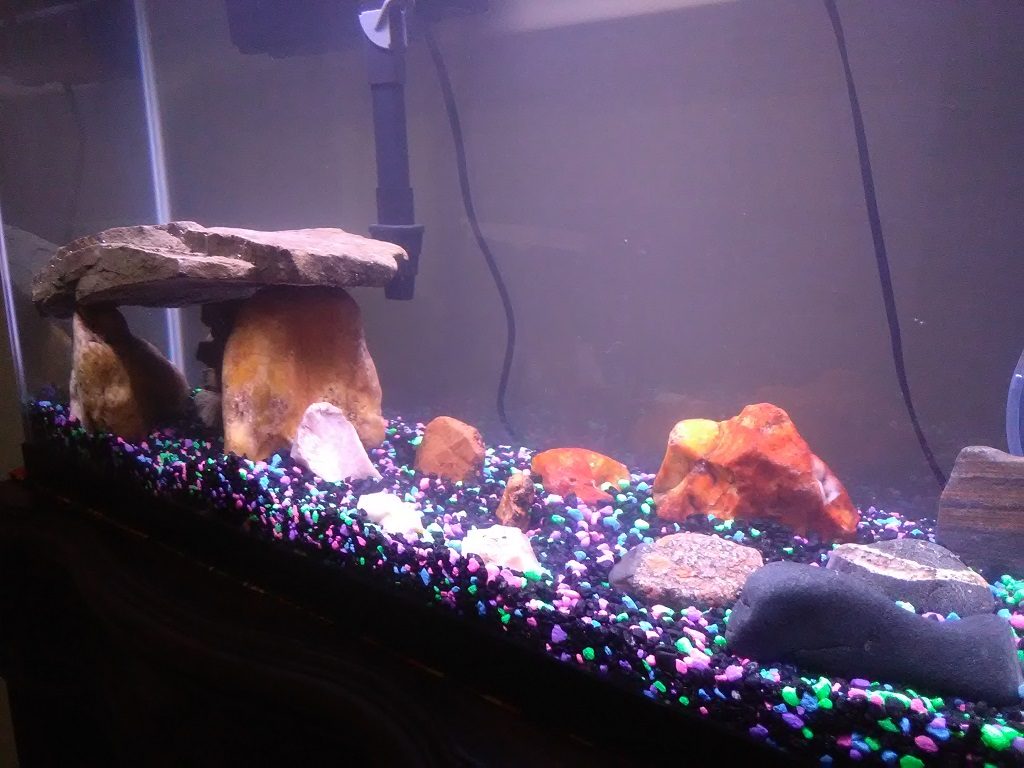
We’ve had goldfish in an outdoor pond this summer, but will bring them indoors for the winter. It’s starting to get cold at night, so seems like it is about time to get the aquarium set up. Anya picked this bag of day-glo rocks. The bag says you need 1-2 pounds of rocks for each gallon of aquarium. 30 gallon aquarium … and a 25 pound bag of rocks. So we needed a second bag. Talked her into mixing colours because I couldn’t imagine being a fish and looking at such bright stuff all day. Every day. (And then going into the completely earth-tone pond!). She picked black.
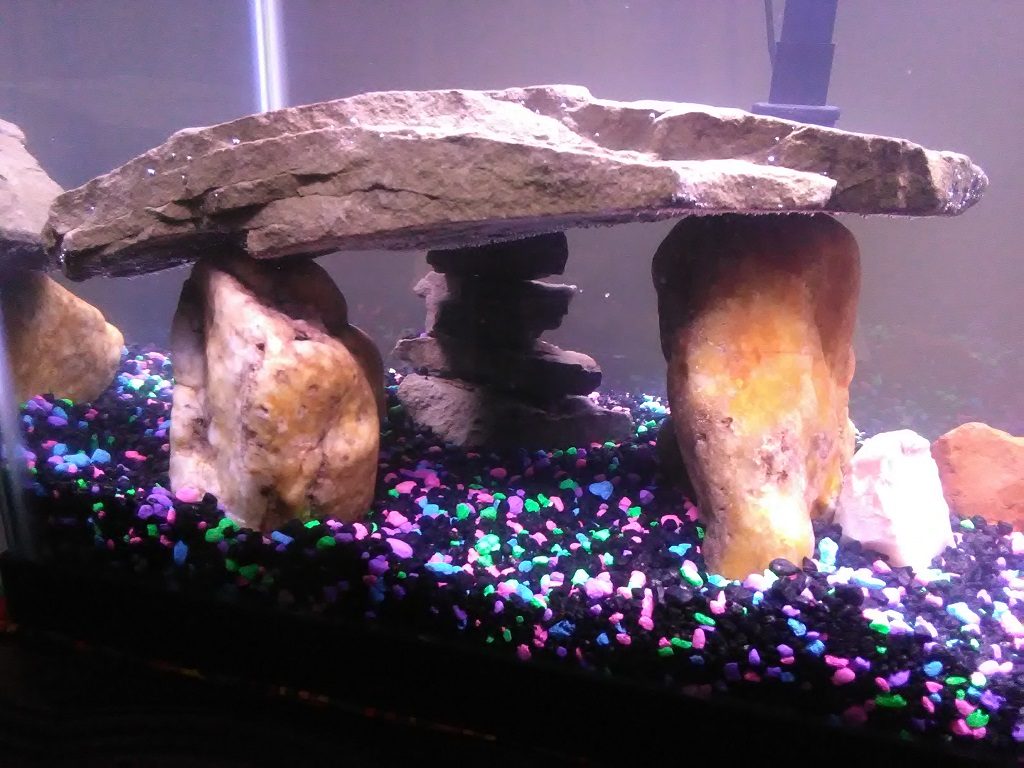
While shopping, there were a lot of plastic-looking decorations … but we’ve got rocks everywhere around here (and Scott’s got a collection of rocks too) and decided to build a cave and add some smaller rocks for decoration.
We took a two gallon pail and mixed the aquarium gravel. She ended up using about 80% black rocks and 20% bright, and it looks quite nice. I used two large rocks from Scott’s collection as pillars along the side. Then stacked some slate for a back pillar.
Placed a large piece of slate on top. Voila, a little fish cave.
Finally, we all selected some favourite rocks. Anya chose where they are placed – the smaller ones at the front centre are sofas and chairs for the fish 🙂
The rainbow under the tank is a quick runner I made for the top of the bookshelf. I didn’t want the piece damaged by the tank, so Anya picked the fabric (puzzle pieces). I cut two pieces, added a really thin quilt batting that isn’t thick enough to use for a bed quilt, made a quick quilted runner to place under the tank & ‘stuff’ (air pump, power strip).
Halloween T-shirt
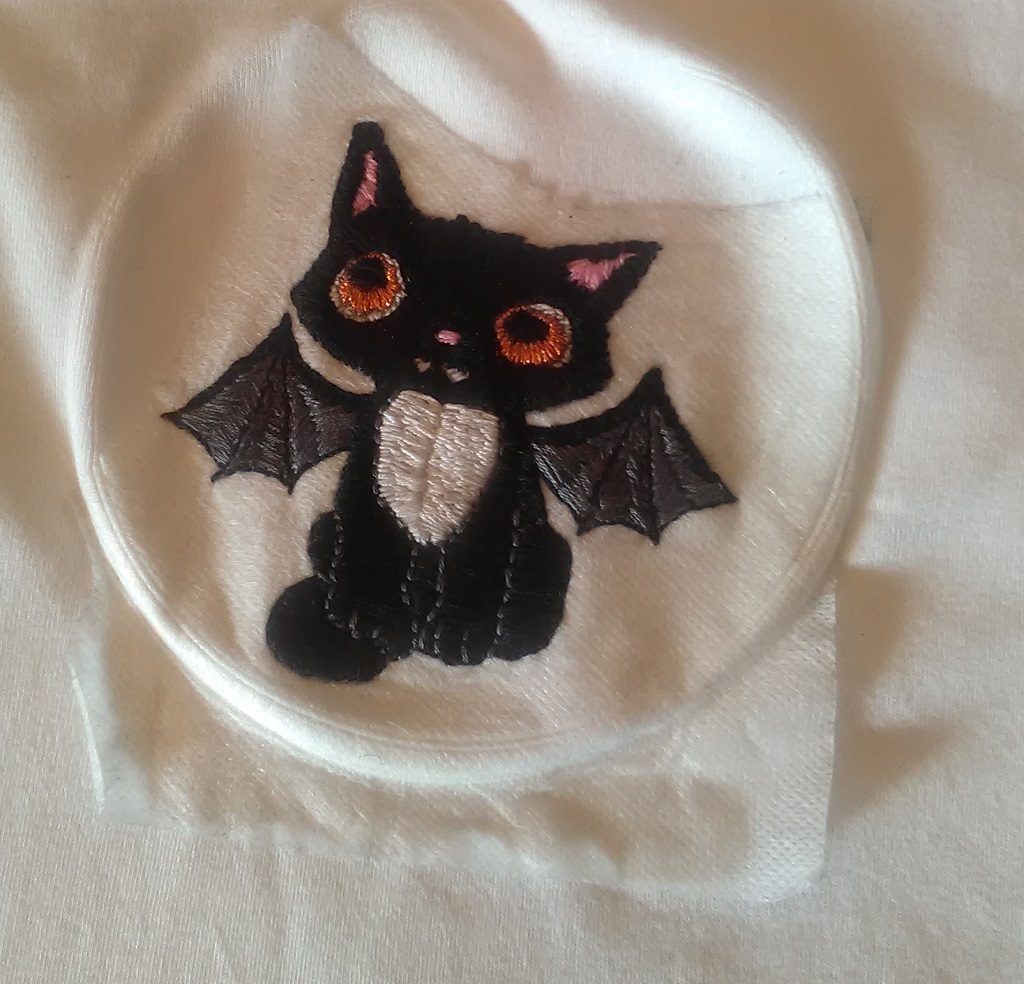
Anya will soak the shirt later today to dissolve the transfer paper, so it’s not quite done. But here’s her Halloween kitten t-shirt. The pattern is from Urban Threads — an awesome place for hand and machine embroidery patterns.
Baseball T-Shirt: Completed
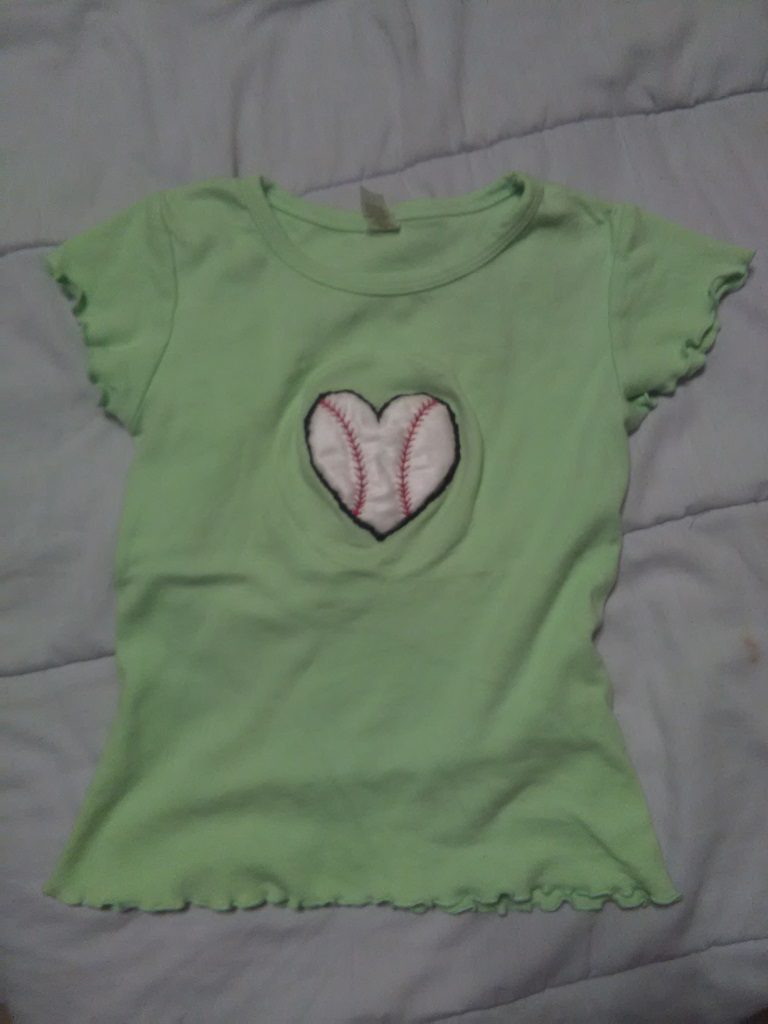
I finished Anya’s baseball t-shirt!
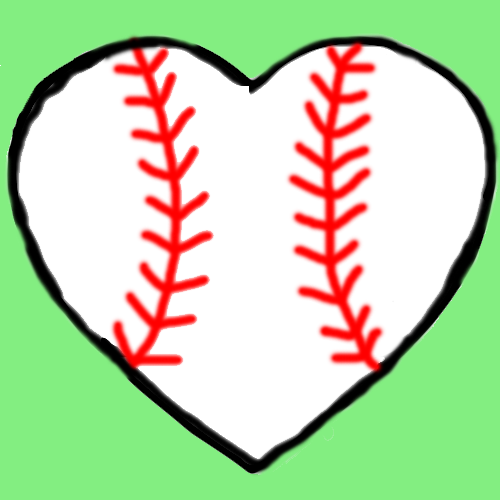
I sketched a quick heart in Photoshop, and drew in two lines of baseball-style stitching. The image was printed on Transfer EZE ‘paper’ using our laser printer (which answered the question: can you laser print on this stuff?). I then took a little scrap of quilt batting and laid it on the shirt. Placed a scrap of white satin on top, then stuck the Transfer Eze print onto the satin. It adhered quite well to satin – was a little concerned!
Put it in a hoop and embroidered the red stitching to hold the whole thing in place. I then trimmed the satin about a quarter inch outside of the heart’s lines; the batting was trimmed to be about a quarter inch smaller than the satin. Finishing the project was just needle turn appliqueing the heart to the shirt (using what amounts to a really short satin stitch).
The quilt batting really enhances the stitch definition for the red lines, and it makes the whole design puff out a bit from the shirt.
Baseball Shirt
Anya’s preschool class has “baseball day” on Friday, and they are to wear their baseball shirts. It’s an interesting assumption that everyone has a baseball shirt to wear. Three years ago, I happened across an Indians t-shirt on post-season clearance. It was a size too large, but she grows. Beyond my “you cannot go wrong with a 4$ t-shirt” purchase, we don’t have anything baseball related. I don’t particularly want to pay inflated MLB-licensed in-season (and the Indians are doing well) prices.
I picked up a bunch of blank t-shirts for embroidered designs, so I decided to make Anya a baseball themed shirt. She chose the green shirt, and I drew a heart and added baseball stitching. The black and white image was printed on this Transfer Eze paper that I love. Then I cut out a slightly larger heart of white satin and a same-sized heart from a very thin quilt batting. Laid out the t-shirt, centered the quilt backing, then affixed the Transfer Eze heart to the satin and laid it on top of the batting. Going with the quilting principal of working from the center out to avoid bubbles, I started with the red stitching. Now I’m using a satin stitch around the edge to needle turn appliqué the whole thing onto the t-shirt.
Furls CAL – Sun Hat
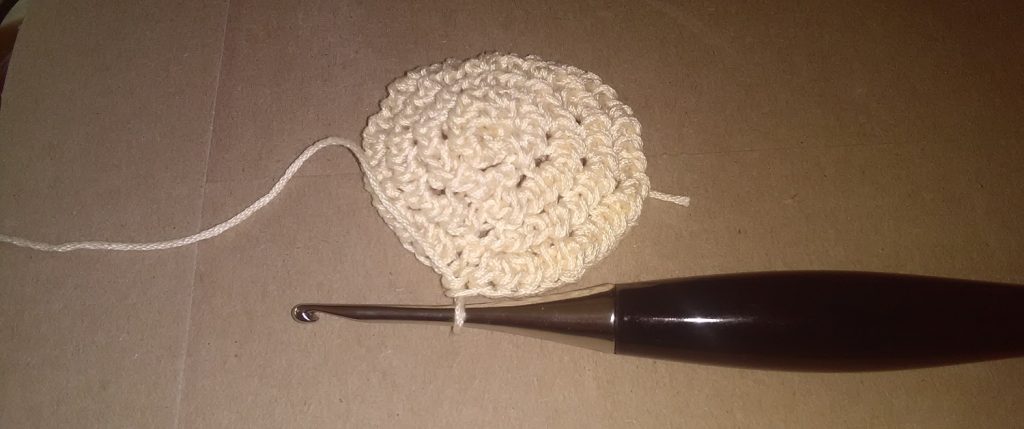
WooHoo! The sun hat crochet along finally reached the pattern stage! I used the same cream coloured yarn for the main hat, but have a slightly iridescent light green yarn for the accent. I’m thinking about making Anya’s hat in reverse – using the green for the main yarn with cream as an accent. Partially because I don’t like having the exact same thing and partially because inverting the colours uses the yarn more efficiently (otherwise I am going to have a heap of the accent colour left over!)
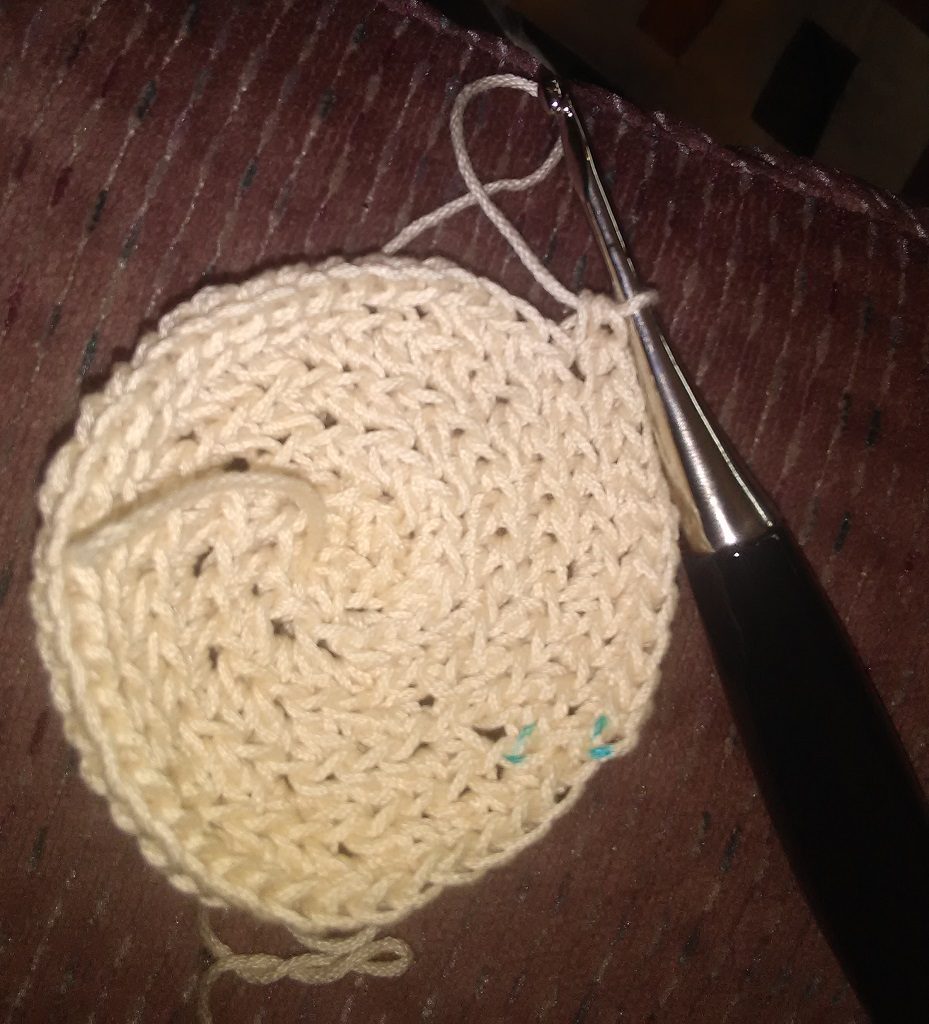
Round four completed:
I have trouble keeping track of the start and end of rounds — not a problem unique to this pattern, Anya’s star blanket was just as tricky for me. Easy enough to re-count the stitches on early rounds — and frogging a few stitches isn’t such a big deal. As the project progresses to the point where a round comprises 40 or 50 stitches, adding or missing a stitch is a pain to correct. I’ve tried using those little round stitch markers, and honestly I just don’t get it. If they had splits in the rings and could easily slip back off of the project … that would make sense to me.
I’ve come up with an easy method to keep track of rounds — a water soluble marker I use for marking dress patterns. Test it on your yarn to make sure it comes off completely (and mark in an inconspicuous spot just in case). Which stitch it makes sense to highlight will vary by pattern. Here, the chain stitch which starts each round does not count as the first stitch. I chose to mark this ‘skipped’ stitch. The round should end immediately before the marked stitch, and the first hdc from the round into which the last hdc is slip stitched is immediately after it. Chain one and mark again. See the little blue marks on the “inside” of the hat? Those are my ch stitches. Voila, two rounds without frogging anything 🙂
