Tag: Gardening

Low Tunnel Update

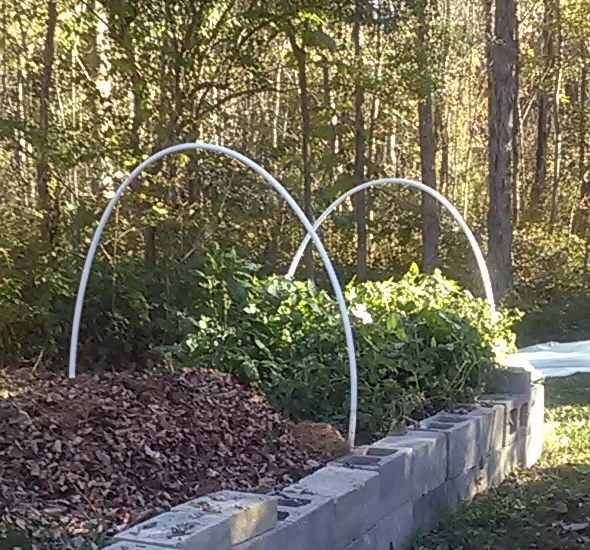
We had amazing tomato and pepper plants pop up in our compost. Shouldn’t be possible (compost is hot), but the enormous plants are evidence to the contrary (we have pepper plants that are three feet tall, with more than a dozen little peppers growing). We had a frost warning yesterday, so Anya and I went out to put the greenhouse up over the compost bed. Pulling the CPVC and rebar from the garden bed sounded like a quick task. An hour later … low tunnel greenhouses are not as easy to move as I thought. Earlier in the year, we drove the rebar into the ground with a drilling sledge. To pull it out, we had to dig down about twenty inches. Luckily I didn’t actually *need* all of the rebar — we pulled four of them to get greenhouse plastic over the tomatoes and peppers.

Once the rebar was out, getting the greenhouse together was quick and easy. We’ll eventually have two garden beds — one greenhouse and one where we’ll put the stuff that needs chill-hours. For crop rotation, we’ll switch those each year. Certainly going to want rebar in each bed!

This was also my first opportunity to use the real greenhouse plastic we bought this summer. It is so much nicer than plastic painting drop-cloth. Cost a lot more, too – but there is significantly more light getting through.

img_20161010_165646

Potatoes!

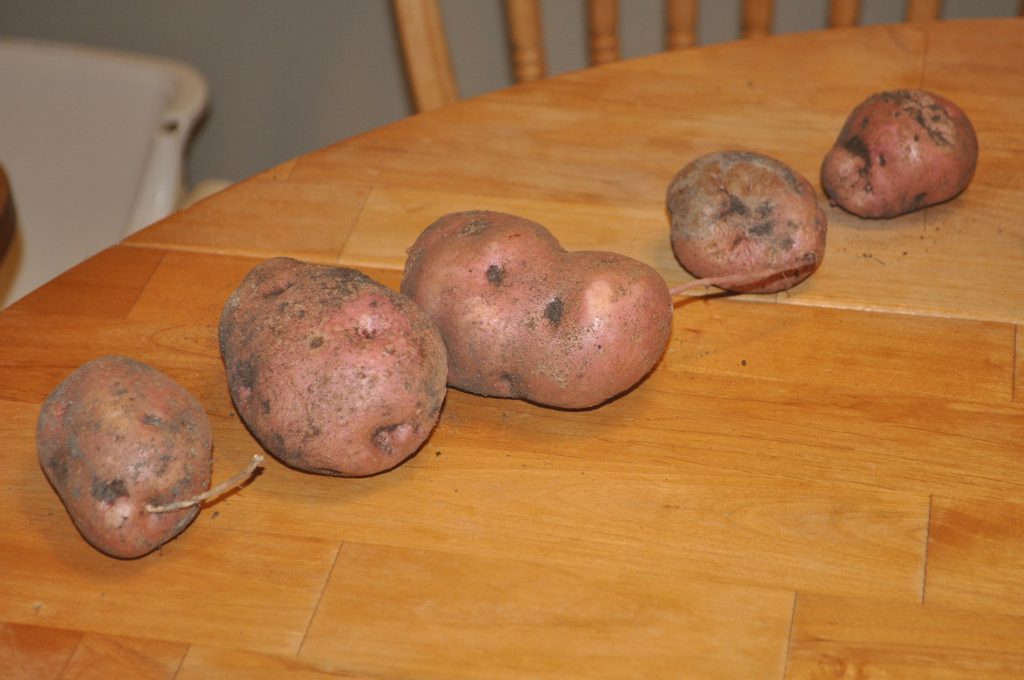
We finally harvested our potatoes — we got twenty potatoes, so a good bit more than we started with … but no where near what I expected given the size of the plants. I think we planted too late because a lot of the roots had tiny little nubs that would have become potatoes in a few more weeks. Good to know for next year 🙂

Harvesting was fun — we tried pulling the plants, but only found five potatoes. So we started digging around in the soil by hand — got fifteen more potatoes that way, and Anya loved it.

Definitely planting potatoes again next year. Sweet potatoes, however, were a total bust. We had some decent sized vines, but nothing.

dsc_9934

Removing Weeds From Walkways and Patios

We have an aversion to chemical herbicides – both run-off and run-on (Anya feet), so have been trying to find a good way to keep the weeds out of our stone/brick patio and walkways. Crawling around and pulling weeds is rather effective. Anya beams with pride each time she gets a root too. But it isn’t a sustainable weed-control method for the entire space. The string trimmer can be used to quickly cut existing growth, but since the roots remain … they return right quickly. I imagine the root system can only sustain regrowth for so long, but we’ve never managed to chop them enough to prevent regrowth.

We had to clean our water softener’s brine tank – and I figure there had to be some basis in reality for the stories about Scipio Aemilianus salting Carthage after the Third Punic War. Not reality of the “he really did it” sense, but it isn’t like folklore has conquerors spreading well composted manure over the fields to render the soil useless. We pored the brine over our stone patio (I’m sure salt isn’t good for stone … but it had to go somewhere). There is one particular low-growing brownish-red weed that still grows, but it blends in well enough with the stone that I don’t really notice it. Other than that, though, *no* weeds for the entire summer. Burned the lawn some, and this is only useful if you find yourself with thirty gallons of brine that need to be dumped somewhere.

Next year, I have more techniques that I want to test: vinegar, baking soda, and boiling water. Hopefully we’ll find a few more approaches. Then next Spring, we’ll do a controlled experiment. 1/n of the patio and 1/n of the front walkway will be weed-controlled with each method. We’ll see which one kills the weeds without running off into the surrounding lawn and which prevents new growth for the longest time.

Potatoes!

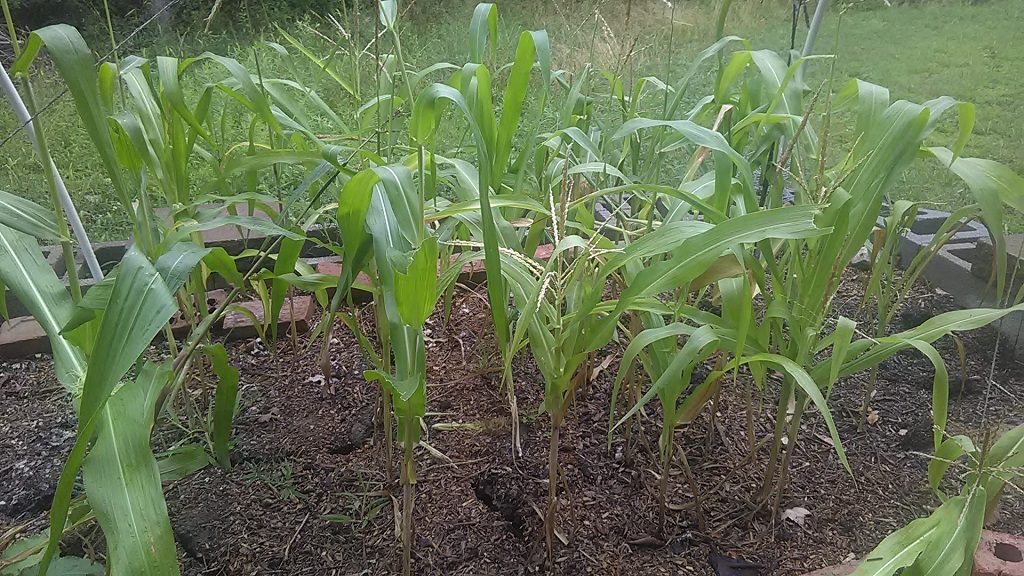
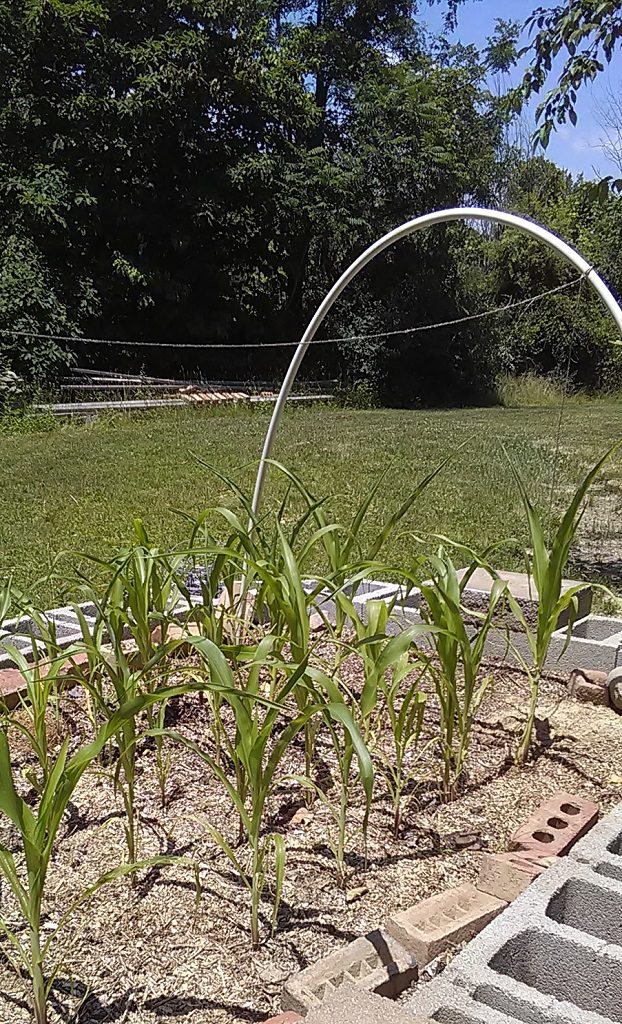
We have corn tassels and a couple of cobs starting!

IMG_20160730_164529

Anya and I weeded our potato patch, and found a couple of new potatoes at the surface.

DSC_9742

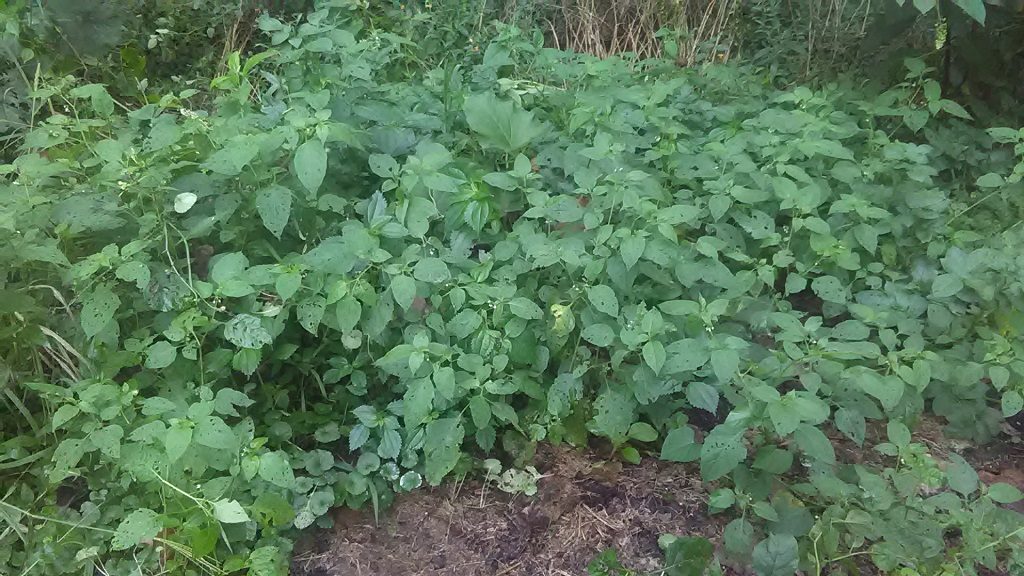
Our potato plants are huge — and evidently the weather has been sufficiently odd that potato SEEDS are forming. I’ve seen potato plants with flowers before, but the little tomato-looking green things were new to me. We can also tell that part of our potato bed is amazing for growing plants, some of it is ok-ish, and the right-hand third is too shaded. The potatoes and sweet potatoes along the left-hand side look like a massive pile of vegetation. The middle part … well, they look like potato plants to which I am accustomed. The right-hand side … there’s one little sweet potato vine that’s about five inches tall.

IMG_20160815_192938

These are all growing in a leaf mulch that formed where the previous owner dumped the grass clippings and leaves from the bottom of the property. After we harvest the potatoes, I plan to mix all of the soil together (the stuff from the left may have its nutrients depleted, but the stuff on the right is essentially unused), add some compost, and then use this as a potato bed next year. Then we’ll start a rotation – definitely bush beans, but I’m hoping to build a trellis next winter & have a wall of vine beans or peas behind  the bush beans.

We’ve got plants!

Corn!!! The corn has been loving the hot weather. Our tomatoes are doing quite well too. We’ve even got half a dozen garlic plants sprouting up. Still need to get some beans planted (we’ll do the greenhouse thing again at the end of the season, so we *should* get a good number of beans even though we’ve gotten a late start of it).

IMG_20160625_133157

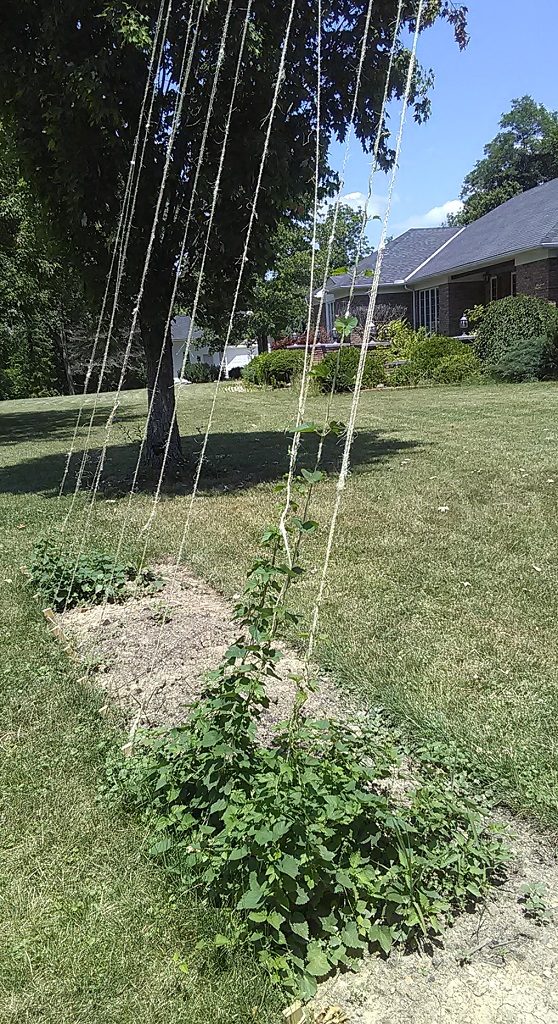
The largest hop plant is really taking off too. We have four rhizomes from our original two. Although two are *really* tiny little guys with just a vine or three, they all lived through transplanting.

IMG_20160625_133311

Update On The Hoop House

There have been wild temperature fluctuation, so we haven’t actually gotten plants into our greenhouse yet! But there have also been some MAJOR wind storms – 50+mph – and I can say the structure is holding up well. I had to add some binder clips to each support – four wasn’t enough and they’d pop off as the plastic would get blown around. Which meant we had several binder clip scavenger hunts – but adding a few extra clips seems to have alleviated this issue.

The other problem I’ve experienced is that one side would get pulled out from the mulch & bricks that were holding it down. Temporarily solved this by using soil instead of mulch on that side to hold it all down, but I am certainly going to buy a greenhouse plastic that is two feet wider. It would be easier to mount the material along the side if there was more overhang.

Extending The Gardening Season – Low Tunnel “Greenhouse”

Using a combination of techniques I’ve found on the Internet, Anya and I built a low tunnel greenhouse yesterday. The whole process took about ninety minutes, but we aren’t quite done (the plastic needs to be snugged up, and I want to bury the plastic along the ground).

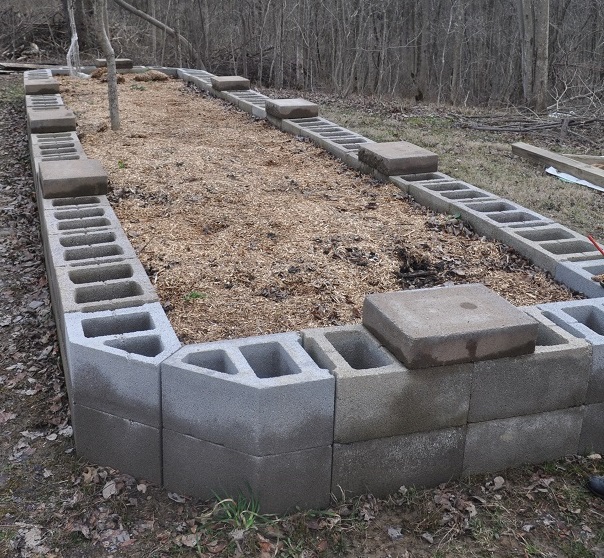
Last year, Scott built two raised bed garden areas – one is being used for composting until it gets full enough to be a garden. This is the second one – the veggie growing area.
DSC_8614

We wanted to extend our growing season – and have a convenient place to start a *lot* of plants, so I researched easy to build greenhouses. I found two types I like – the low tunnel and the hoop house. A low tunnel is basically PVC pipe bent over your ground with plastic run along it. How “low” is the low hoop? Well, that depends on the length of PVC and the width of the tunnel. The HandyMath.com complete circular arc calculator will take these valeus, then the “height of arc” is the height at the highest point of the tunnel. The lowest point is 0″ (it hits the ground).

A hoop house seems to be a low tunnel on “stilts”, so I decided to make a low tunnel this year … see how it works out for us. If we want it taller, we’ll add the “stilts” next year and have a hoop house.

The materials we used – sourced from the local Home Depot and Staples – are 2′ lengths of 1/2″ rebar, 10′ lengths of 1/2 PVC pipe (used for drinking water – so in theory it shouldn’t leach not-food-safe chemicals), plastic painting dropcloth, and large binder clips. Total cost was just under 55$ for a 25′ run.

After placing the PVC and rebar along the garden bed to make sure everything was spaced as desired, we used hammers to drive the rebar into the ground. Anya started the rebar, and I finished driving it in with an ~8 lb sledge.
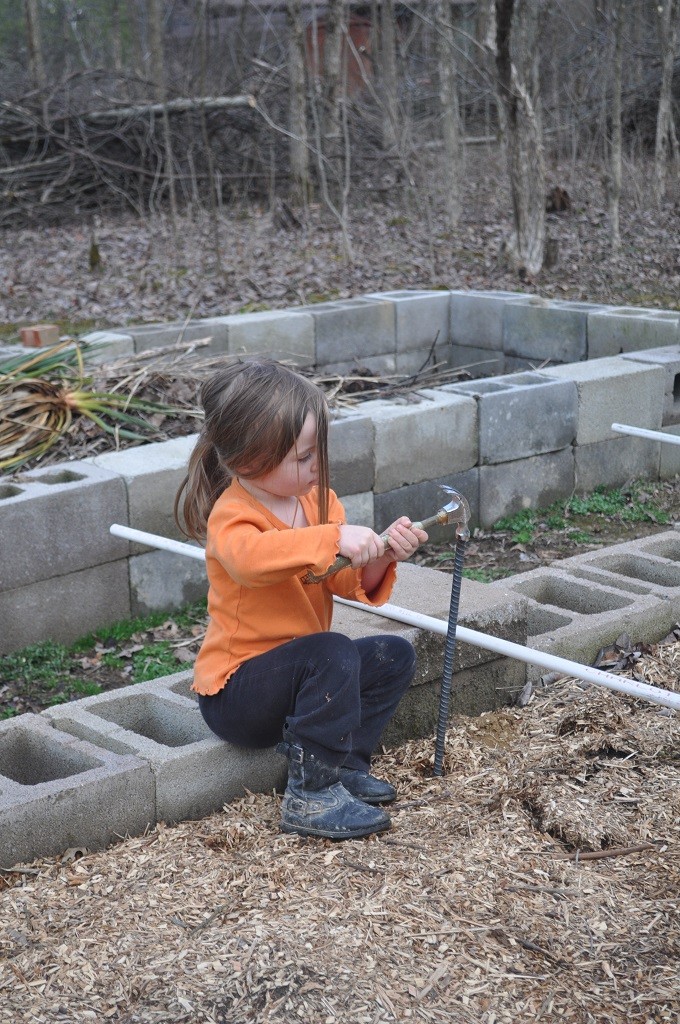
DSC_8617

After the rebar was firmly in the ground, we slipped one end of the PVC pipes over the rebar.
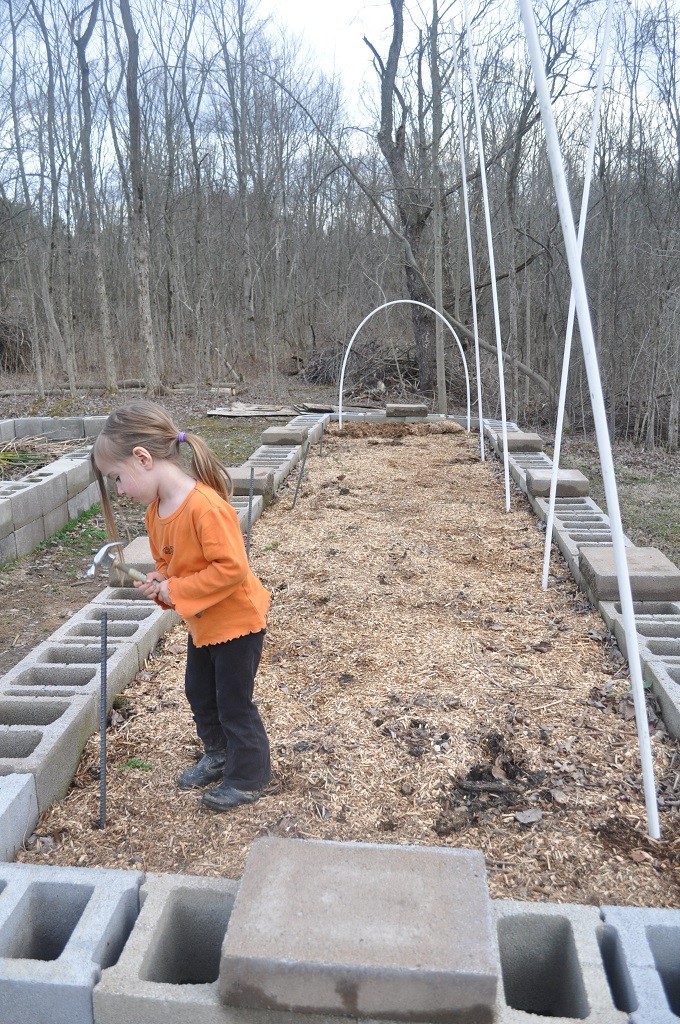
DSC_8622

Anya grabbed the pipes and pulled them over to me, and I slipped the other end of the pipe over the rebar. At this point, it kind of looks like I’m  building a Conestoga wagon on my garden. I tied a rope along the top of the arches to make a ridgeline, but I don’t know that this is actually doing anything structural.
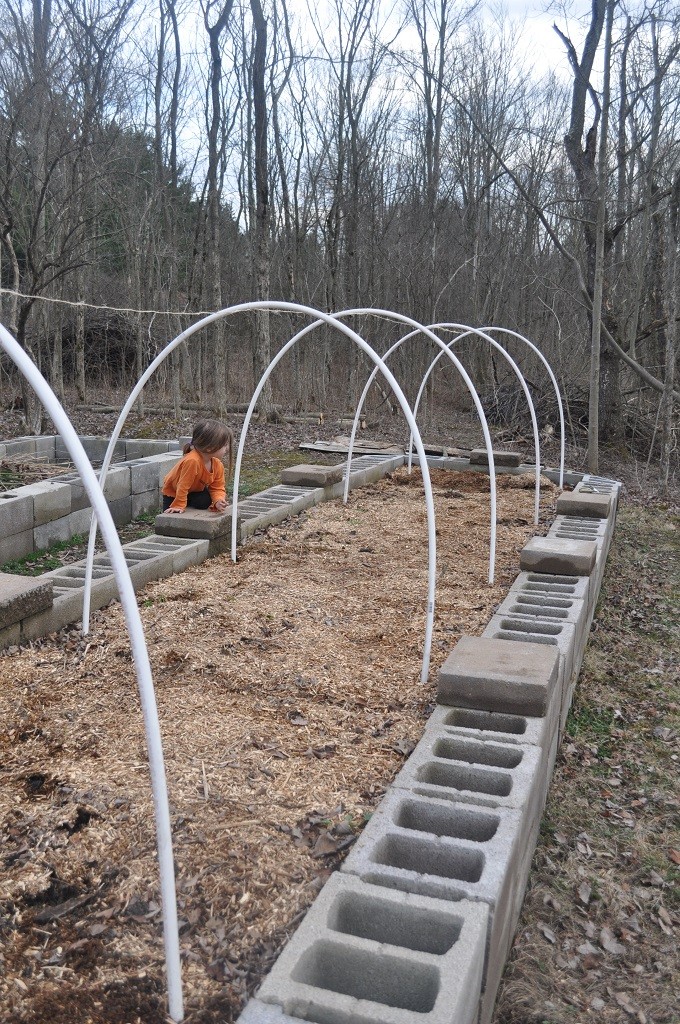
DSC_8627

We then spread the plastic drop-cloth over the arches – it isn’t as clear as “clear plastic” sounded to me 🙂 But after visiting two local Home Depots, neither of which had “greenhouse plastic” … it’ll do. I used the binder clips to hold the plastic onto the PVC pipes. Right now, there are four clips on each arch, and eight clips on the arch where two pieces of plastic are joined.
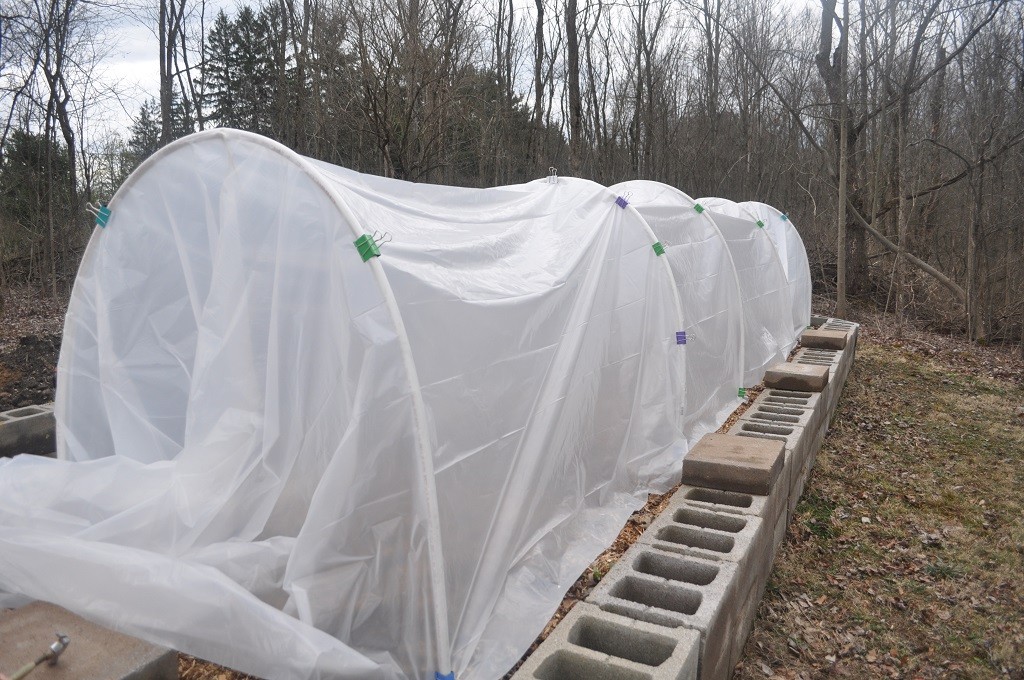
DSC_8628

Unfortunately, a thunderstorm came up pretty quickly … so instead of tightening the plastic, I laid bricks to hold the plastic down along the ground. Once the plastic is snugged up, I will put the bricks back and completely bury the edges in dirt or mulch to avoid wind getting under it. I still need to make a door for an entrance too – right now, you have to unearth and unfurl quite a bit of plastic material to get into the tunnel.

Possible upgrades for the future:

  • A sturdier hoop can be made from electrical metallic tubing – it’s more expensive, and you need to bend it on a pipe bender (we have one, so that isn’t a new cost. For someone without a pipe bender in their workshop … that is a non-trivial investment. We got ours from Harbor Freight with a lot of discounts). The metal hoop is good for higher wind areas. Our garden is sheltered pretty well by trees, so I am hoping the PVC will be sufficiently sturdy.
  • Real greenhouse plastic! I had wanted something completely clear to allow more light to enter and for better visibility.
  • If this height proves to be inconvenient to use, we’ll probably get five more tubes, cut them in half, slip a 5′ length over the rebar, then join the tunnel part to the top of the 5′ section. This will give us a structure 5′ at the low point and ~8.5′ at the high point. Plenty of room for any of us to stand upright. That would mean adding quite a bit more plastic sheeting too.

We’ll either replace the plastic sheets with a bug netting later in the Spring or just take the whole thing down & put it back up in Autumn to (hopefully) extend the growing season even more. If we are really lucky, we will be able to grow some greens throughout the winter.

I think I’m going to place the little seed-starting pots into the greenhouse, then transplant them into the ground as they get a little bit bigger.