Tag: Microsoft Office

Cognitive Theory & Microsoft Teams

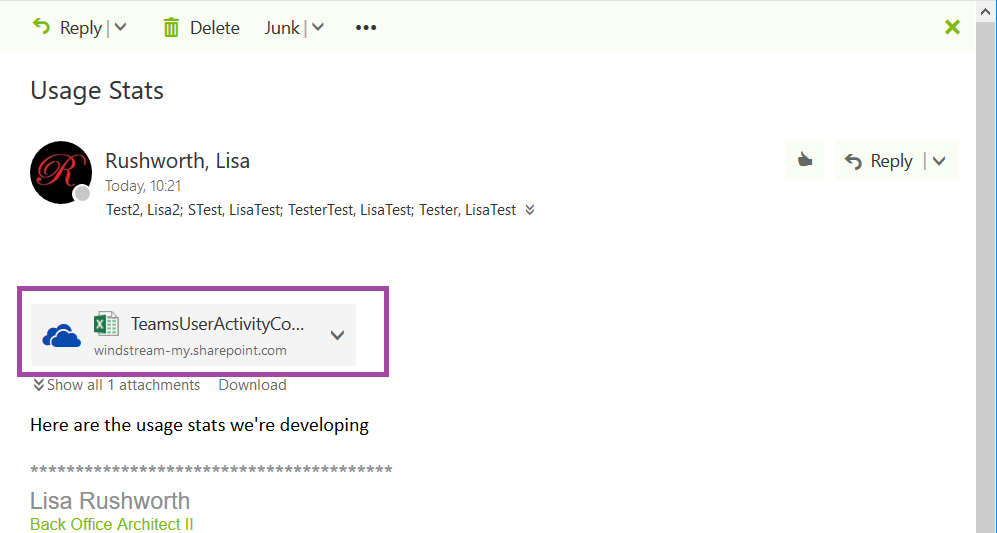
We’ve been using Microsoft Teams for most of this year, and I find it to be an incredibly efficient way to work. That’s not just a personal preference — years ago, I followed research on how human brains multi-task. TL;DR? Rarely well! Performing multiple natural activities, those that don’t put much demand on the prefrontal cortex, did not greatly diminish efficiency (I can walk and chew gum at the same time!). But fMRI scans performed by the Institut National de la Santé et de la Recherche Médicale in Paris showed that the prefrontal cortex has a left and right side which cooperate to focus on a single task but work independently when the subject was given two tasks. And when the subject was given three tasks? The rate at which a task was forgotten increased and errors were three times as likely for the tasks that were performed.

The recommendation was to dedicate chunks of time — 20 or 30 minutes — to a particular subject, then move on to a new subject rather than bounce back and forth between topics. Sounded great in theory, but each morning I’d sit down and start going through e-mail. The epitome of rapid topic shifting — read through something, switch to the next message/topic, maybe do a little work on that topic, go to the next one.

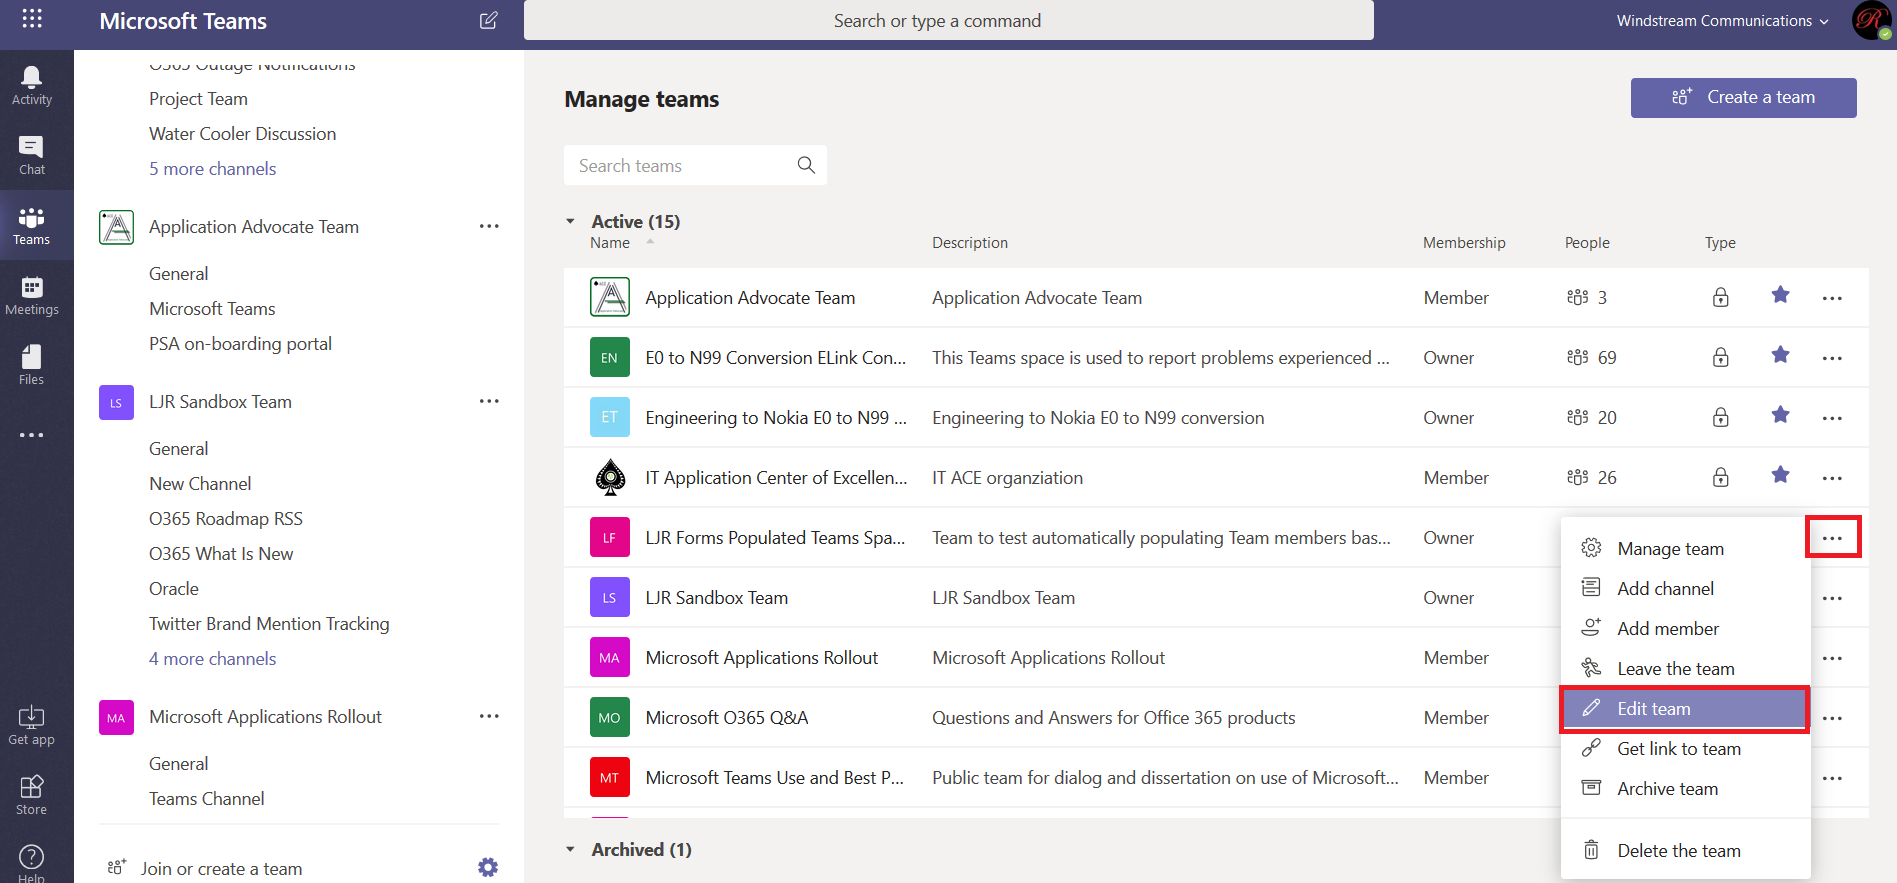
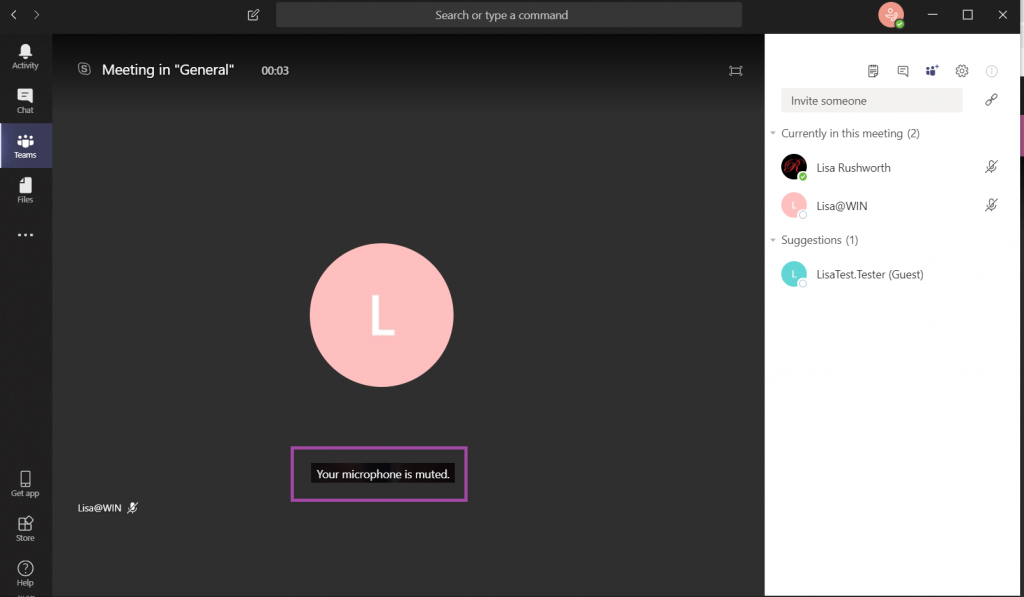
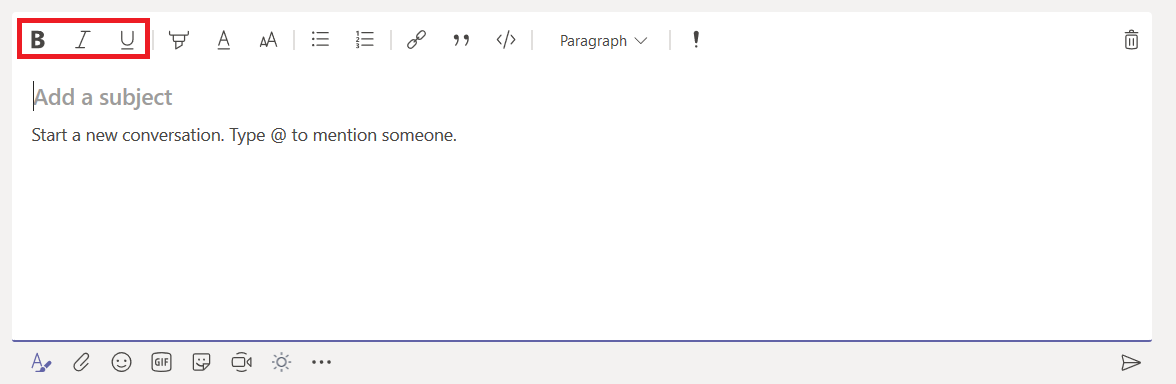
Starting my day in Teams is completely different — any channel that has had activity is bold. I can click on a channel, finish everything related to that topic, then move on to the next channel. Instead of jumping from topic to topic, and wasting time mentally “shifting gears”.

During a busy day, multiple channels light up with activity … but having each topic contained to its own location helps me maintain focus on that topic. Extrapolating — it makes sense to create a new channel or team for different projects instead of having multiple projects discussed within the same channel.

Did you know … you can archive a Team in Microsoft Teams?

Sometimes a project is done. You’ve used Teams to plan, coordinate, and implement the projected … and there’s a lot of good information in the Teams space … but there’s no need to continue the discussion. Did you know a Team can be read-only? This is called “Archived” – members can search and read content, but no new files or posts can be created.

To archive a Team, view your Teams. At the bottom of the Teams list, click the little gear.

I recommend changing the Team description to let others know it is archived – this is especially valuable if your team is Public as people may join intending to participate in an active discussion. To modify the Team description, select the sideways hamburger menu next to the Team name and select “Edit team”.

I prefix the description with “ARCHIVED:” … hoping people at least glance at the description. Click ‘Done’ to save your change.

To archive your Team, click the sideways hamburger menu again. Select “Archive team”.

You will be asked if you want to make the SharePoint site for the Teams space read-only as well – the answer is generally yes, but if you’re using the SharePoint site for more than just the Team then you do not want to check this box. Click ‘Archive’ to archive the Team.

Should you need to begin accepting new content in your Teams space, you can find the archived teams by expanding the “Archived” section.

Click the sideways hamburger menu and select ‘Restore Team’. This will move your Team back to the “Active” section and allow members to continue posting content.


Did you know … Microsoft Teams will mute your microphone when joining a large meeting?

Several offices ago I sat across from a L.O.U.D talker. A loud talker who was constantly on a conference call. I’d try to remember to mute my line before joining a bridge but didn’t always remember. Random background noise isn’t so bad when you’re about to talk to two or three close colleagues, but background noise becomes inundating when the twenty-something people in my department all join a bridge.

Microsoft Teams helps you avoid a deluge of background noise in your call. When you join a “large” meeting –more than five people already in the meeting – your microphone is muted as you join. A notification is displayed prior to joining the meeting to remind you the microphone will be muted.

You can click the microphone button in the meeting control bar to un-mute your microphone and begin speaking.


Did you know … you can insert 3D models in PowerPoint presentations?

Select “Insert” from the ribbon bar, then click the drop-down on “3D Models”. You can browse models from Remix 3D (“From Online Sources”) or models stored on your computer (“From a File”).

You can insert Filmbox (fbx), Object (obj), 3D Manufacturing (3mf), Polygon (ply), StereoLithography (stl), and Binary GL (glb) files.

STL files are commonly used when designing objects for 3D printing – here I’ve included a camera/telescope adapter.

Click on a 3D object and there is a rotation control

By changing an object’s orientation, you can use the “Morph” transition to rotate the object during your presentation. Right-click on the slide that contains your 3D object. Select “Duplicate Slide”.

Rotate the object on the new slide. Select “Transitions” from the ribbon bar, and select “Morph” as the transition.

When you play your presentation, the object will rotate as PowerPoint transitions between the two slides.

Now I know there aren’t a lot of uses for rotating 3D unicorns in business presentations, but manufacturers can embed 3D renderings of their products. Many architectural firms are providing 3D building designs that can now be included in PowerPoint presentations.

Did you know … you are talking on mute?

Well, probably not *right this second*. But we’ve all heard — err, not heard — someone else do it. We’ve all done it too. The Teams desktop client helps you avoid saying “Sorry, I was talking on mute”.

In the Teams desktop client, you will see an alert when your microphone is muted and sound is detected. Maybe you’re talking to someone who stepped into your office — just ignore the warning. If you’re trying to speak to the meeting, this is a great way to avoid having to repeat your entire thought because no one else heard it the first time!

Did you know … your mouse can be a laser pointer in PowerPoint?

This works both in “Reading View” and when you are playing a presentation. To enable “Reading View”, select “View” from the ribbon bar and click “Reading View”.

To play your presentation, select “Slide Show” from the ribbon bar and click “From Beginning” (or “From Current Slide” to begin the presentation from the current slide).

Hold the CTRL key, then left-click and drag your mouse. You’ll see a red circle which can be used to draw attention to elements of your slide.

If you want a different color “laser”, select “Slide Show” from the ribbon bar and click “Set Up Slide Show”.

Click the drop-down next to “Laser pointer color” and select the desired color. Click OK.

Now when you hold the CTRL key, left-click and drag the mouse … now there’s a blue laser pointer.


Did you know … you can remove duplicates in Excel?

I use Excel’s COUNTIF function a LOT for reporting. When I want to count the number of transactions that occurred per day (or during a date range), it’s easy enough to get the list of IF’s to count. But when I need to find the occurrence of different text strings, I need a unique list of the strings first. “Remove duplicates” quickly exactly what I need.

In this example, I have a list of all employees and contractor’s departments and titles – I want to know how many people are in each department and how many people have each title. Removing duplicates modifies the data, so the first step is to make a copy of the spreadsheet. Highlight the data. Select “Data” on the ribbon bar, then select “Remove Duplicates”

Select the column(s) where you want to remove duplicate data. This could be exact duplicates across multiple columns (e.g. the unique “City, State” combinations), or (in this case) I just want a unique list of departments. Click OK.

A summary will be displayed showing you how many records were removed and how many unique values remain.

Now that I have a complete listing of departments, I can use my COUNTIF function to show how many employees and contractors are in each department.

Remove duplicates only deletes records within the highlighted data. Here, I have a list of all employee titles next to the department and count info we just created. If I highlight just the ‘Title’ data and click “Remove Duplicates”, the department and count information is left unchanged.

Now I have a unique list of titles as well.


Did you know … Microsoft Teams has a GUI text editor?

I like keeping my fingers on the keyboard, so I like using markdown in Teams messages (had to learn it for GitHub anyway!). The fact that hitting enter sends my posts in Teams? Generally awesome. I am not, however, the most succinct person; and a long series of thoughts is difficult to read as one continuous paragraph.

And using a new paragraph can serve to highlight a sentence without resorting to big bold text.

You can use shift-enter to move to a new line. Enter will still send your message.

But Teams has a GUI-driven composition mode — just click “Format” — that allows you to easily compose multi-line messages. In this editor, enter doesn’t send the message. It just moves the cursor to the next line.

There are a lot of formatting options available too. Basic typographical emphasis can be added to your text, and anything you type into the ‘Subject’ section will automatically be large, bold text.

The little highlighter icon will highlight text.

The underlined “A” changes the font color.

The icon with two A’s controls the text size.

So you can add really tiny or larger text.

Allowing you to use smaller or larger text.

You can create a bulleted list by clicking the icon with bulleted lines (or a numbered list by clicking the one with numbered lines). To end the list, either click the icon again or hit enter twice.

The quotation marks highlights text as a quote (two enters returns you to normal paragraph format here too), and hitting the drop-down next to “Paragraph” provides a list of pre-formatted text options.

A really cool feature for programmer-types – click the ‘code snipped’ icon.

A new composition window will be displayed – click the drop-down text to “Text” and select the programming language.

Text formatting will be applied to your code – the code I paste into Teams looks exactly like it does in my IDE.

When you have finished composing your message, you can click the little paper aeroplane to send your message. Or, if you prefer keeping your hands on the keyboard, hit ctrl-enter.


Did you know … Outlook can share OneDrive files for you?

Collaborative document editing in Teams and SharePoint is a huge time saver – instead of trying to merge multiple versions of a document together, we can all edit the same document (we can even edit it at the same time). OneDrive offers the same benefit, but it’s a bit of a hassle going into OneDrive, setting up sharing, and then sending people a link to the document. But Outlook handles this for you.

I have a private file saved to my OneDrive for Business space.

In your message, select ‘Attach’ and then ‘Cloud locations’.

You will see your OneDrive for Business files – select the file(s) that you want to share and click “Next”.

You will see the file as an attachment to the message – the OneDrive cloud logo lets you know that the ‘attachment’ is actually a link to a OneDrive document. Address and send the message as you normally would.

Check OneDrive again, and you will see that the document is shared.

The recipient will see an attachment to the message, and they will be able to view and edit the file.


Did you know … Excel can automatically highlight data for you?

Reading through large tables of data is inefficient – it’s time consuming, error prone, and just not a heap of fun. Graphs are one way to visualize data – allowing you to quickly spot trends, outliers, etc. Excel offers another way to visually enhance data to make it more comprehensible – conditional formatting. Where some charts and graphs obscure the underlying data, conditional formatting allows the exact value to be quickly identified.

Highlight your data. On the ribbon bar, select “Home” and click the drop-down for “Conditional Formatting”.

Select the logic to determine which cells are highlighted – we’ll go through a few examples here, but click around on your own! To highlight cells that are higher than some value, select “Highlight Cell Rules” and then select “Greater Than”.

In the window that appears, enter the number and select the colouring scheme. The prepopulated number will be the average of the highlighted data. The changes are applied as you select formatting options, so you have an idea what it’ll look like ahead of time. In this case, there are still a lot of values higher than 125. I could increase my number to reduce the number of highlighted cells. When you have finished composing your formatting rule, click OK.

And the format is applied to your data. You can apply multiple formats – add another format to turn anything below 25 green, make values between 100 and 124 yellow. Whatever you want.

If you need to change your formatting rules, click on the “Conditional Formatting” drop-down and select “Manage Rules”.

If your rules do not appear, change “Current Selection” at the top to “This Worksheet”.

You can also define custom rules. From the “Conditional Formatting” drop down, select “New Rule”.

Again, select the logic used to determine which cells are formatted. Here, I am highlighting duplicated values. Click “Format” to define how the highlighted cells should appear. Click “OK” to apply the formatting to your spreadsheet.

Now every duplicated record is in green with a strike through the value.

Formatting rules can be nuanced – here I am creating a custom formatting rule that uses a three-colour gradient based on where a value falls within a range.

Now you can quickly compare each value by it’s colour.