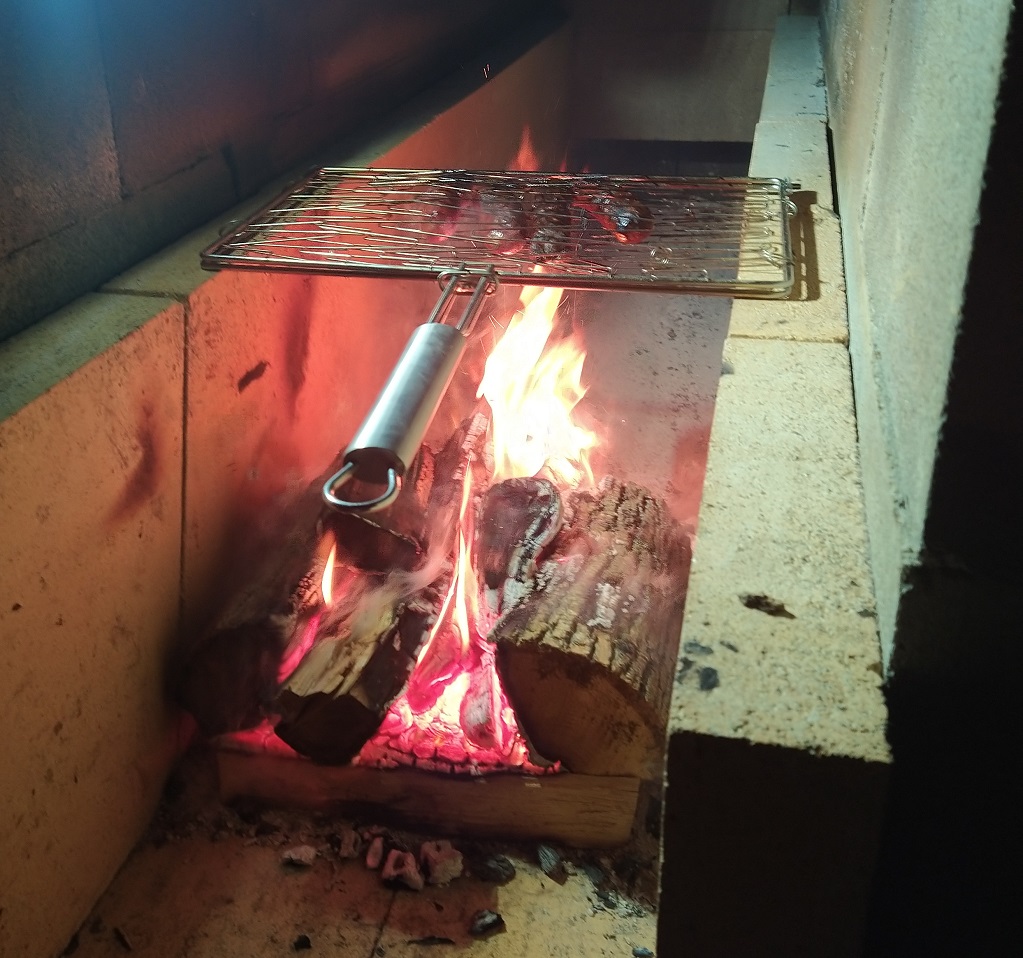
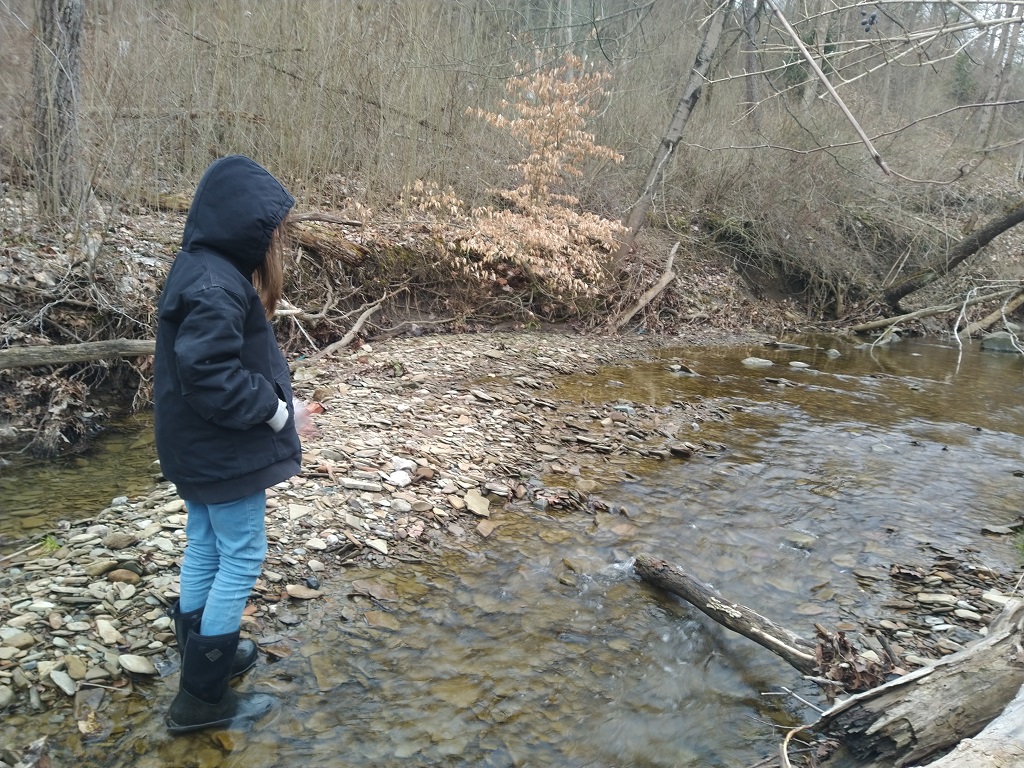
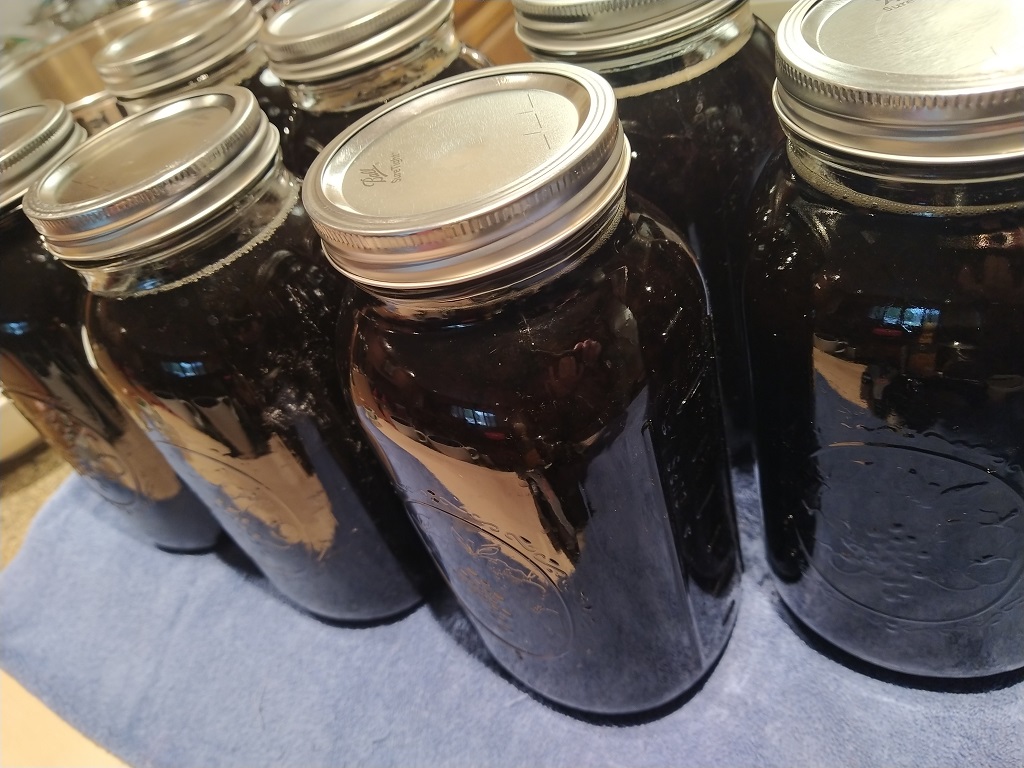
We built our maple evaporator — well, combination fire table, maple evaporator, grill, and smoker all-in-one backyard fire contraption. Scott calls it the MapleAtor. Total cost was about a hundred bucks — $60 for refractory brick, about $10 for the cinder blocks, and about $30 for “engineering” size brick (and probably another hundred bucks in fuel to *get* the blocks and refractory brick!).
We’ve got a layer of cinder blocks on the base — four rows five blocks long. Since we had four half-blocks, we were able to stagger the walls. Nothing is mortared together yet — we wanted to make sure it was a good size, shape, and location before we made anything permanent.
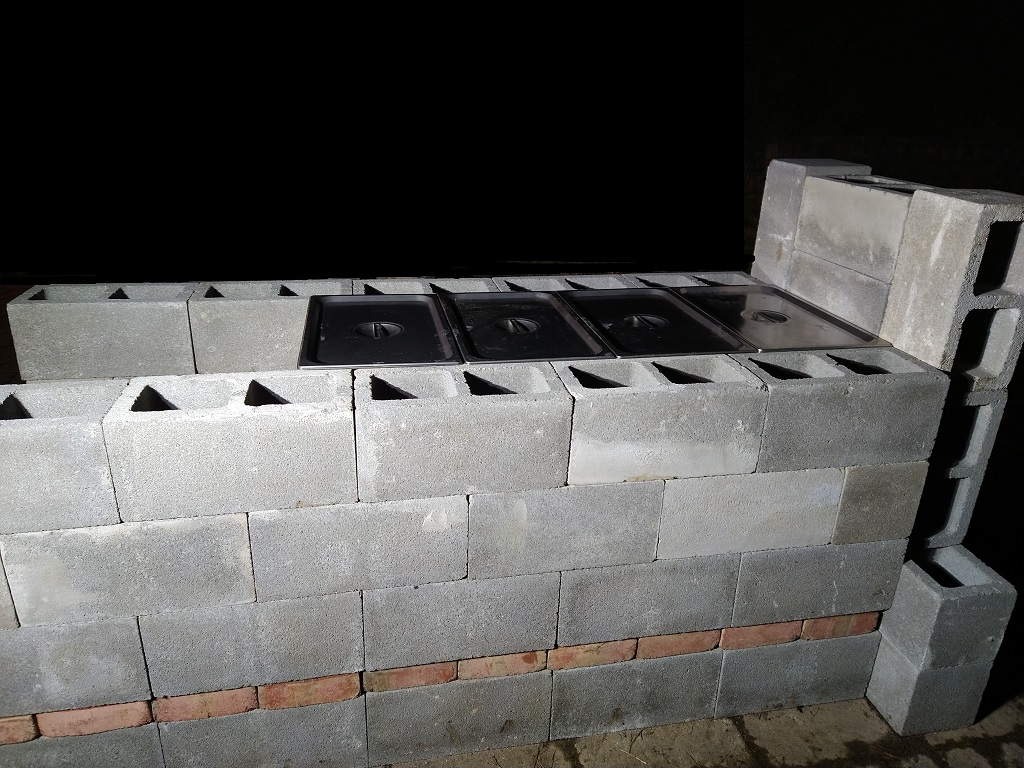
Two rows of fire brick lay atop the cinder blocks — we wanted to be able to set the 6″ steam table trays that we use to evaporate sap onto the cinder blocks and seal the fire section in so the syrup doesn’t get smoked as we evaporate it. The dimensions didn’t quite line up — we needed something 2 3/4″ high to fill in the gap between the edge of the refractory brick and the edge of the cinder block. I happened across “engineering” bricks online, and we found a company that sold them. They fit perfectly.
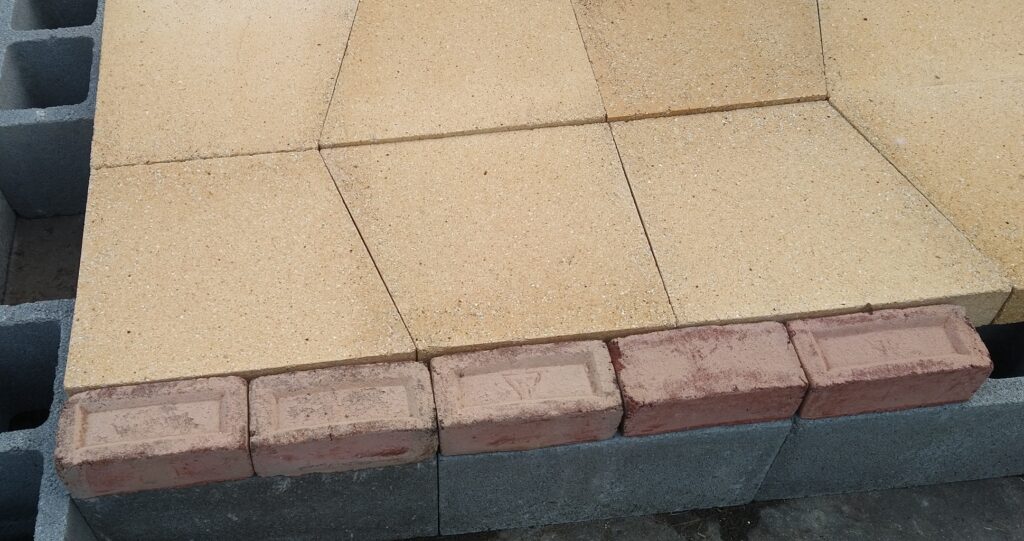
Once the base layer was covered in refractory brick and red brick, we started stacking the walls — more cinder blocks.
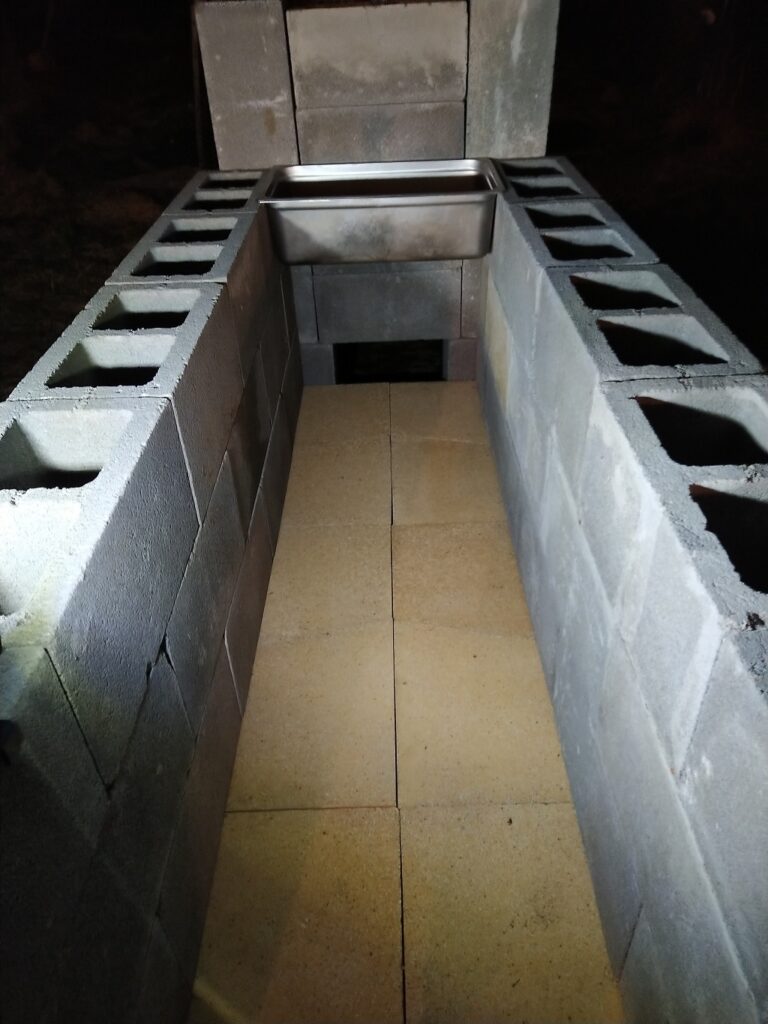
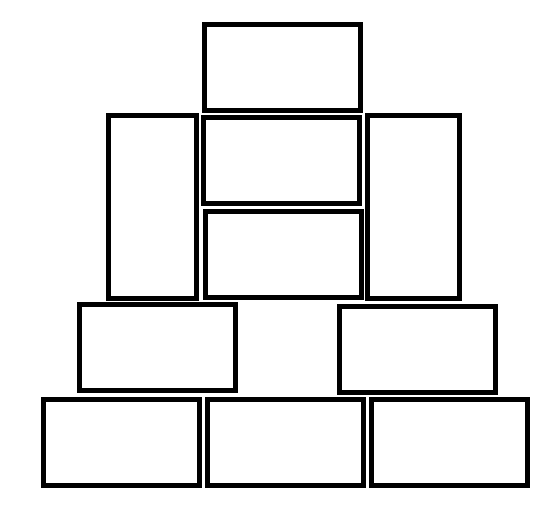
Along the back wall, we have some bricks forming a wall, but we have one row slightly pushed in so a block can straddle the two bricks and form an exhaust area. Then a bunch of blocks are stacked up to form a chimney.
The evaporator trays fit perfectly and are supported by the cinder block.
We ended up re-stacking the chimney — having the exhaust port at the same level as the refractory brick meant that pushing wood around in the fire box shoved coals out into the chimney. The exhaust port is now one row higher than pictured.
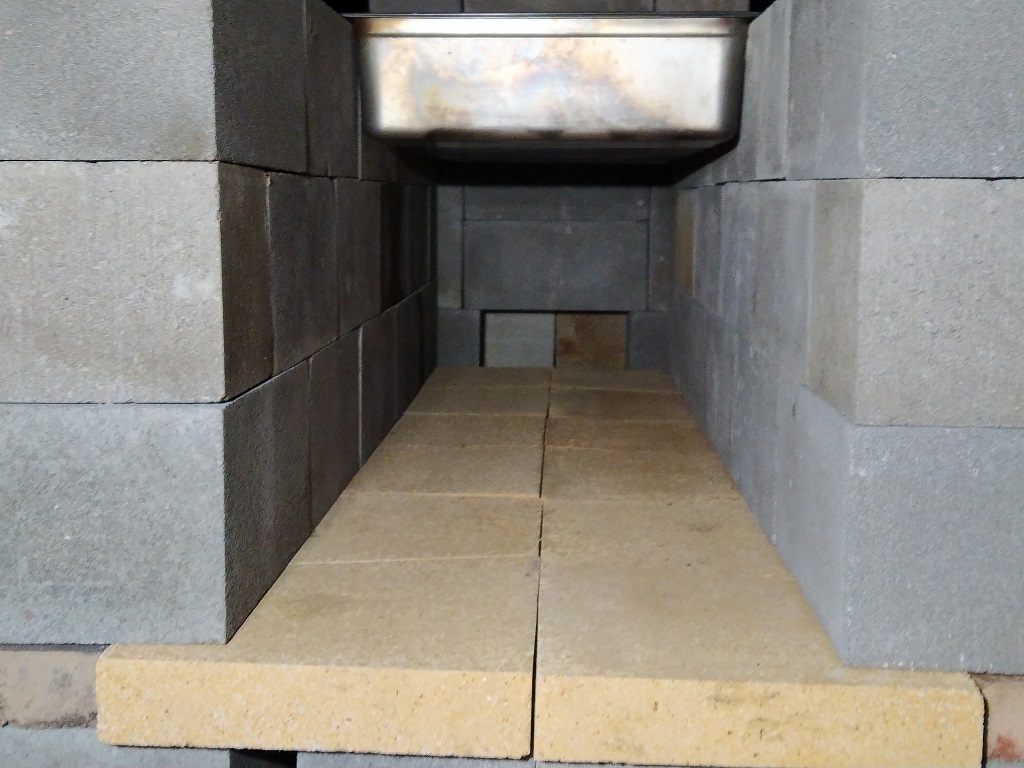
We then lined the firebox with more refractory brick — there are two or three inches between the top of the refractory brick and the bottom of the evaporator trays. Adding logs and lighting a fire, we finally have maple sap evaporating.
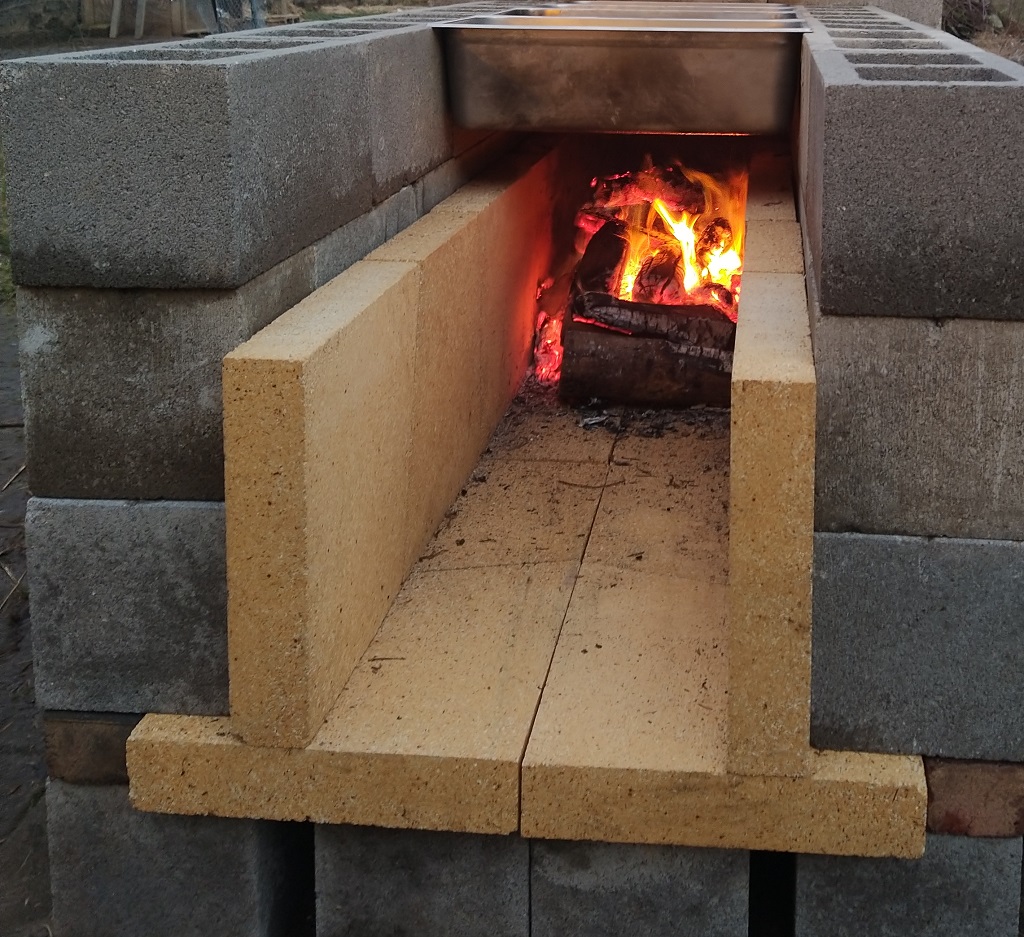
We added a steel plate at the end of the trays to keep smoke away from the sap.
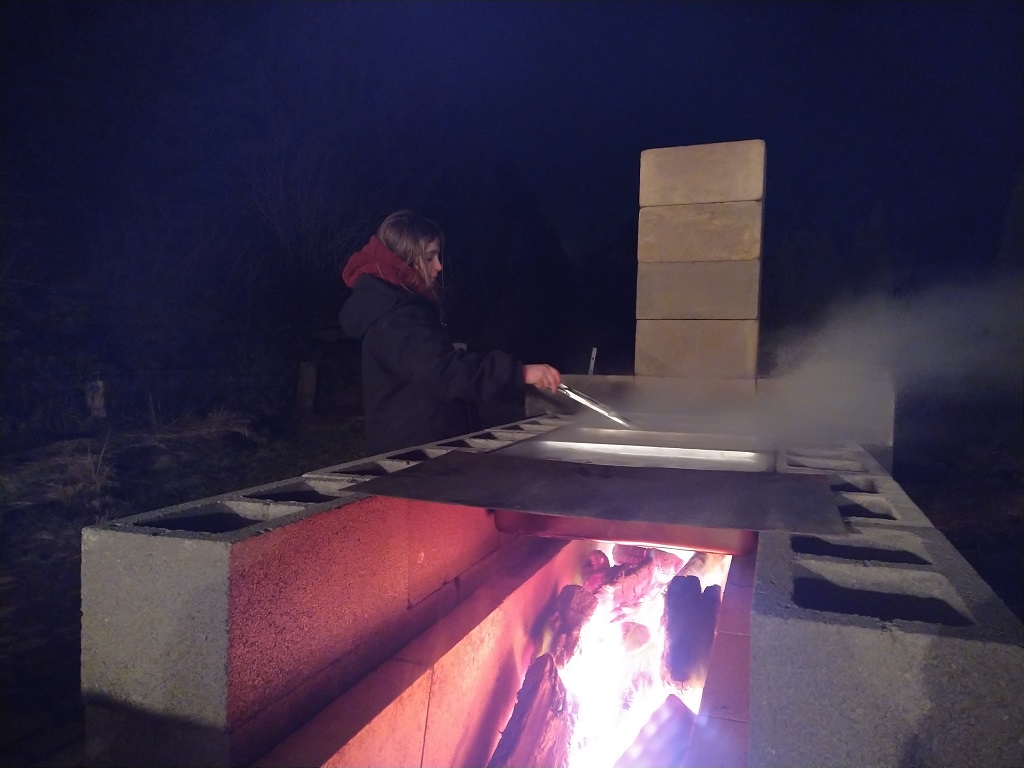
Bonus — we can cook dinner while we’re evaporating sap!
