Tag: costume

Halloween 2018 – Unicorn Hood

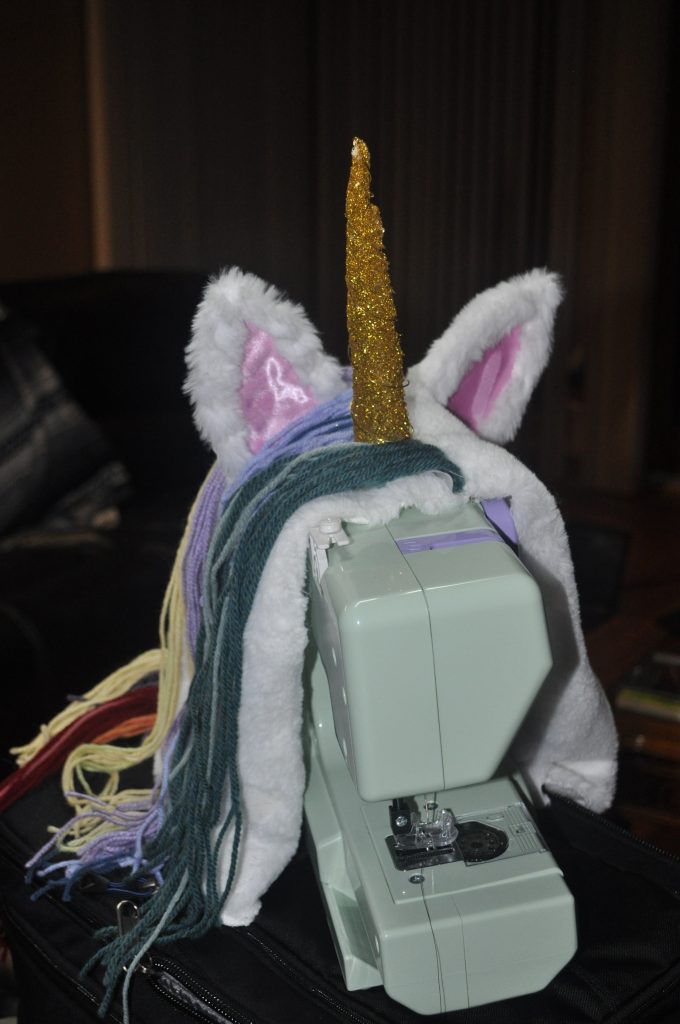
Making a horn turned out to be a LOT harder than it seemed. Taking a heavy piece of paper and folding it into a cone was easy enough. I stuffed it with polyfil to give it some form. But how do you make it sparkly? I wanted to wrap the thing in a gold lamĂ© fabric, but getting it all held together just wasn’t working.

Plan G (or so) was spray-on glue and glitter. I’m going to have to coat this thing in some clear sealant so she’s not a unicorn sprinkling glitter everywhere she goes. But it’s a horn!

Halloween 2018 – Unicorn Mane

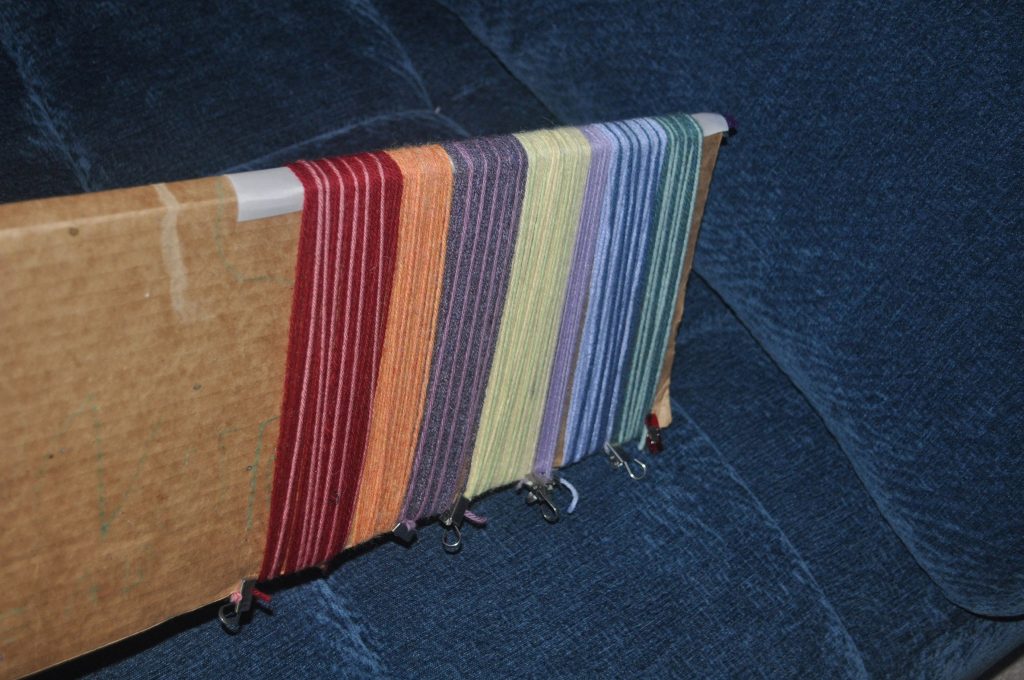
I’m making a rainbow mane and tail for Anya’s unicorn custom. To make the mane, I took a piece of cardboard twice as long as I want the mane to be. Folded it in half and laid a piece of white ribbon over the fold (clipped it in place at first). And then wrapped yarn around the thing. A lot of yarn 🙂

Once the yarn was wrapped in the order she wanted, hand-stitched the yarn to the ribbon. After the yarn was attached, I cut the bottom. Stitching the ribbon onto the fur hood, we’ve got a mane.

Halloween 2018 – Unicorn Ears

Anya wants to be a unicorn for Halloween this year — I got some awesome white “fur” and made a shirt and pants from the same patterns I used for her lion costume last year. I just need a different headpiece and tail. I think I’m going to use the hood from a poncho pattern that I’ve got. Attach a mane, some ears, and a horn … voila, a unicorn.

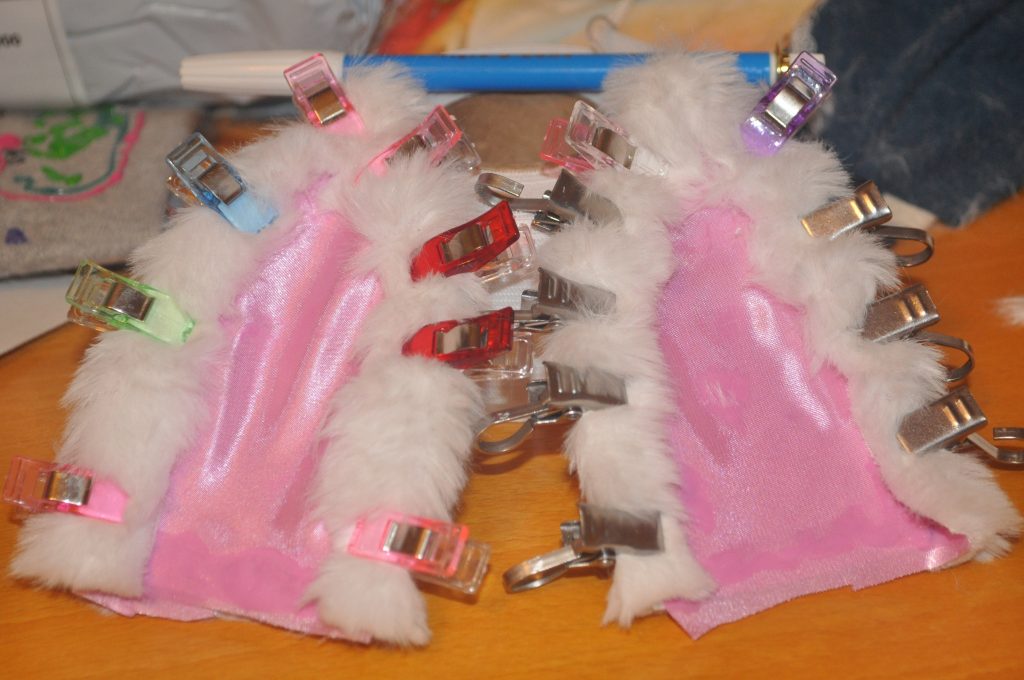
To make the ears, I cut a basic form from comic book board (half-back … what I use to wrap and store my fabric pieces), glued a piece of pink satin to each piece of cardboard, and then wrapped the back with a cut of furry fabric. The fur is glued onto the pink satin. Lots of clips to hold the thing in place while the glue set …

Halloween 2017: Lion Mask – Completion

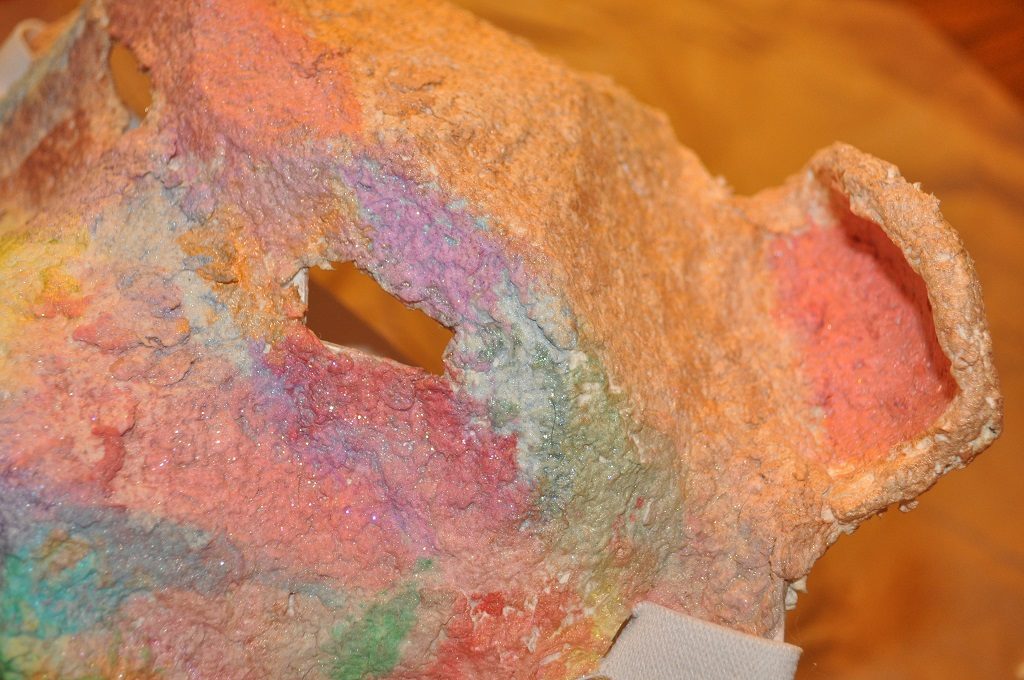
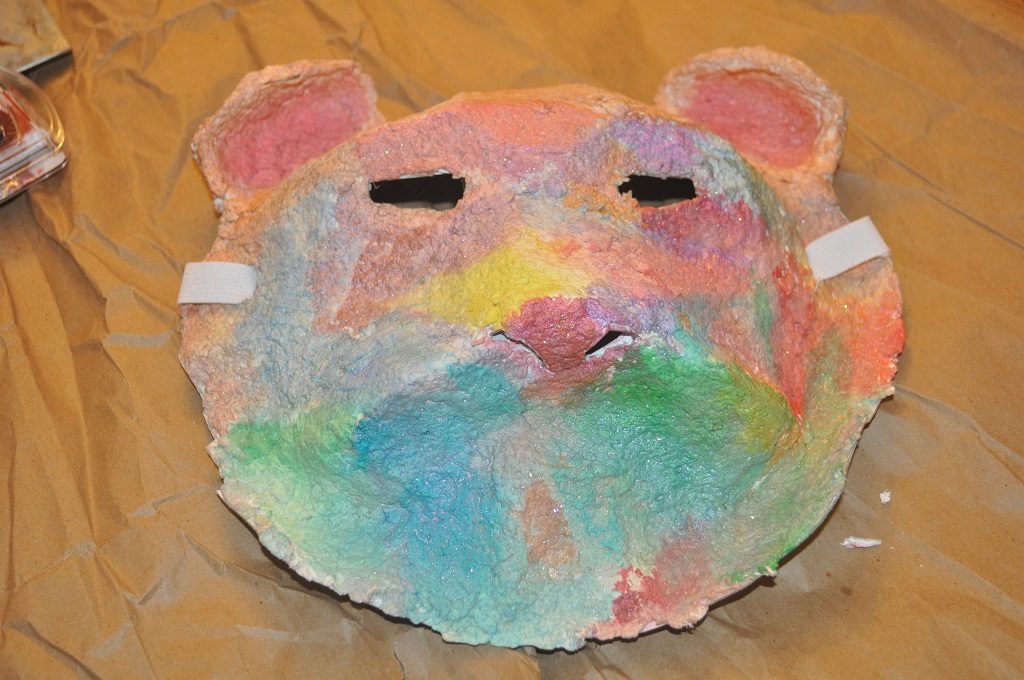
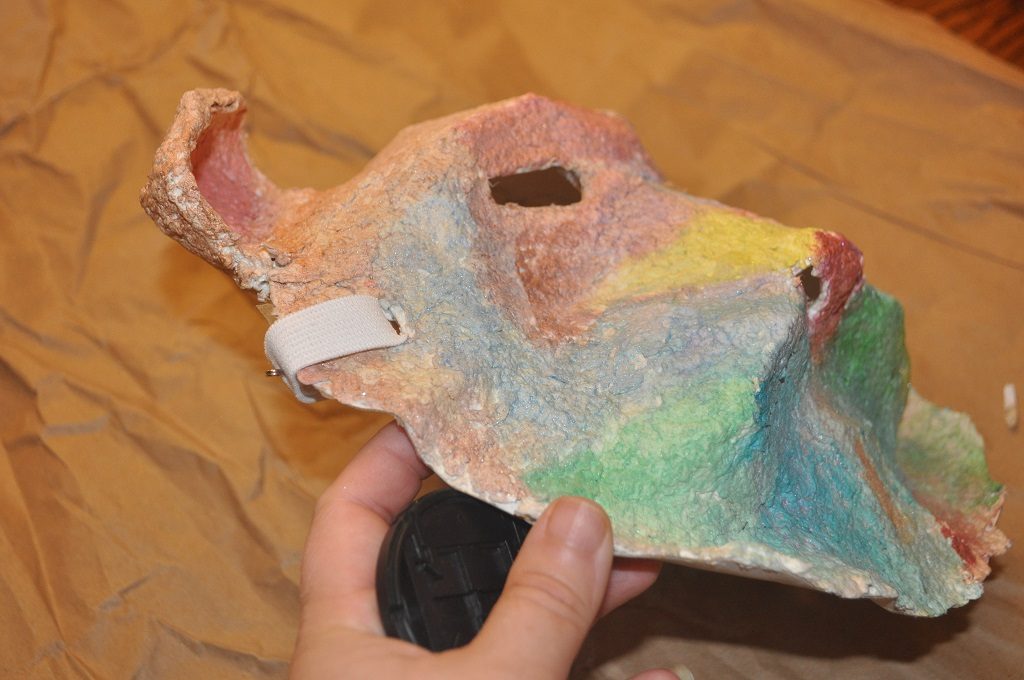
I cured Anya’s lion mask in the oven at 170 degrees F for several hours, and it got hard. Then we painted it. Anya wanted to be a rainbow lion. I had planned to blend a couple of pearlescent water colours — orange, yellow, brown, and cream — to make a tan-ish tone for the fur, then combine the red and cream to make a subtle pink for the ears.

When we were making the mask, I was worried the ears would be unstable. So I’d added a coating of papier-mâchĂ© on the back, extending down past where the ears mount to the main mask. This gave us solid ears that don’t seem like they’re going to snap off.

Anya painted the rest of the mask while I worked on the ears.

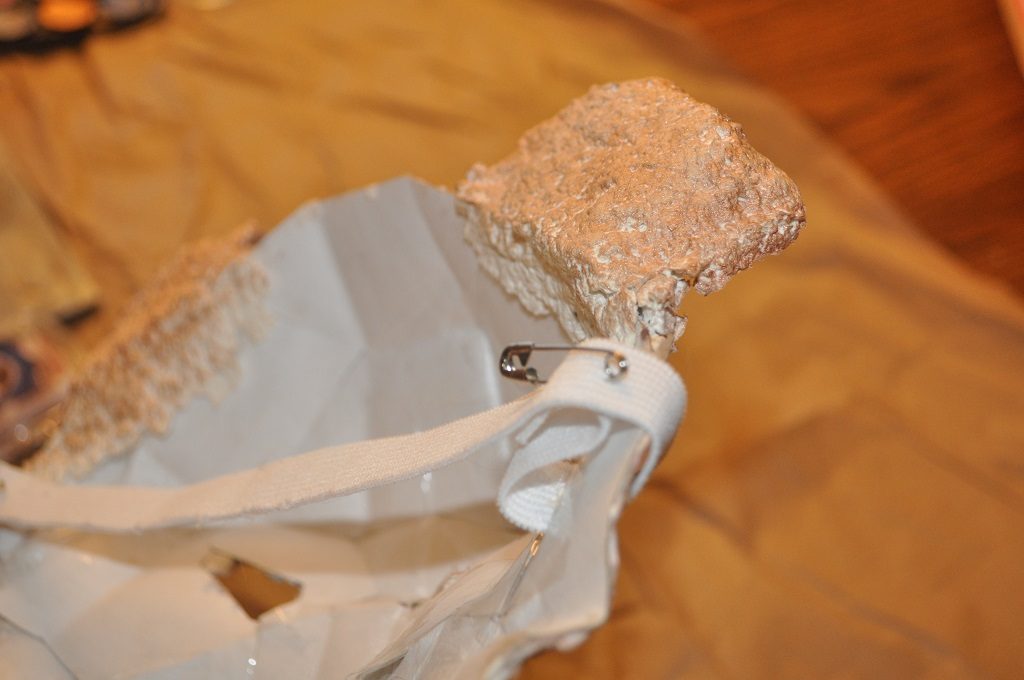
From the side — I’d left a void through which the strap could be run

We then used a glitter infused soft-gel watercolour paint to give the mask some sparkle – didn’t seem like a lot of glitter when the paint was wet, but the mask developed a nice sparkle as the paint dried. The tones are fairly subtle, and I took a wet brush to blend her sharp edges.


Halloween 2017: Lion Mask

We made Anya’s lion mask a few weeks ago, but I couldn’t get the cardboard to hold together without using a lot of tape. Which meant the surface wasn’t consistent and was not easily painted.
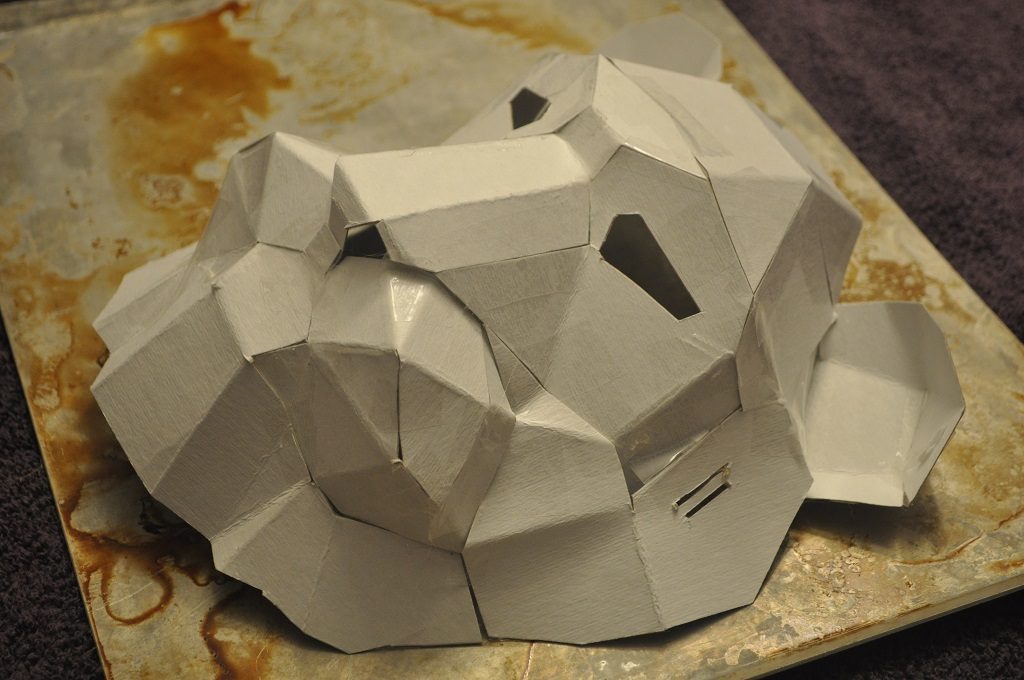
So I decided to use the mask as a base for papier-mâchĂ©. First step – make papier-mâchĂ© goo. A good bit of research, and I realized there are a lot of ways people make this stuff. But since it’s going to be on her face, I didn’t want to use building supplies or even PVA glue. Decided to try the boiled flour/water binder. Boil a cup of water. In a separate container, stir together 1/4 c flour and 1/4 c cold water and stir until it is smooth. Once the cup of water is boiling, slowly whisk the flour into the water and boil for a few minutes until it thickens.

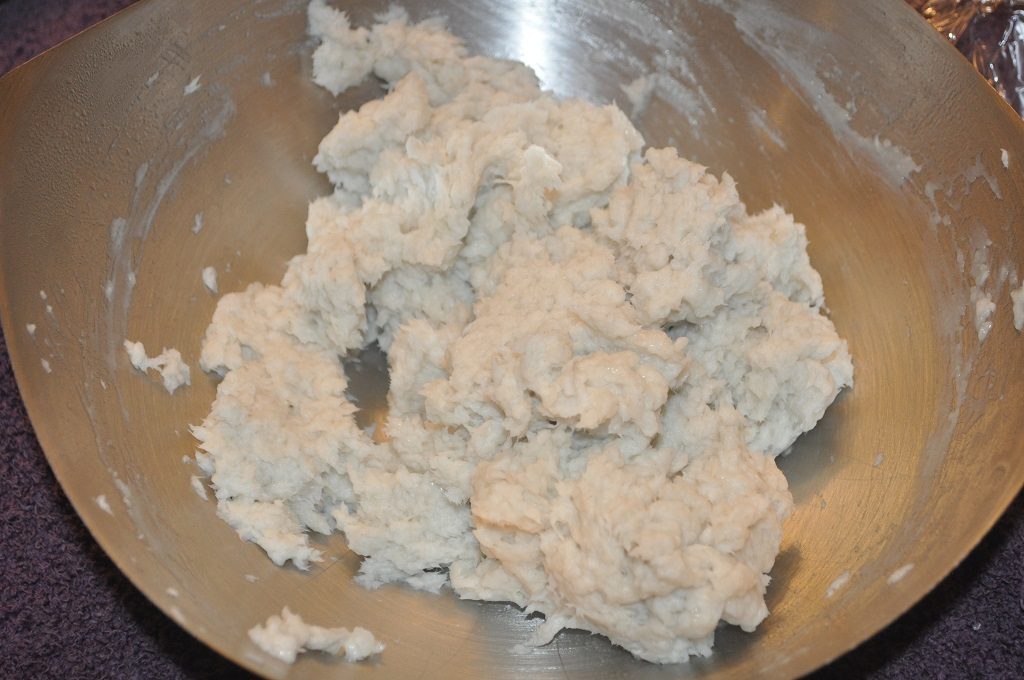
The paper – I used my pasta pot, and the paper fibers stayed within the basket quite well. Boiled paper for about ten minutes to soften it up, then used the immersion blender to break it up. Pulled the basket out of the water, and set it to drain. It was still wet, so I put the blob into a towel and pressed out more water.

Once I had a fairly dry blob of paper fibers, I mixed in the binder and used the immersion blender to form a consistent paste-like texture.
Then we pressed a thin layer over the mask – tried to get a texture that looks a little bit like fur.
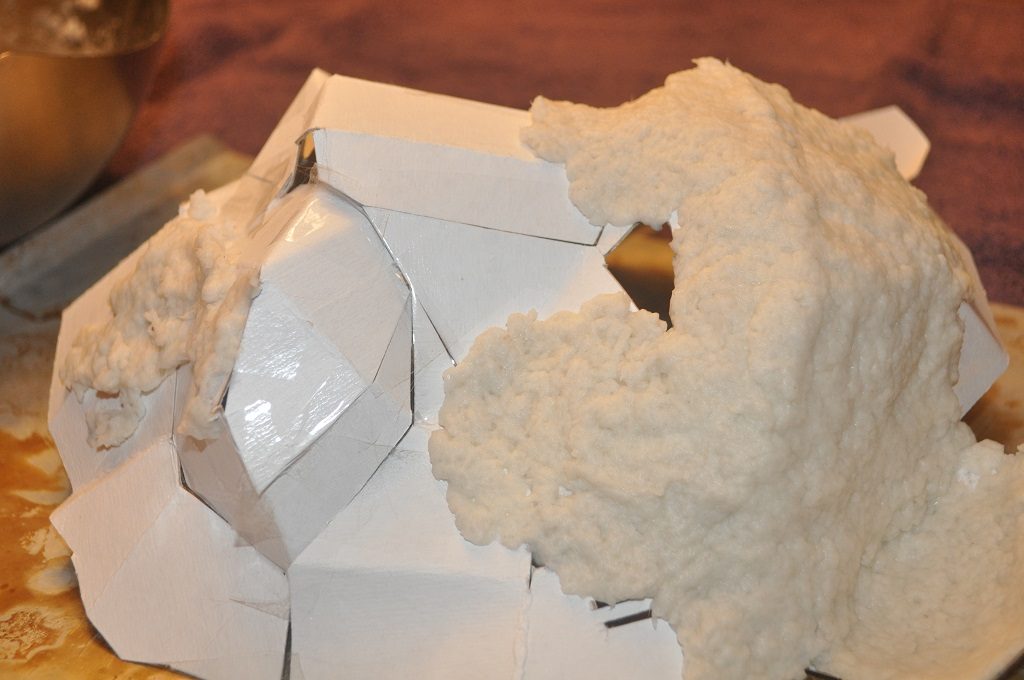
Most important thing, Anya enjoyed glooping the stuff onto her mask, and she likes the finished result. I popped it into the oven on warm and am checking it every half hour or so to make sure we don’t burn it.
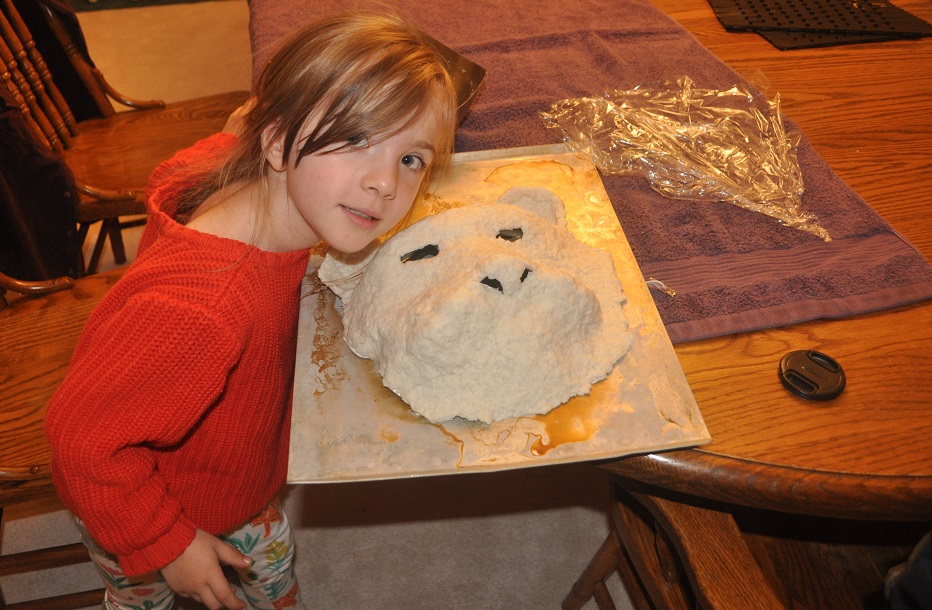
Tomorrow, we’ll paint it with a glittery tan paint, adding some pink paint in the ears, nose, and mouth area. Probably sort something for whiskers too.
Halloween 2017: Lion Costume – Furry Suit

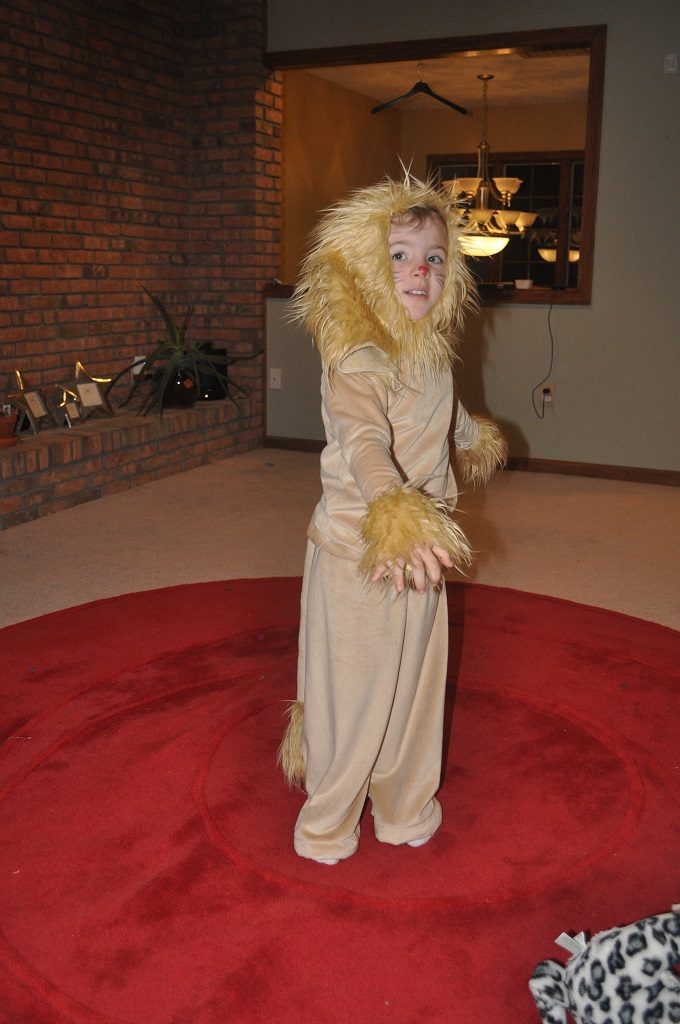
I have Anya’s Halloween costume finished. I used a minky fur in camel for the body and a long-haired fur in camel for the mane and fur accents. The costume is just a shirt and pants made with minky fabric. For the pants, I used a free pattern from FunFleece — where the pattern says you can cut the pieces simultaneously on folded fabric, it should indicate that you need to cut two mirrored. If you cut on folded fabric, it is mirrored by design. If you cut two pieces separately … well, it won’t go together well, you’ll have to rip the seam, and then cut one the right way. No reason I know this 🙂 Once I had mirrored pieces, it was a quick job to serge it together, fold the waistband, insert elastic, and stitch the band together. The legs were quite long, so there is a 1.5″ folded hem at the bottom that can be let out as she grows.  The shirt is a pattern I drafted based on one of her long sleeved t-shirts.

The mane is a large rectangle with each side serged to keep the fur from shedding everywhere. It is serged together under her chin and tucked both sides of her forehead to fit the opening to her face. The back is opened so the mane pulls on easily. I used a few sewing clips to pull it together.

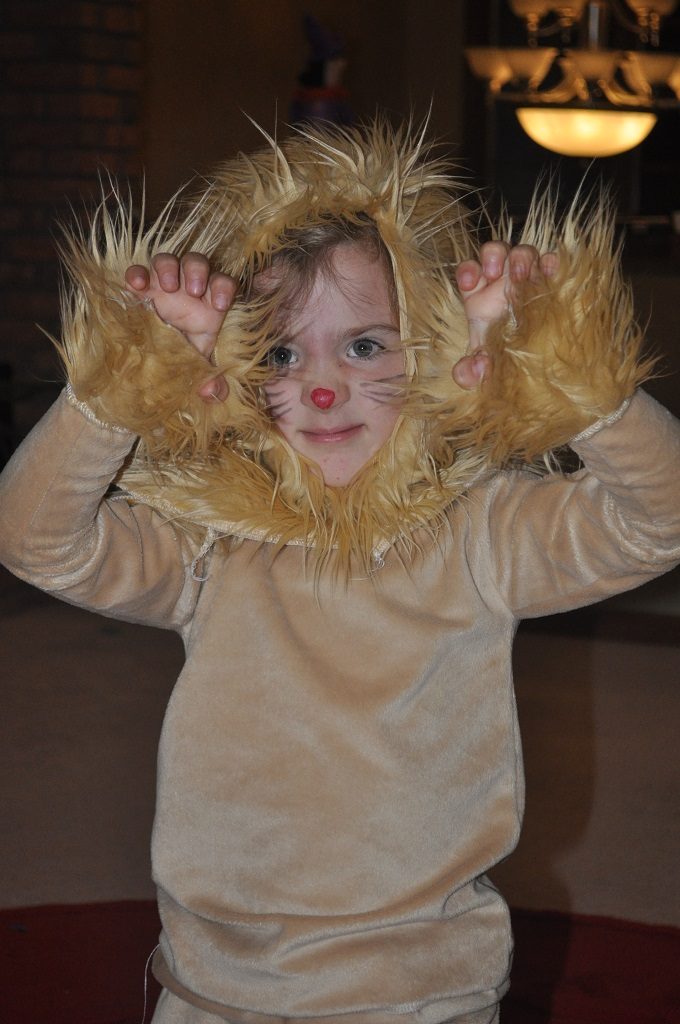
I cut small elongated trapezoids of the long fur fabric and serged them together to make a cuff. They just slip over her hand like a bracelet. Add the tail I made earlier, and we have a lion:

Somtimes a fierce lion with claws:

Lion Costume – Mask

I started making Anya’s costume – this year, she wants to be a lion (took a while explaining that once we order fabric and stuff you cannot change your mind) with a mask on her face. Specifically, she wants a mask. Very important. So I had to figure out how to make a lion mask. I used Pepakura Designer to create a 3D model of a lion face and then unfold it into a series of printable shapes.

After printing the design, I clipped the paper to half-back (thin cardboard) that I use to store fabric. A straight-edge and x-acto knife helped in accurately cutting the pieces. They’re still a pain to assemble – a couple of extra hands would have helped. Problem is it needs so much tape to keep its shape, I have no idea how to paint the thing.

I’m thinking of using the cardboard mask as a base to apply papier-mâchĂ©. Then we’ll have a consistent surface to paint.

Halloween 2017: Lion Costume – Tail

To make Anya’s lion tail, I started with an elongated trapezoidal piece of furry fabric — not quite a rectangle because I wanted it thicker at the base of the tail and thinner at the end. I folded it in half length-wise, with the right sides together, and used the serger make a fabric tube. Turned it right side out and stitched the ‘tip’ of the tail closed. I used a bunch of poly-fil and slowly stuffed the tail (using big wads to stuff the tail made it look lumpy. I took small pinches of the stuff and pushed it to make a firm filling.). Then I hand-stitched a strip of long fur around the tip.

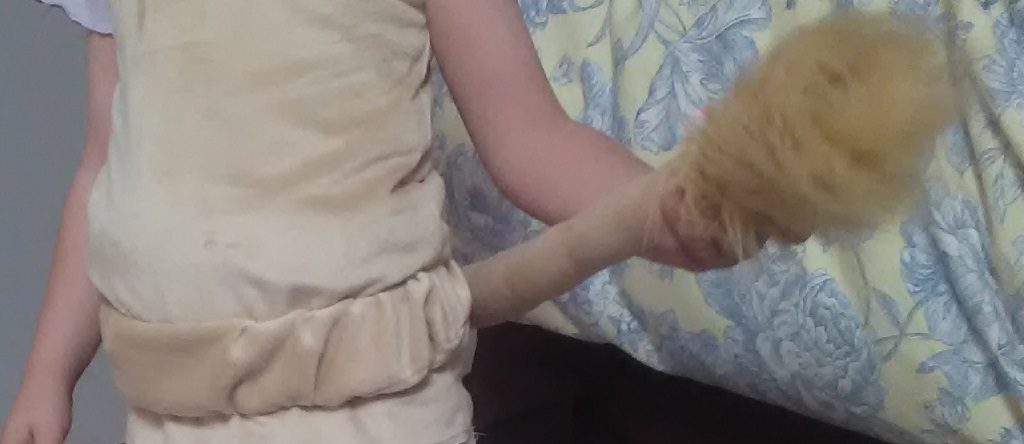
I wanted something Anya could put on by herself, so clipping the tail onto her clothes wouldn’t work. I decided to use an elastic band – cut a 4″ wide strip of the lion fur fabric about 6″ longer than Anya’s waist circumference, folded it in right sides together, and serged it into a tube but left a few inches at the end. I then inserted the tail into the tube and folded it so the top fabric of the tail was aligned with the top fabric of edges of the waistband fabric and finished serging the strip. I then turned the whole thing right-side out — so the tail was firmly held into the band and dangled down. I measured out a strip of elastic about 2″ bigger than Anya’s waist, threaded it through the band, and sewed the elastic together with a lot of overlap. My hypothesis is that I’ll be able to open the seam and make her bands bigger as she grows. Once I confirmed it was tight enough to hold the tail up on her waist, I hand-stitched the tube together at the ends to make a band. Voila, one lion tail!