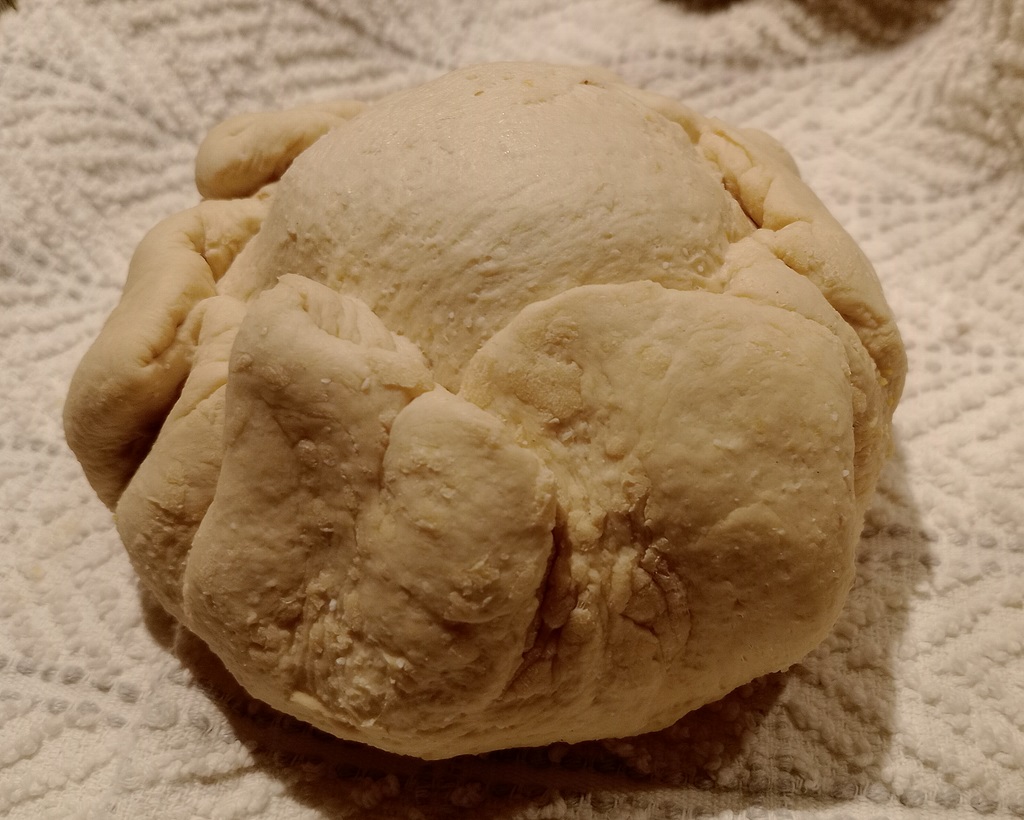
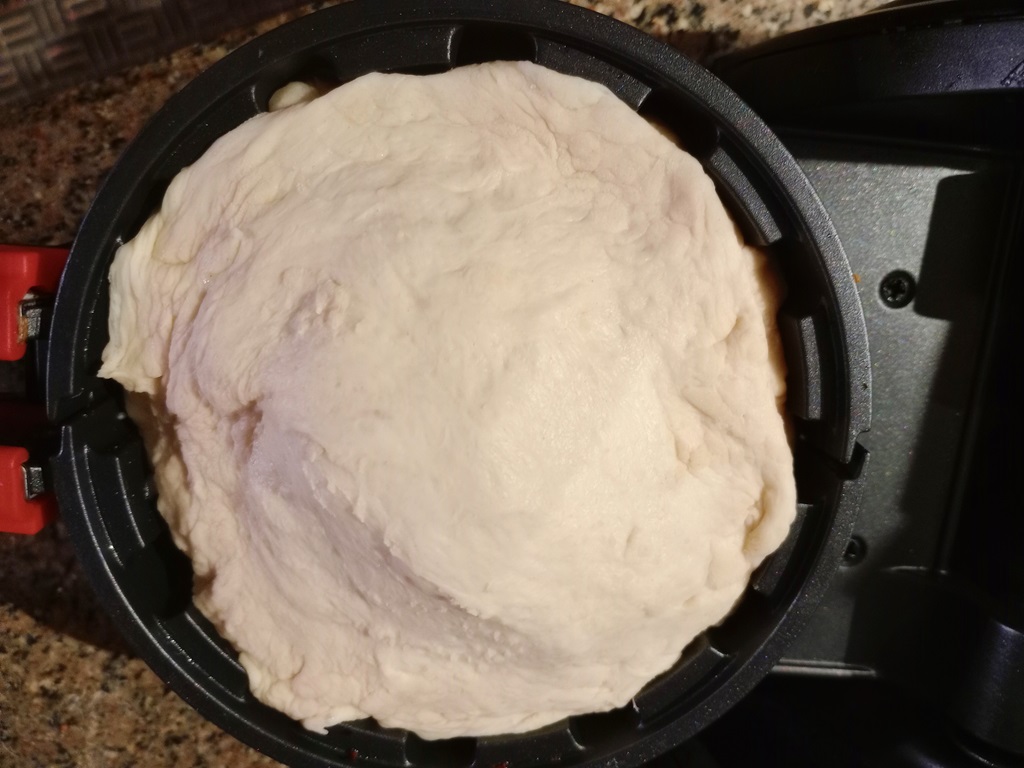
I am trying a new approach to making stuffler sandwiches – pre-forming a circle so there’s more stuffing and less dough. Still getting a lot of dough, though, where they overlap. I think I will try sealing and trimming the edges next time. But there was a lot more stuff even with the folded edges.
Tag: food
Stuffler Pizza
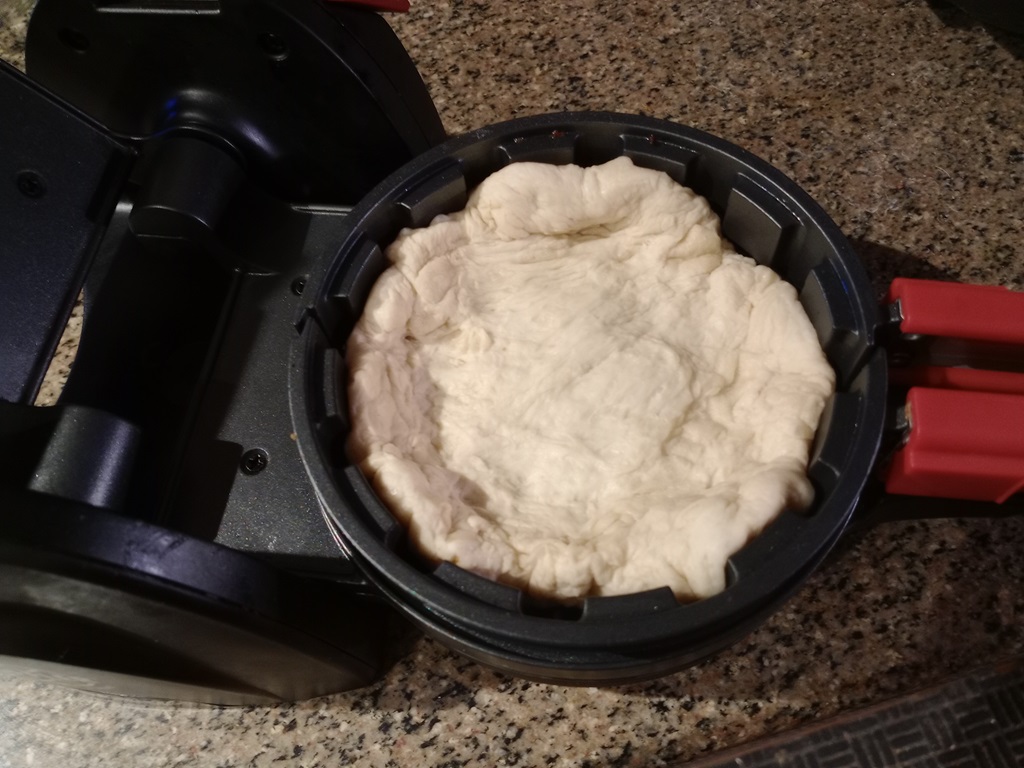
Scott saw this “Stuffler” in a video and got one to try it out — very cool! We made fruit stuff waffles with sweet cherries, strawberry stuffed chocolate brownies (difficult to clean up, but if you let it cool in the stuffler prior to removing it, they come right out), chaffles, and now pizza. You plug the thing in for about ten minutes to heat it up. The middle ring/handle needs to be inserted and the unit closed while it heats.
First, stretch out a round of dough and place it on the bottom waffle iron section. I tried to stretch the dough up the side of the ring like a pie crust. Took a little work, but managed eventually.
Spread on the pizza sauce and add whatever “toppings” — in this case, some cooked spicy Italian sausage and onions.
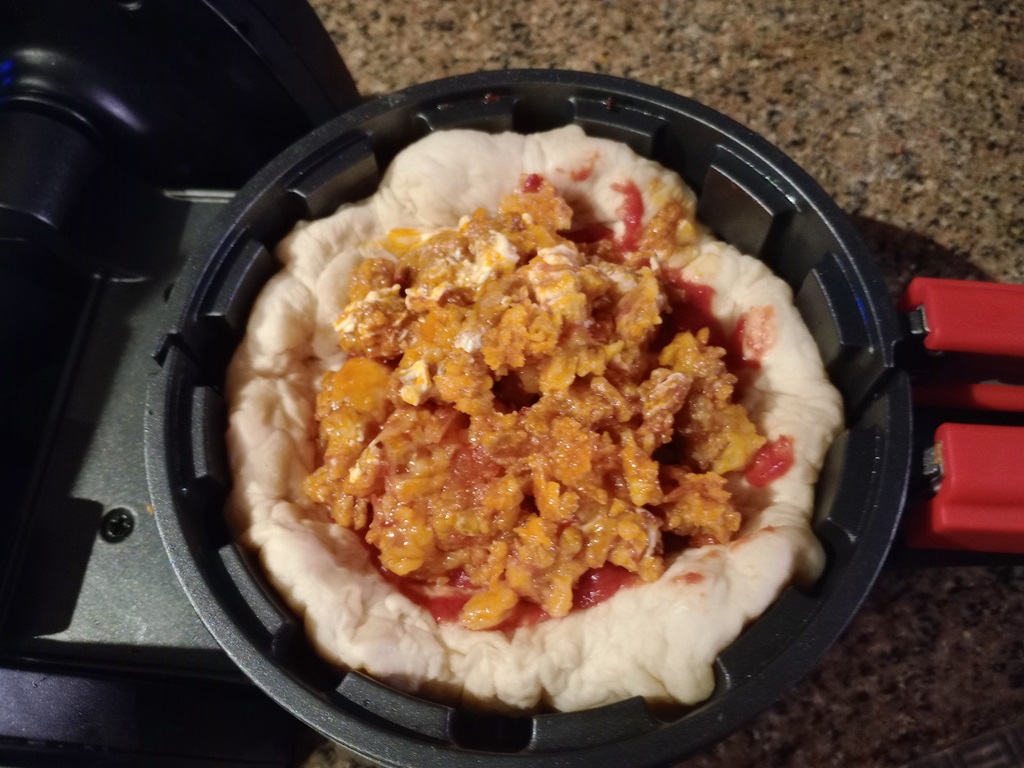
Add cheese!

Then stretch out another disk of dough and put it on top. I pressed the edge together to try and seal it all up.
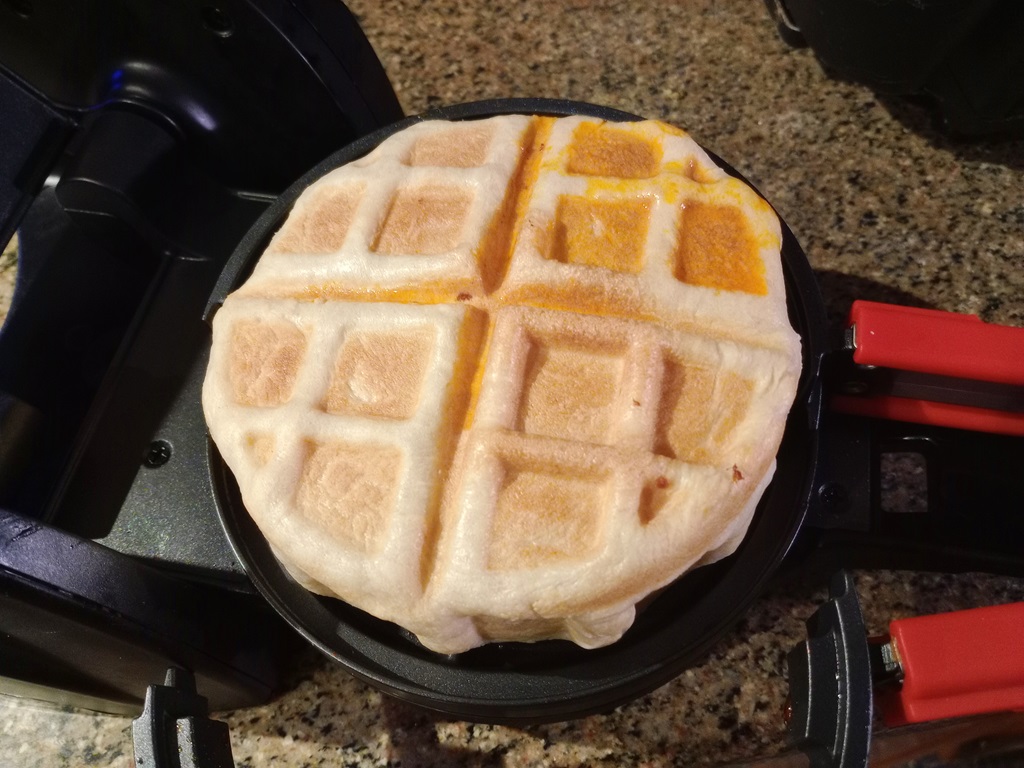
Then close it up & flip it. Allow it to cook. I cooked them for 10 minutes, flipped the unit again, and cooked them for another 5 minutes. They puffed up nicely and had a brown, crispy crust.
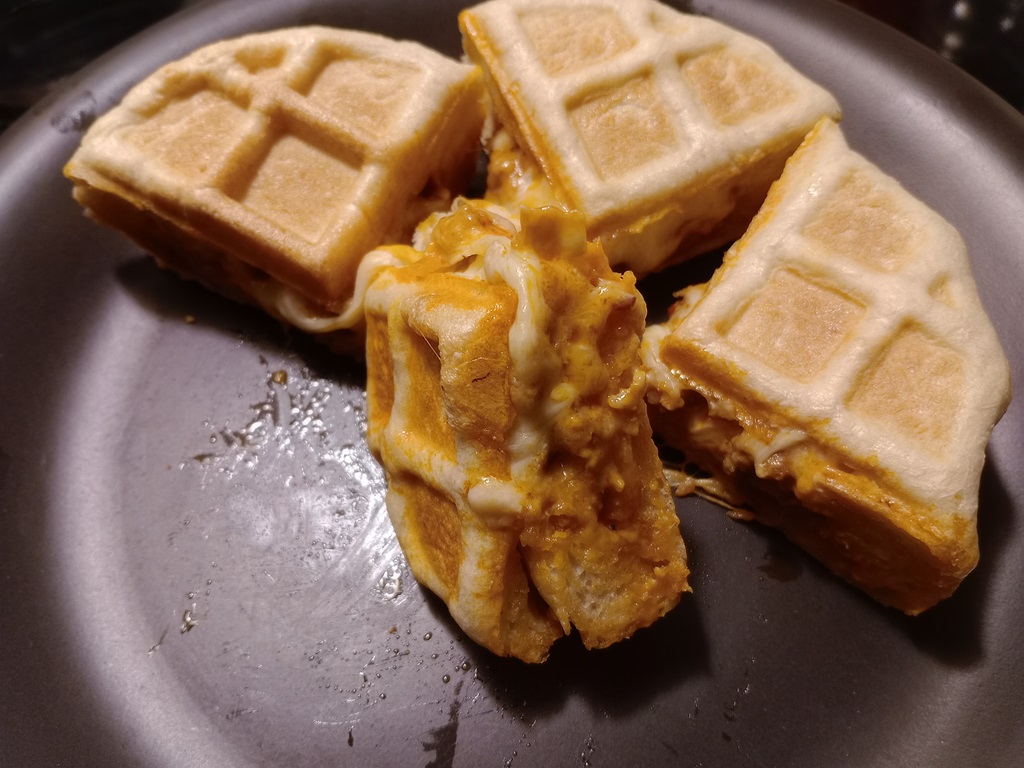
The sausage leaked some oil — I should have drained it better!

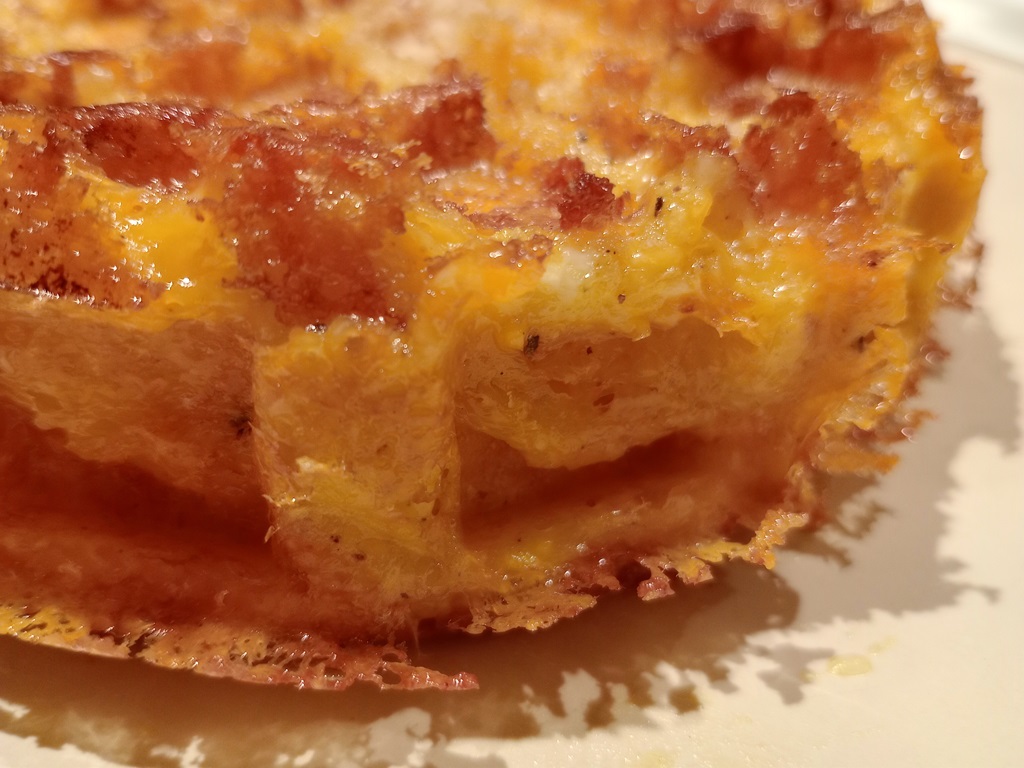
Cut the “stuffle” into four pieces and you’ve got gooey, cheesy pizza waffles! Pizza dough with four cups of flour made seven stuffed pizzas. I’ve got three in the freezer to see how well they reheat.
Chaffle
I’ve never heard of a “chaffle” before — it’s evidently a paleo / keto take on a waffle. 3 cups of shredded cheese (2 cups cheddar / 1 cup mozzarella) and about 3 eggs mixed together so the egg coats all of the cheese shreds well. Then put into a waffle iron. For extra crispy crunch, I sprinkled some panko onto the waffle plate, filled it with the “batter”, and sprinkled some more panko on top. Very crispy and crunchy!
Also very tasty! Like eating a grilled cheese sandwich, but the “bread” is really cheese too. I added a little salsa to the middle of the cheesy mixture before cooking it.
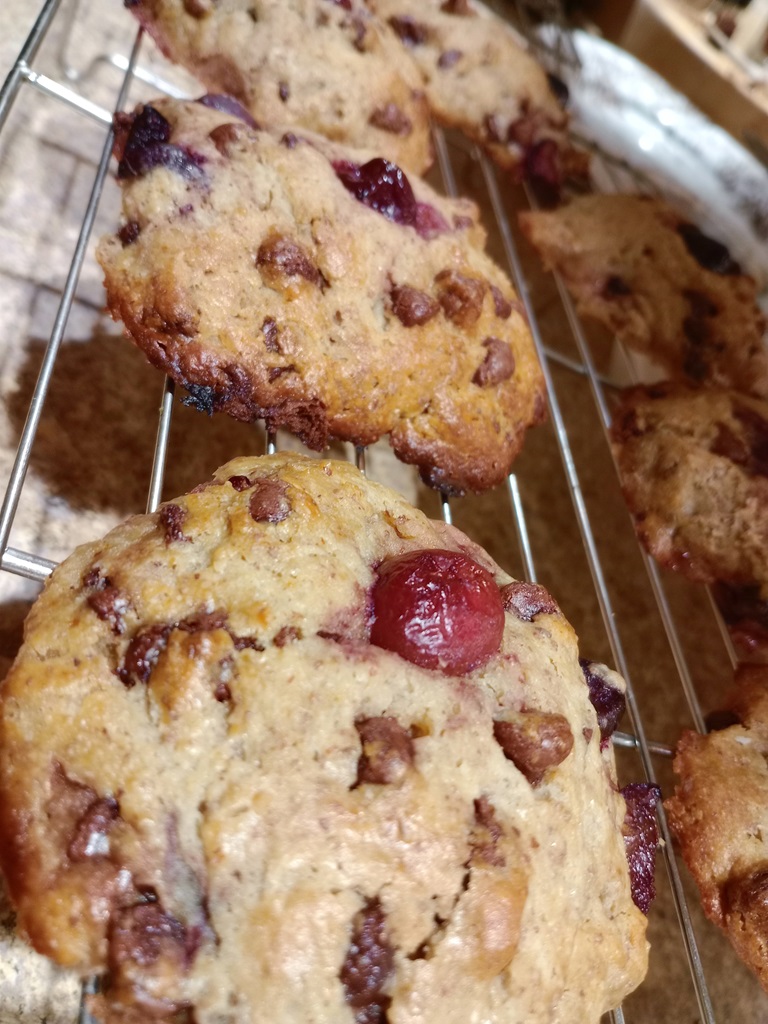
Chocolate Chip Cookies with Dark Cherries and Almond Flour
Anya made me birthday cookies! I wanted to save the recipe because they turned out really well.
Ingredients:
- 1 3/4 cups all-purpose flour
- 1/2 cup almond flour
- 1 teaspoon baking soda
- 1/2 teaspoon salt
- 1 cup unsalted butter, softened
- 1 cup maple syrup
- 1/2 cup plain Greek yogurt
- 2 large eggs
- 2 cups semi-sweet chocolate chips
- 1 cup frozen dark cherries, roughly chopped
Instructions:
-
Preheat your oven to 375°F. Line baking sheets with parchment paper.
-
In a medium bowl, whisk together the all-purpose flour, almond flour, baking soda, and salt. Set aside.
-
In a large mixing bowl, beat the softened butter with the maple syrup until well mixed. The mixture will be looser than a typical creamed butter-sugar mixture due to the syrup.
-
Mix in the Greek yogurt until smooth. Beat in the eggs one at a time, mixing well after each addition.
-
Gradually add the dry ingredients to the wet ingredients, mixing until just combined. The dough will be a bit softer due to the syrup and yogurt.
-
Gently fold in the chocolate chips and frozen dark cherries until evenly distributed throughout the dough.
-
Drop rounded tablespoons of dough onto the prepared baking sheets, leaving about 2 inches between each cookie to allow for spreading.
-
Bake the cookies in the preheated oven for 10-12 minutes, or until the edges are golden brown and the centers are set but still soft. If you made really big cookies, this may be more like 20 minutes!
-
Allow the cookies to cool on the baking sheet for about 5 minutes before transferring them to a wire rack to cool completely.
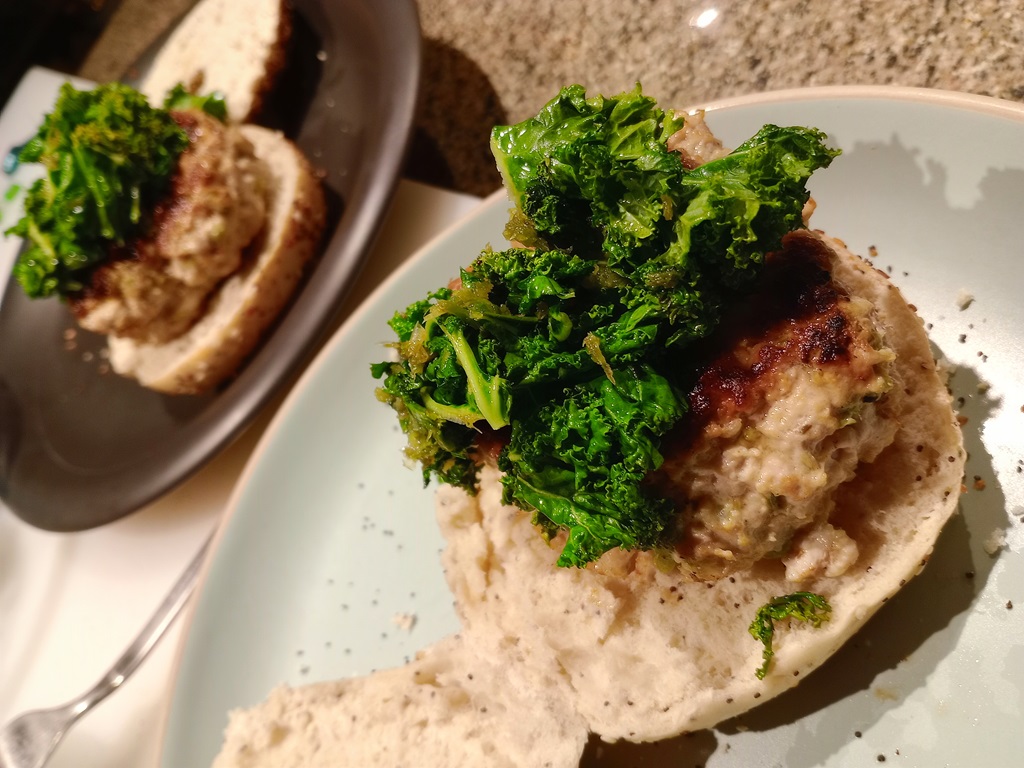
Garlic Kale Pork Burgers
I made garlic kale pork burgers for dinner tonight — cut up pork loin & ground it with garlic scapes, salt, ground black pepper, and kale. Then cooked patties and topped with kale sauteed in butter with more pureed garlic scapes. Served on an everything bagel, and they were very good.
Old Fashion Butter Mint Recipe
Ingredients
¼ cup unsalted butter, softened
¼ teaspoon salt
3 ¼ cups confectioners’ sugar
⅓ cup sweetened condensed milk
½ teaspoon peppermint extract (taste as you add it, don’t overdo it!)
food coloring, optional
Instructions
- To the bowl of stand mixer fitted with the paddle attachment, combine butter and salt and beat for 1 minute on medium-high speed.
- Add 3 1/4 cups confectioners’ sugar, milk, peppermint, and beat on medium-low speed until a dough forms. If the dough seems wet, add additional confectioners’ sugar until dough combines (I use 3 1/2 cups sugar). The dough will be crumbly but will come together when pinched and squeezed into a ball.
- Taste the batter. If you want a more intense mint flavor, add additional mint extract, to taste (see note below).
- Remove dough from the mixer, separate it into 1 to 4 smaller balls, and add one ball back into the mixer. Add the food coloring of your choice to the ball by squirting the droplets on top of the dough (careful when you turn on the mixer), and paddle on low speed until coloring is well-blended.
- After the dough has been colored, either wrap it with plastic wrap and place it in an airtight container in the refrigerator to be rolled out later or roll it immediately.
- To shape the butter mints, place a golf-ball sized amount of dough in your hands and roll dough into long thin cylinders about 1 centimeter wide. Place cylinders on countertop and with a pizza cutter (or knife – be careful of your counter), slice cylinders into bite-sized pieces, approximately 1 centimeter long.
- Store mints in an airtight container in the refrigerator where they will keep for many weeks.
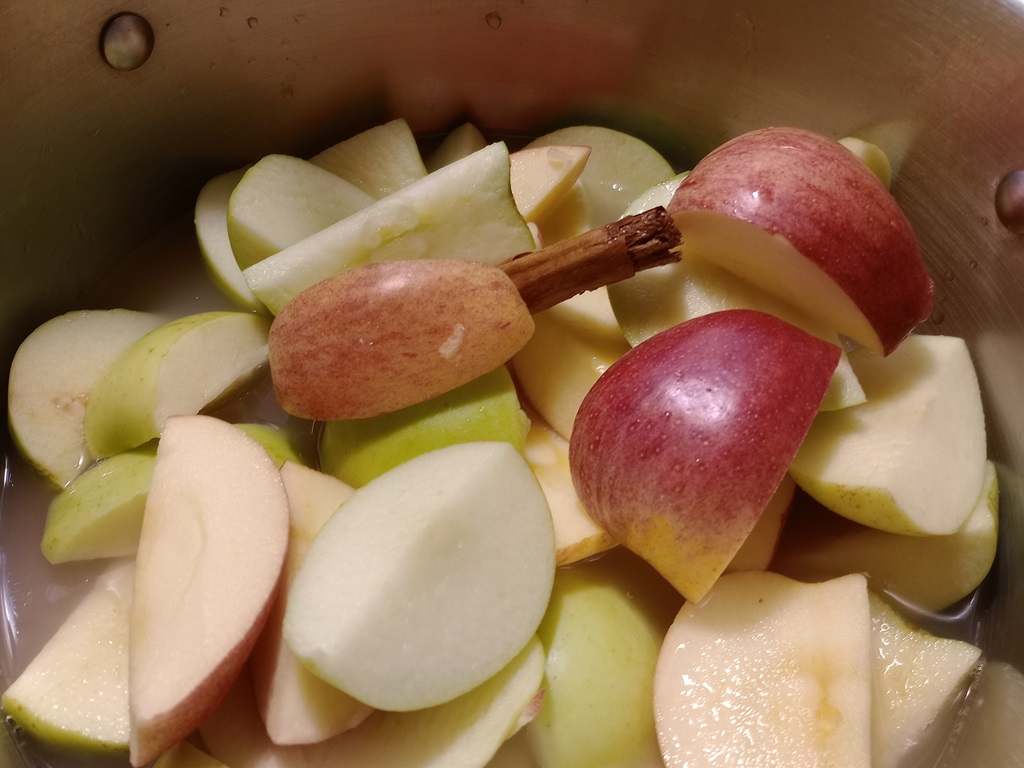
Apples!
Making apple sauce is a lot less time consuming that I thought it would be — a little bit of water in the bottom of a large pot (so the apples don’t burn to the bottom). Fill the pot with apple chunks, a stick or two of cinnamon, and put a lid on it. Bring it up to a boil, turn the temp down, let them boil for 15 or 20 minutes. Take off heat and cool a bit, then run them through the blender. Voila – you’ve got apple sauce. If you re-use the liquid in the cooking pot for another batch or two, you get very tasty apple juice too.
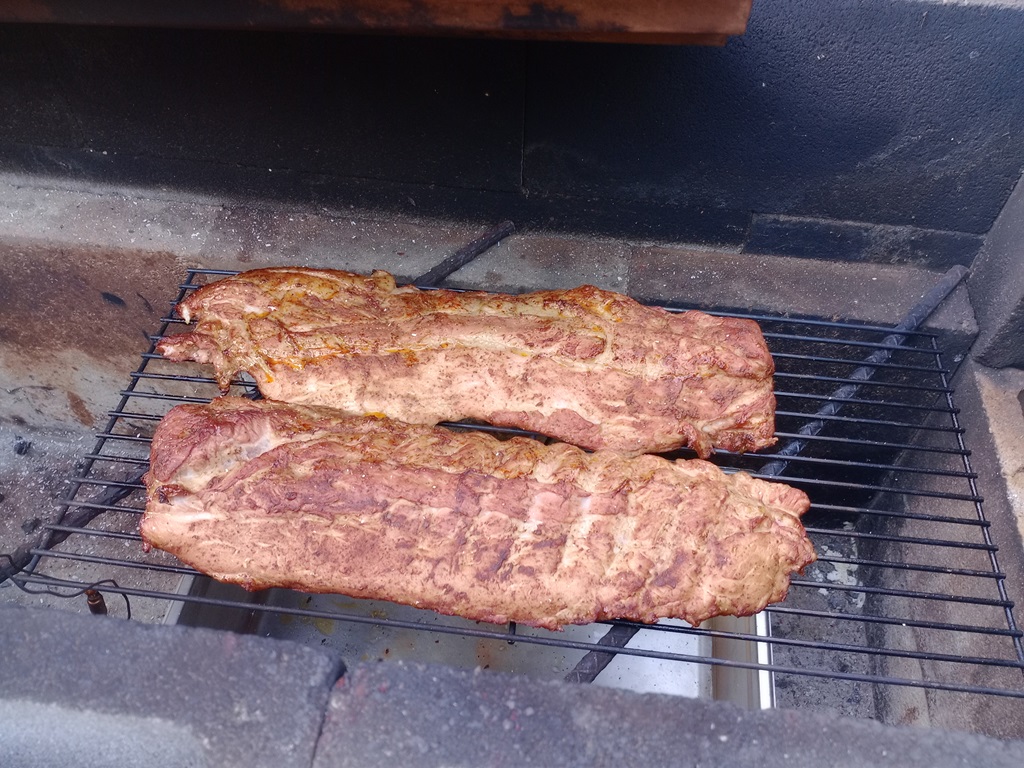
Hot and Fast Smoked Ribs
Unfortunately, I don’t think we’re going to be able to replicate this exactly — had a bunch of bad temperature probes, so we didn’t realize how hot our smoker was going. We usually do the 3-2-1 thing at like 225F … but the smoker chamber was over 300 degrees. So I did a quick search for “what happens if I smoke my pork ribs at 300” and discovered the hot and fast method. Absolutely no idea that was even a thing!
So we put the ribs on at about 6PM, and it was about 9PM by the time we were eating. I coated them with some spice rubs about an hour before we started cooking. We brushed them with a butter/spice mixture after about an hour of cooking and again about half an hour before pulling them. They were tender but not mush, crispy, tasty (a little too much salt in places, but that’s just the rub), moist, and incredible. While I have no idea what the temperature we cooked these things at, we’re going to try to use this method again after we get some good temp probes.
Peach Butter
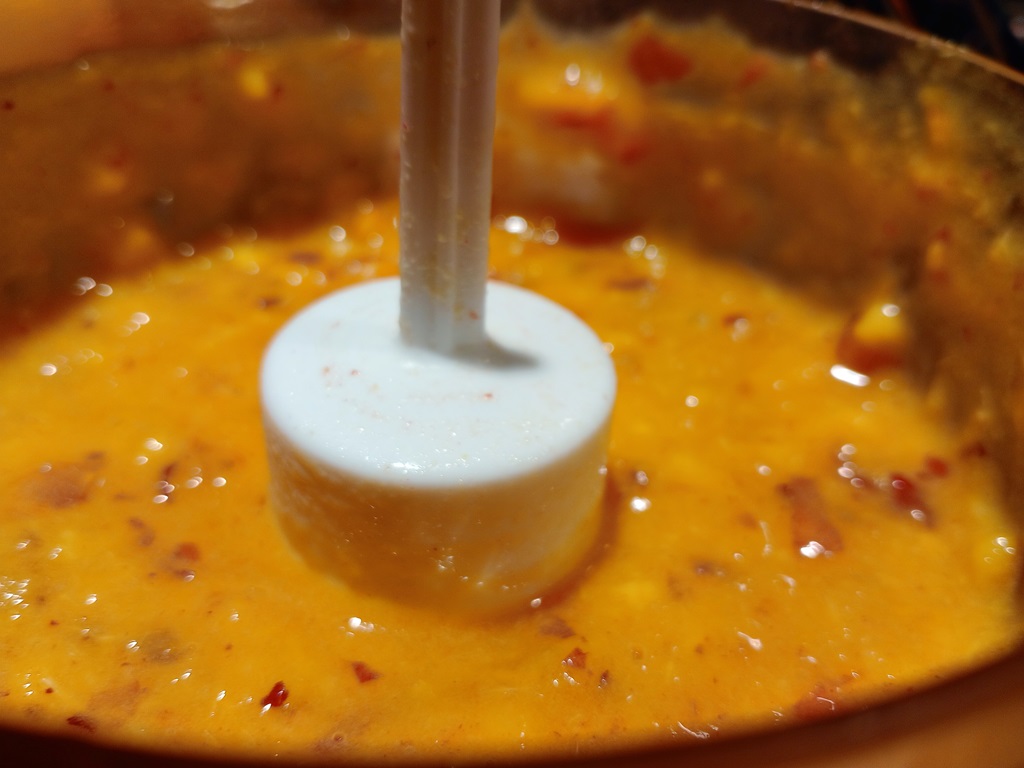
While peaches are on sale for a buck a pound, I made peach butter — puree peaches in a food processor, then cook it for about 12 hours on low in a slow cooker. Leave the lid off for the last hour (or three) to allow it to thicken up. It’s great on a peanut butter sandwich.
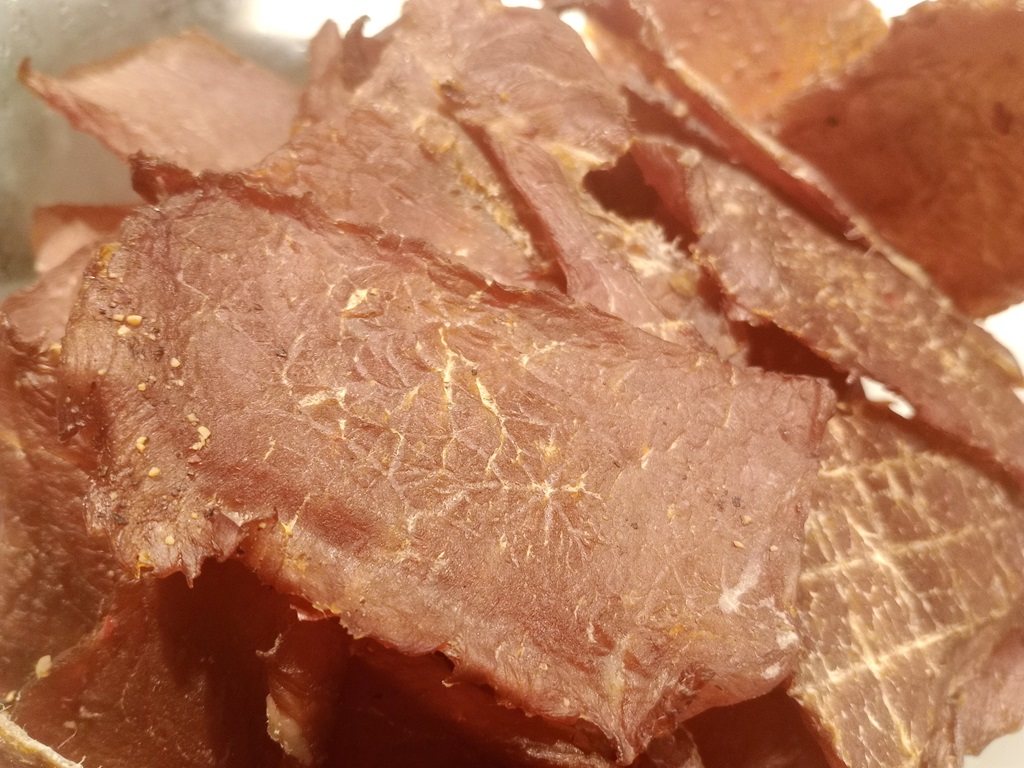
Homemade Jerky — Take 2
This time, I got larger cuts of meat and was able to cut with the grain for a chewier jerky. I also used setting ‘6’ on the slicer for thicker jerky that wasn’t as crunchy/dry. I used the same beef recipe as last time, and this time I used a pork loin to make pork jerky
- 1 cup soy sauce
- 1/3 cup Worcestershire sauce
- 1 cup water
- 1/2 cup maple syrup
- 3 Tbsp cracked peppercorns
- 2 Tbsp lemon juice
- 1 Tbsp hot pepper flakes
Beef Jerky:

And pork jerky: