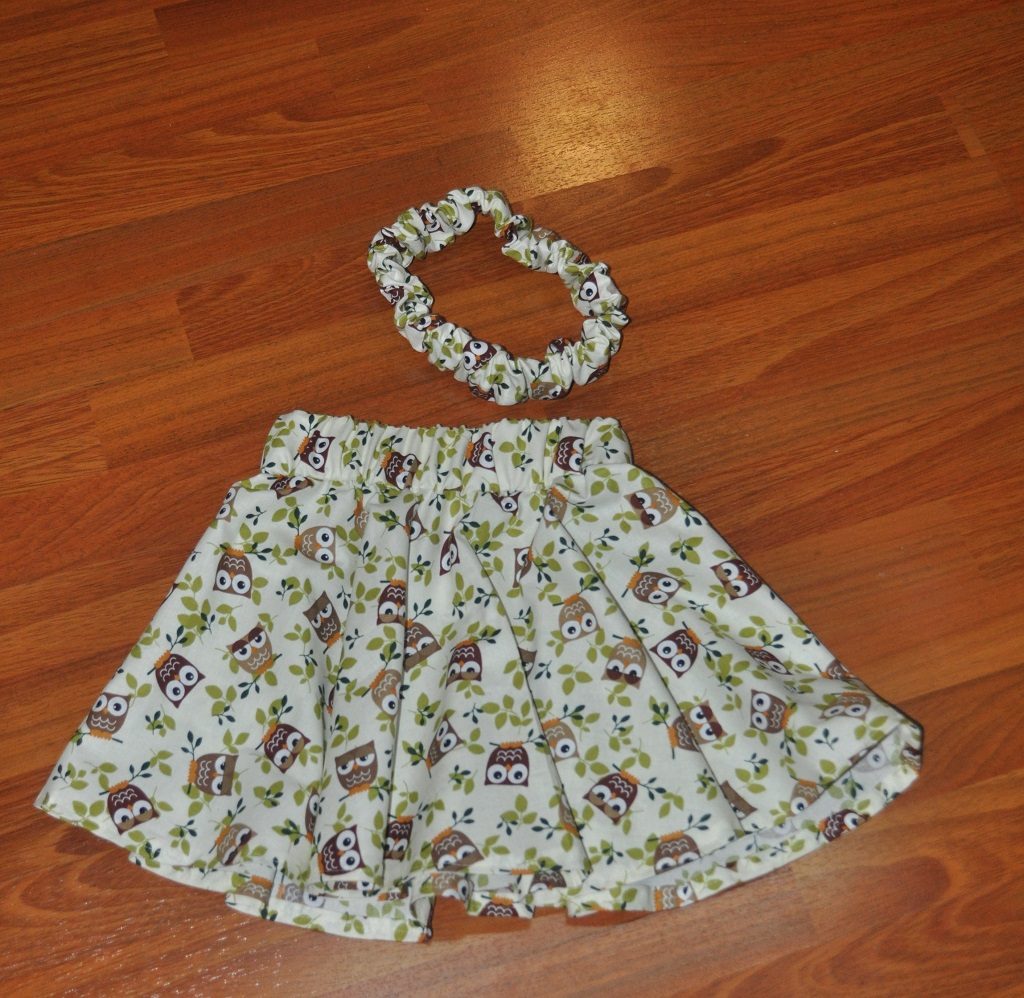
I’ve been making a lot of quick circle skirts and matching headbands for Anya. The first step to making a circle skirt for a tiny person is to select a fabric that looks the same from any direction (i.e. you can turn it upside down, at 45 degrees, etc). Solid colors are an easy pick, or a marbled pattern. A “tossed” pattern (the components are at all different orientations) works too. If you have a pattern that doesn’t look the same from all directions, you cannot use a single circle to make the skirt. Well, you CAN … but you’ll also have part of your skirt where the pattern is sideways and another part where it is upside down. Being able to cut a single circle is what makes circle skirts so quick and easy 🙂
I have a reusable pattern that I made myself. I’ve seen a lot of people bemoaning the maths required to figure out the pattern dimensions. I guess a theoretical physicist’s view of “a lot of complex math” is a little different 🙂 But, really, you need to measure the waist size and how long you want the skirt to be. The maths to forming the circles — the circle radius = waistSize / (2 * π) . A skirt for a growing child does not demand precision here. You could use 3 instead of pi – which makes your circle radius close to the waist size divided by 6 — the exact “close to” is not a linear function. In the waist size I’m dealing with, it is about an inch. If I want a 22″ waist for her skirt, I could divide 21/6 for the radius and come up with a 21.99″ waist.
Since I want a stretchy waistband that allows her to pull the skirt on herself, I want something larger than her actual waist size. Depending on how much fullness / gathering I want, 22-25″ is a good circumference for the waist – which is a radius between 3.5″ and 4″. The next thing you need to decide is the length of the skirt – you’ll have two inches at the top for the waistband, but you’ll also lose about an inch to seam allowances.
To draft a pattern, use a trammel set in conjunction with an 18″ aluminum ruler. Draw the inner circle (radius calculated for the waist), then draw the inner circle (waist radius + skirt length) – leaving the pin of the trammel set in the same location as the pencil part was adjusted. Cut the two circles and you’ve got a pattern.
To cut, you can fold the pattern in half or in quarters (along with the fabric) or lay the fabric out and pin the unfolded pattern to the fabric. I align the pattern along two perpendicular sides of the fabric. This leaves me with a very long strip of uncut fabric. Cut a 5″ wide rectangle the length of the calculated waist circumference. I also cut a 2″ or 3″ wide rectangle a few inches longer than Anya’s head size to make a coordinating headband. For the waistband, 2″ strip of non-roll elastic to her actual waist size (plus half an inch or so) and another one to a little less than her head size. The head-sized one I then cut in half lengthwise (so I have two 1″ strips of elastic the length of her head size).
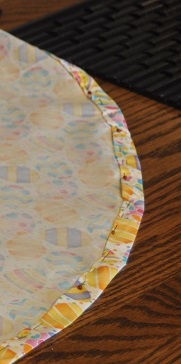
Fold the outside edge of the circle over 1/4″ and press. Then fold it over another 1/4″ and press. Stitch – this will be the bottom hem.
With the serger, finish off all four edges of the waistband fabric. Finish the short ends of the headband. The headband, fold in half lengthwise with the rights sides together and serge the long sides together to make a tube – which then has to be turned the right way around. Attach a safety pin to the 1″ wide elastic band and feed it through the strip. Sew the two ends of the elastic together, fold the ends of the fabric under and insert one side of the tube into the other side and stitch the two sides together. Voila, headband.
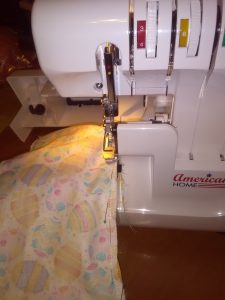
Pin the 5″ wide strip to the outside of the skirt, wrong sides together. I use the serger to sew these together – it finishes the top edge of the circle.
Sew the two short ends of the rectangle together. Sew the short ends of the 2″ wide elastic band together. Pull the skirt band through the elastic and pull the skirt band around the elastic. Fold the waistband over to the circle top is sandwiched between the two long edges of the waistband and start sewing. As you get toward the end of the circle, you have to gather the already-sewn waistband casing along the elastic. Done!
