Tag: WIP

Three New Sewing Projects — Coat and Dresses

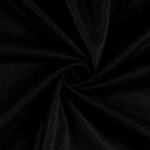
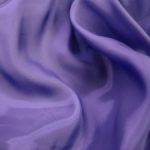
I want to try making a coat for Anya — the Polartec fleece jacket turned out incredibly well, even if the thick fabric was incredibly difficult to sew. I intentionally chose a larger size — 8 — so she’d be able to wear the jacket for a few years. For this winter, I thought I’d make a dressy wool coat. Totally basic black wool, but a silky purple lining, purple silk twist for the button holes — still deciding between the darker and lighter purple, and some cool buttons I’ve not yet found.

            Bemberg Ambiance - Irus

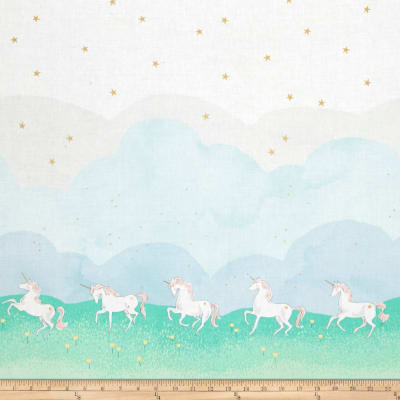
And as usually happens when ordering fabric, I can avoid paying ten or fifteen bucks for shipping if I buy for a second project. A few years ago, I found a free pattern for a peasant dress. I love the dress, but the “border” part would have been the entire dress when Anya was younger. I bookmarked the pattern to use when she got a little older. Well … she’s older. And certainly taller! Tall enough that I think a dress with border print fabric will work. Since Anya is loving unicorns right now, I thought I’d make her a unicorn peasant dress.

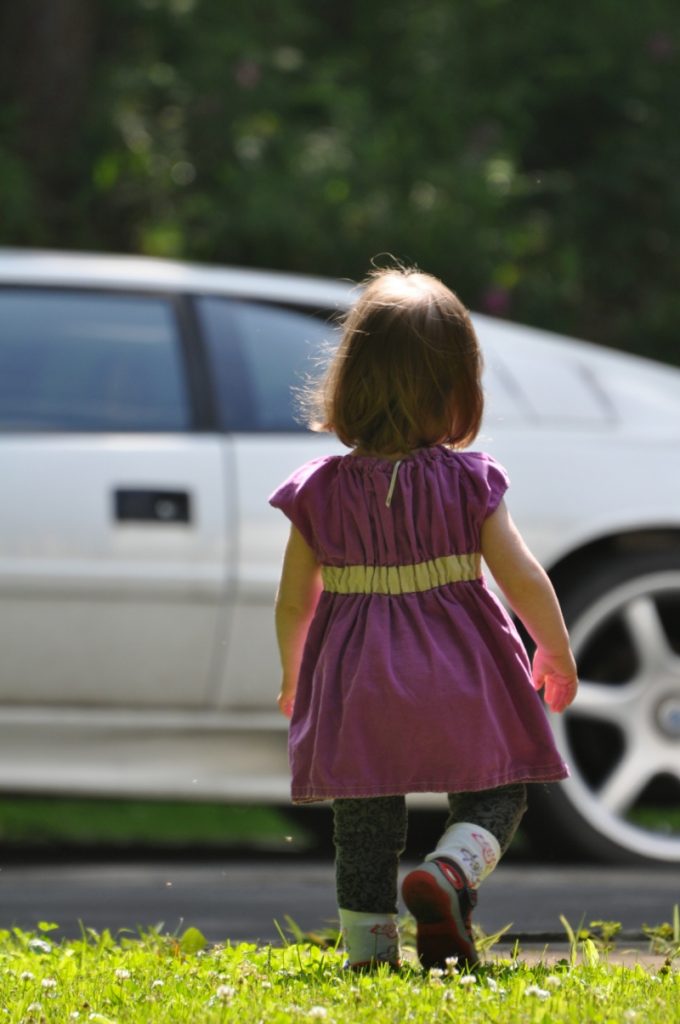
The pattern reminded me of one of my favorite things I’ve ever bought for Anya — this top that she wore as a dress in 2014/2015, a tunic in 2016/2017, and a shirt in 2018. The arms are small now, or she’d still be wearing it as a shirt.

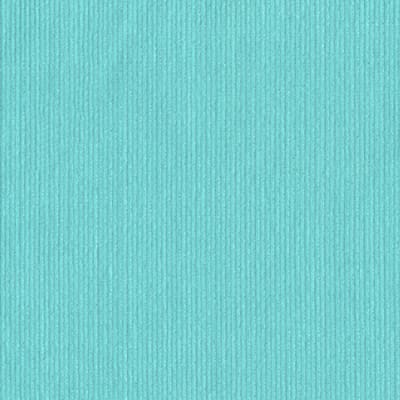
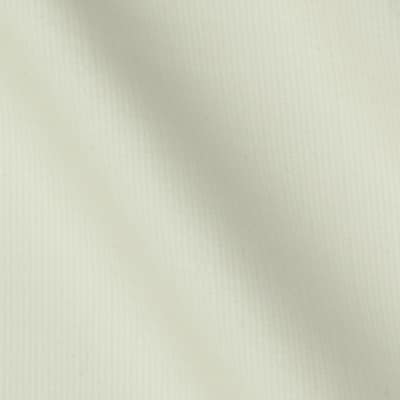
It’s corduroy, but a really awesome light-weight one. In browsing around checking out fabrics, I realized it is 21 wale corduroy — so I added two different fabrics. I figure I can make a blue dress with a cream stripe and a cream shirt with a blue stripe. And what’s a dress today will be a tunic in a few years and a shirt for another year or two after that.
Bigger Bookbag for Anya — Interior

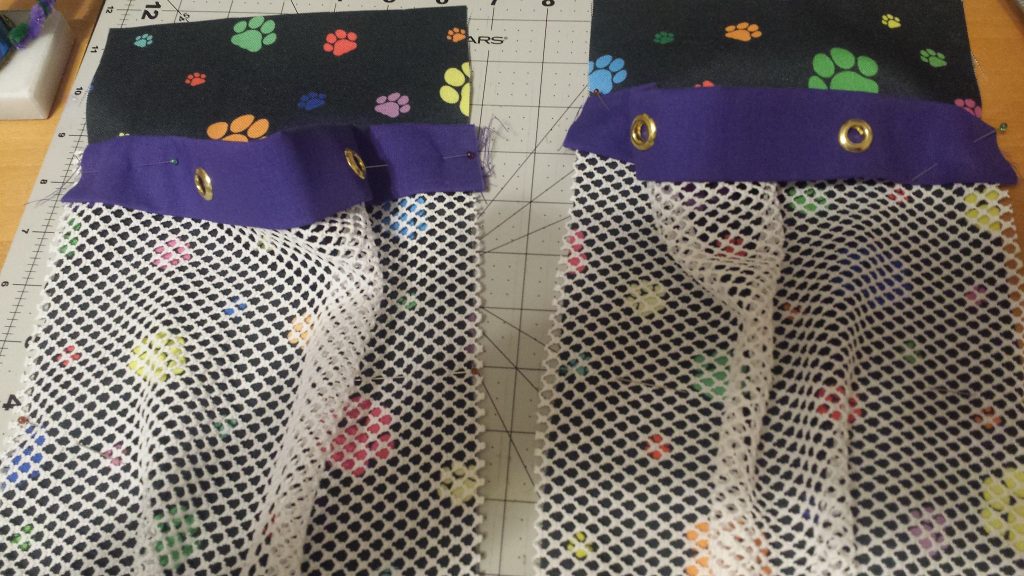
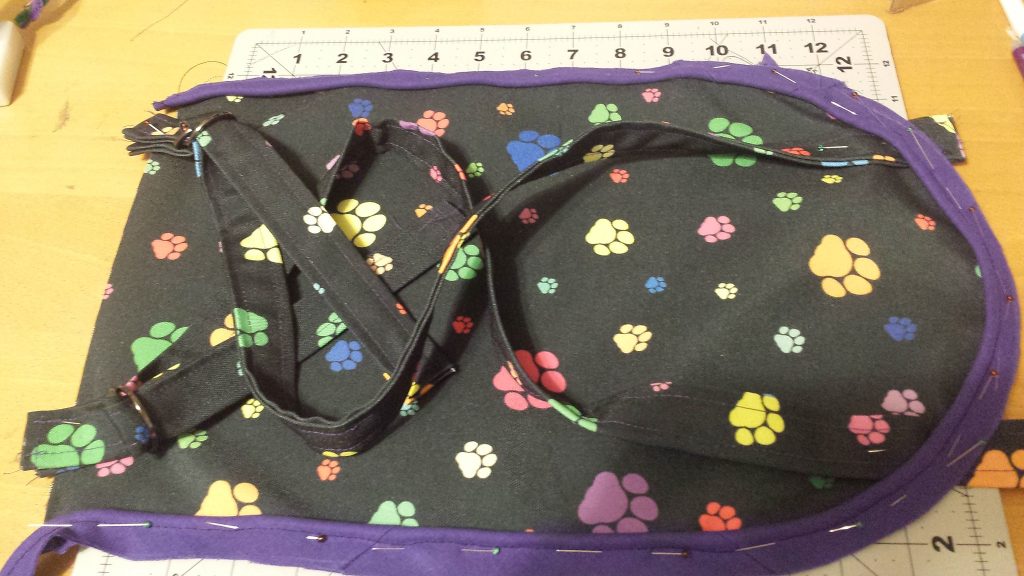
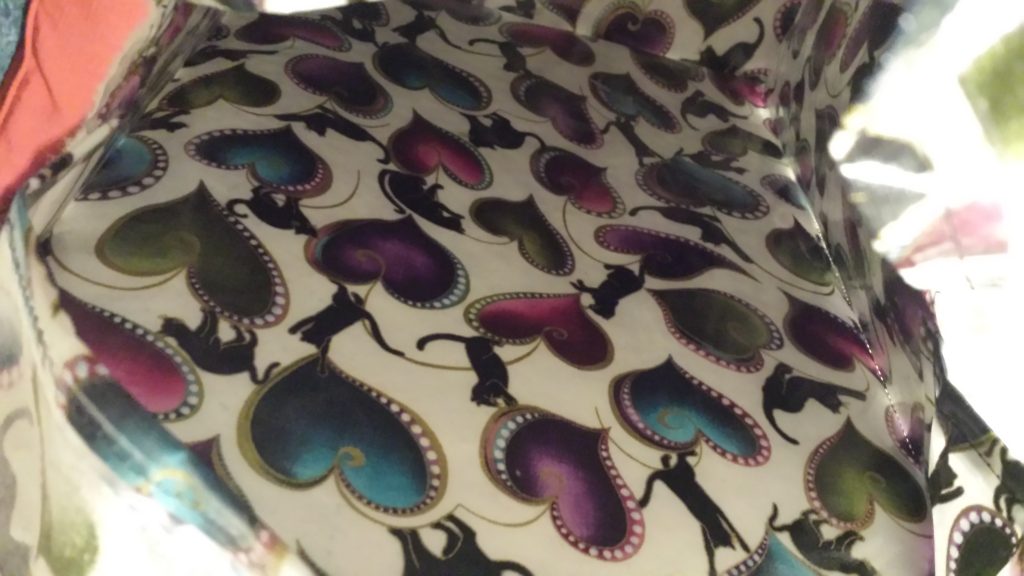
After cutting and laminating the fabric for the interior of Anya’s bookbag, I finally sewed it today. We still need to order the zipper online — we went to the craft store last week (and got caught in a snowstorm heading home!), but Anya’s zipper selection was only stocked in 9″. I’ll order the 22″ version online, and then we’ll have all of the bits and pieces to complete the bag.

Bigger Book Bag – Fabric Selection

Anya’s little owl bag is, well, small now that she’s in school school. They’ve got a folder that doesn’t quite fit, there’s no room for her lunch, and she’s a lot bigger than she was two and a half years ago. I’m making a bigger bag for her — using essentially the same pattern, but increasing the size a bit horizontally and a lot vertically.

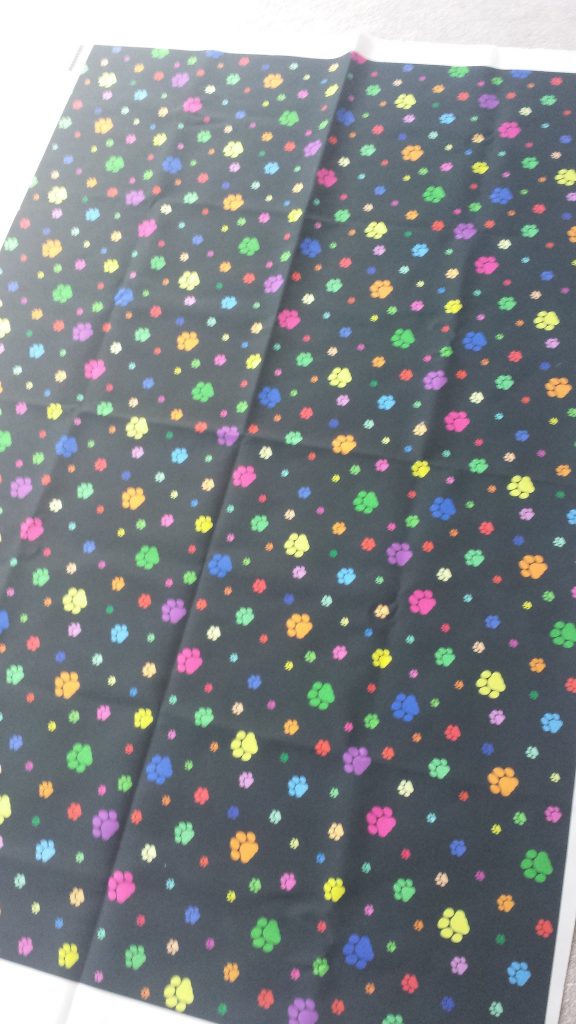
The first decision — what do we want it to look like? She decided on a cat — a cat pocket, maybe cat charm on the zipper, and paw print fabric. I found a cute cat fabric for the lining, but I couldn’t find any paw print fabric that I liked. So I made my own on SpoonFlower. I had my design printed on their eco canvas — it is a stout fabric and black ink showed up well.


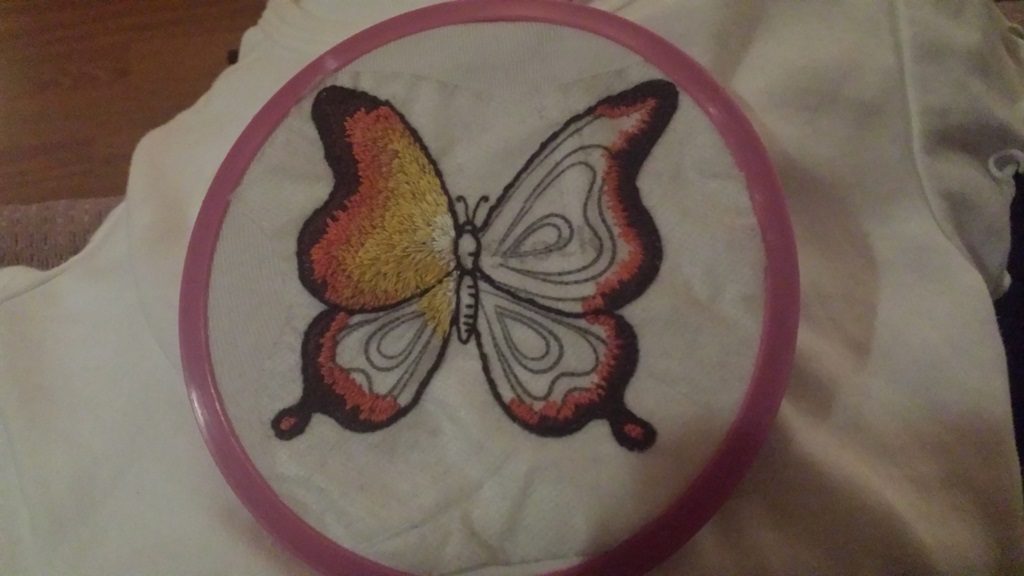
Thread Painting – Butterfly Tshirt

I’ve seen various iterations of needle painting (thread painting, needle shading) and am finally trying it. While the technique isn’t difficult, it is seriously time consuming. Fortunately, Anya loves the butterfly thus far. I’ll probably make another shirt or two using this technique … but start with a size 6 or 7 shirt so she gets years of wearing it (and most of the embroidered shirts will either become a t-shirt quilt or appliqué patches on a larger shirt)

Peppermint Swirl Dress – Almost Finished!

I had put the peppermint swirl dress on hold whilst making her lion costume; now that Halloween costumes are all sorted, I wanted to try assembling this thing. It seems quite intimidating – fourteen different slices in the skirt, all curves. And the strips look too long. I know the instructions said the whole thing would look off until you attached the first and last slices to make a whole circle … but holding a single strip up against my tiny person, I thought this might be an adult-sized skirt. In fact, I think you could use one of the larger child size patterns to make a short adult skirt. There’s a lot of gathering to the bodice, and her size 6 fit around my waist.

I used Moda Marbles in vanilla and indigo. No matter how silly it sounds, I was quite paranoid about attaching the strips in the wrong order. And I’m only working with two colours! But someone else who makes these dresses posted her technique — stacking the fabric in the order it would be used, then just pulling the next piece of fabric off the pile as she assembles the skirt. Perfect! I could double-check the order — asked Anya to tell me the colours, and listed for the alternation.

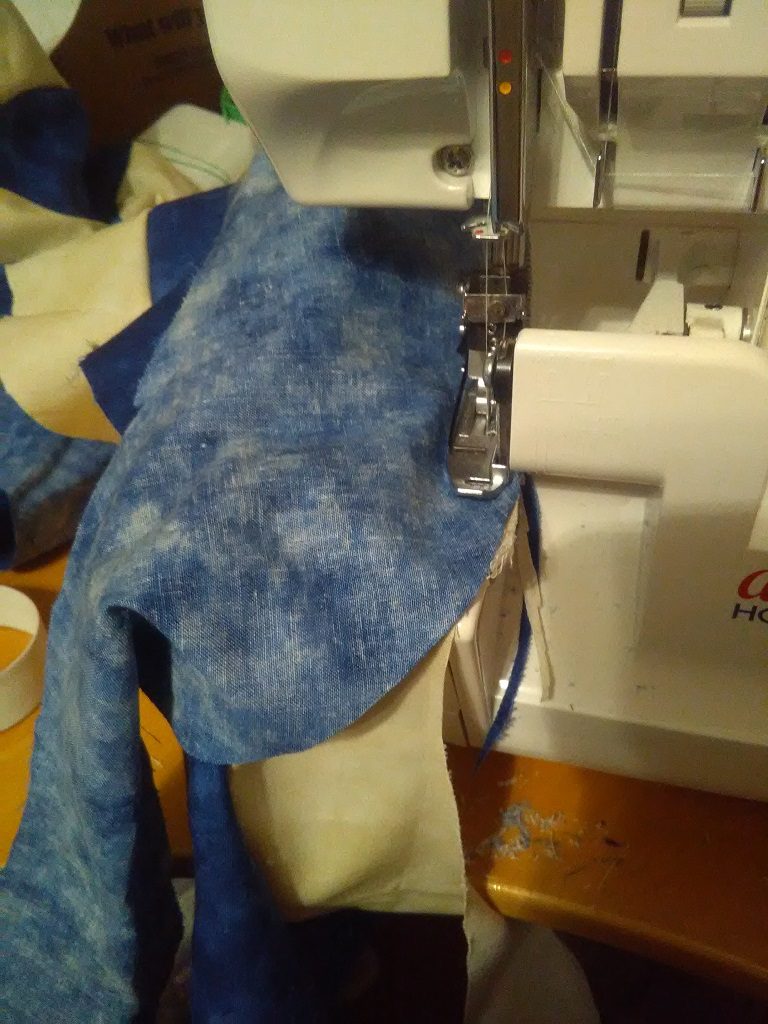
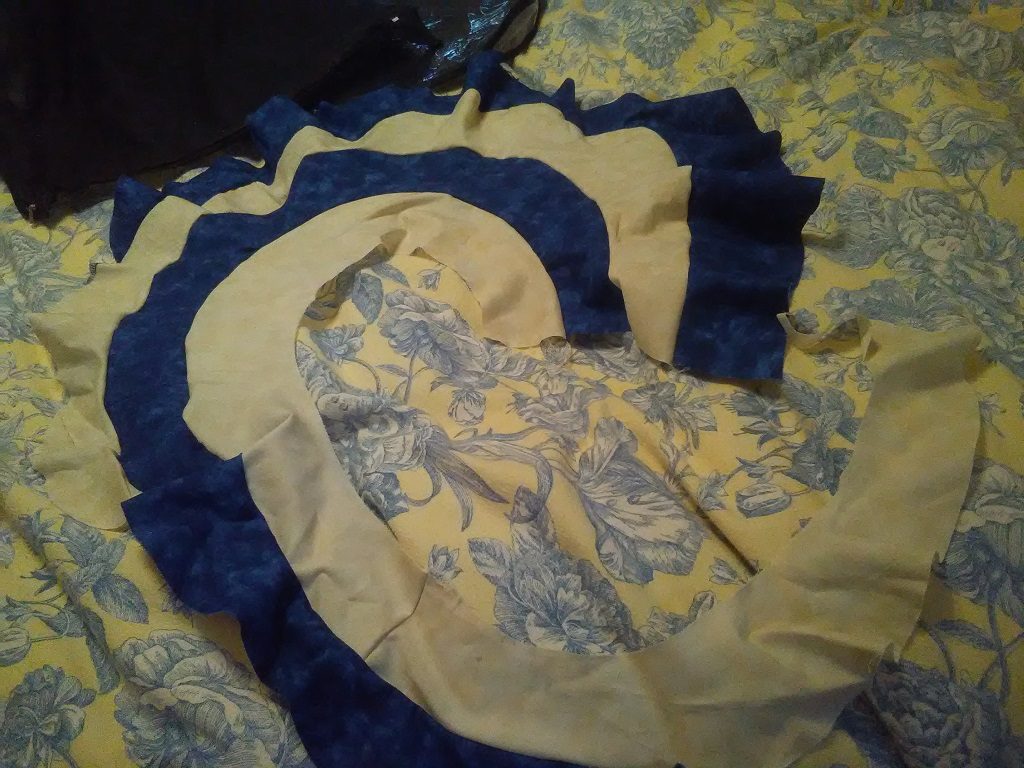
Anyway, assembly looks intimidating. You’ve cut twenty-eight segments and attached them together into fourteen individual strips. That’s a big pile of fabric. The whole thing came together quickly – like thinking I must have done something wrong quickly. This is certainly a serger project – it’s a lot of seams, and I would be devastated to spend this much time cutting and assembling a project (and five yards of fabric, even cheap fabric, adds up) only to have seams fray after a few uses. With a serger, though, I was able to assemble the entire thing in a couple of hours . The arc of each slices can be held straight for the ~2 inches between the front of my serger and its needles. I quickly developed a technique of sewing slowly and aligning the two fabric pieces at the front of the serger.

It does look odd (and huge) as the pieces come together.

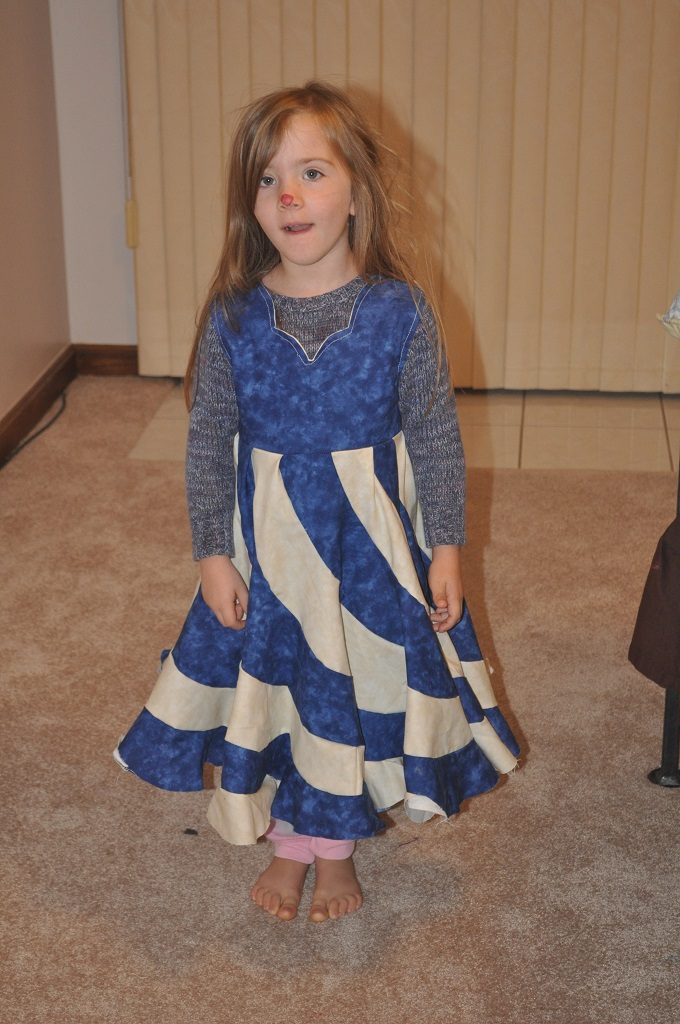
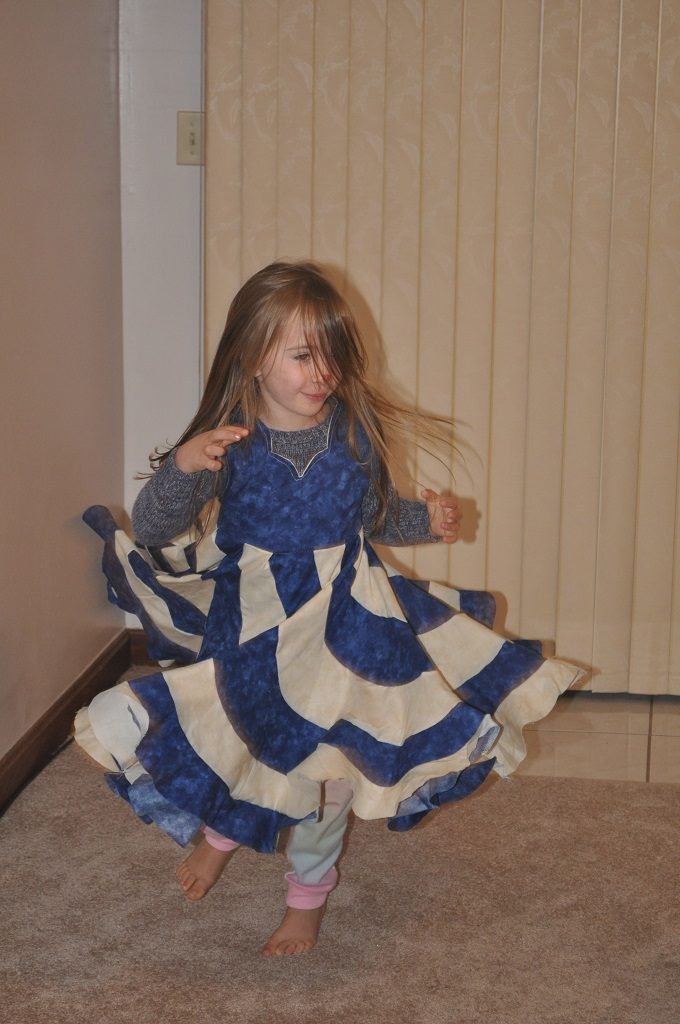
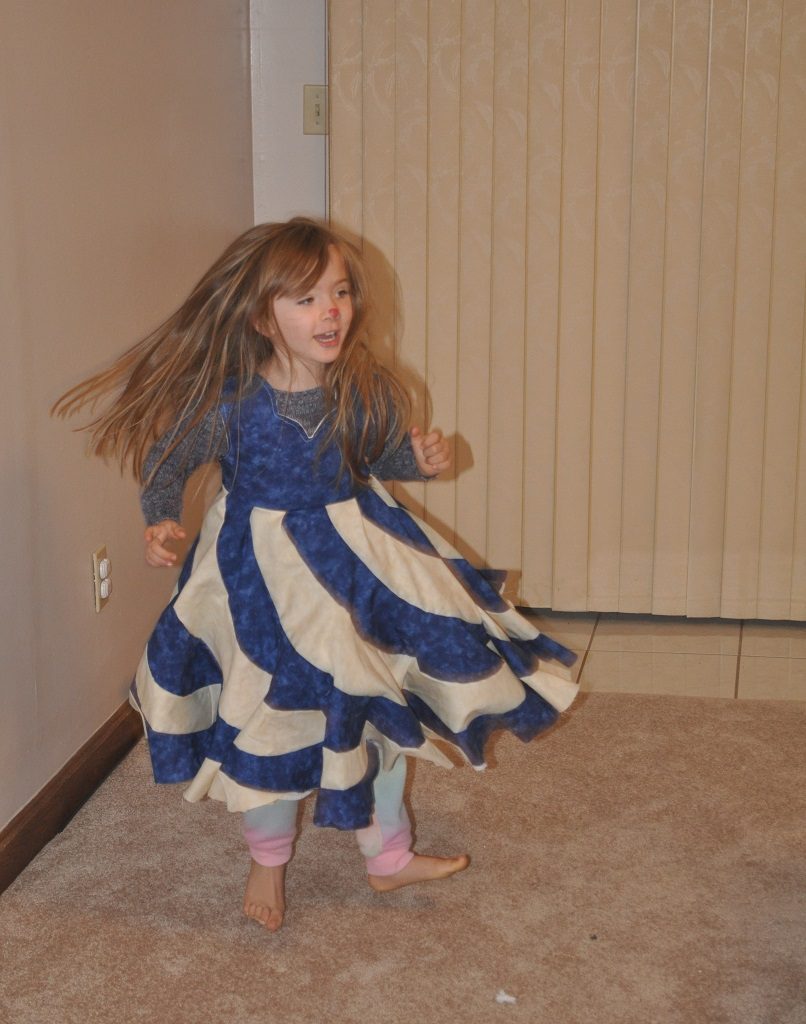
I still need to hem the bottom and attach some snaps, but I needed to check the size one last time. Anya is so thrilled with the dress, she wanted to keep wearing it.

And make sure it spun well.

And make sure it danced well.

She says it works 🙂

I need to fix the top-stitching along the neckline. The thread pulled funny in a few places, and I mis-judged the center V. Final step will be to hem the bottom – I’m thinking of a rolled hem to keep it light-weight and “spinny”.

Baseball Shirt

Anya’s preschool class has “baseball day” on Friday, and they are to wear their baseball shirts. It’s an interesting assumption that everyone has a baseball shirt to wear. Three years ago, I happened across an Indians t-shirt on post-season clearance. It was a size too large, but she grows. Beyond my “you cannot go wrong with a 4$ t-shirt” purchase, we don’t have anything baseball related. I don’t particularly want to pay inflated MLB-licensed in-season (and the Indians are doing well) prices.

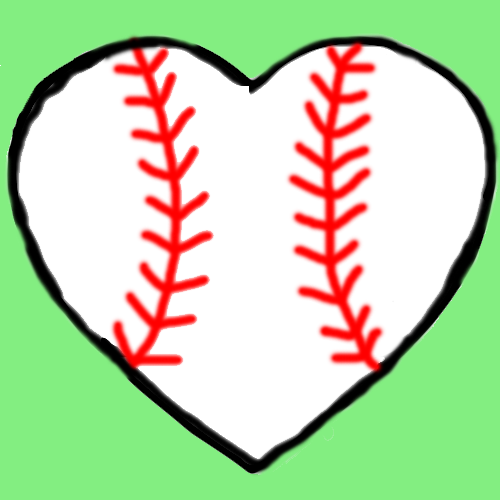
I picked up a bunch of blank t-shirts for embroidered designs, so I decided to make Anya a baseball themed shirt. She chose the green shirt, and I drew a heart and added baseball stitching. The black and white image was printed on this Transfer Eze paper that I love. Then I cut out a slightly larger heart of white satin and a same-sized heart from a very thin quilt batting. Laid out the t-shirt, centered the quilt backing, then affixed the Transfer Eze heart to the satin and laid it on top of the batting. Going with the quilting principal of working from the center out to avoid bubbles, I started with the red stitching. Now I’m using a satin stitch around the edge to needle turn appliqué the whole thing onto the t-shirt.

Peppermint Swirl Dress

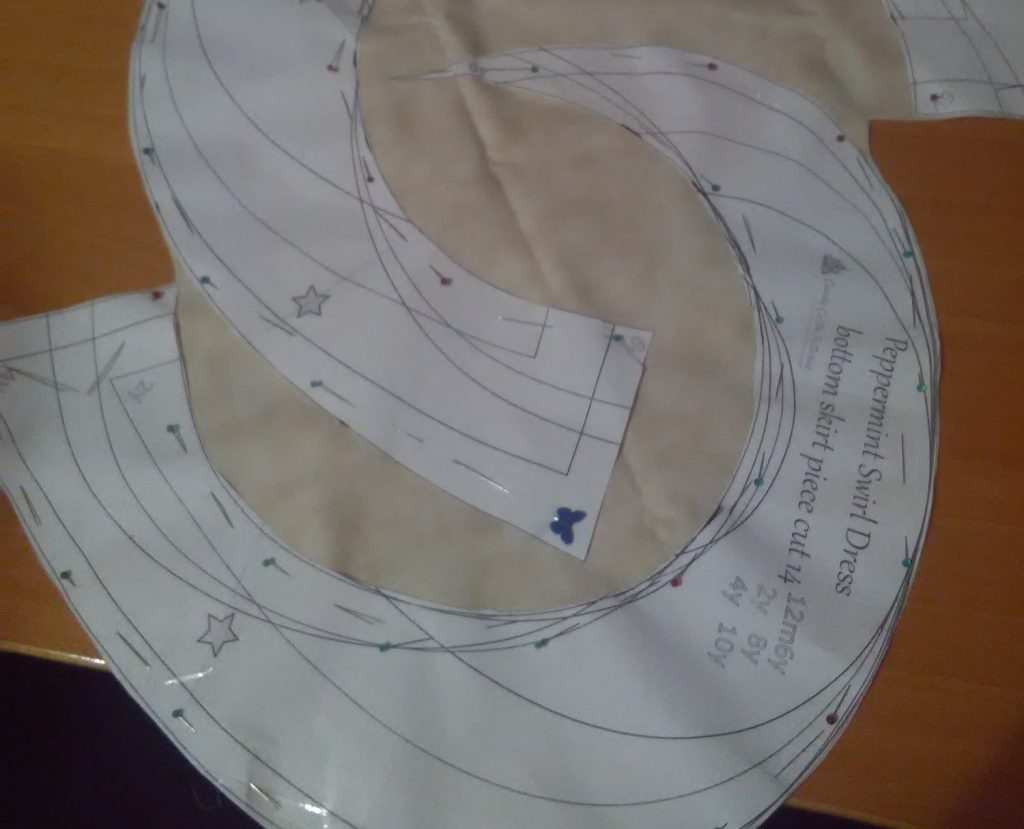
I started cutting the peppermint swirl dress. I cannot wait until fabric can be 3D printed (yes, I’ve seen Electroloom … but they went under, so don’t really count. I totally would have purchased one and started a custom fabric business. In the solid color realm, you could do some amazing pre-cut kits. Or white and hand dyed the printouts). This dress would be so much easier to make if you didn’t have to cut twenty eight little swirl strips 🙂

Wow does this use a LOT of fabric! Especially if you don’t think about it for a second first and cut the fabric folded wrong sides together. *Not* symmetrical. D’oh! So now I have to order another yard of the cream fabric. I’ll get the rest of the cream cut, all of the blue cut, and start assembling the dress. It’ll be 75% done before I actually need that last cream strip. I’m curious to write an algorithm to place the pieces on a length of fabric. It seems like the S-shaped combination of the two strip pieces could be nested to decrease the length of fabric required to get seven sets. Haven’t yet, so I’m getting two sets from a 44″ wide piece of fabric — cut the fabric in half and laid them together with both right sides up. Important, that.


Furls CAL – Sun Hat

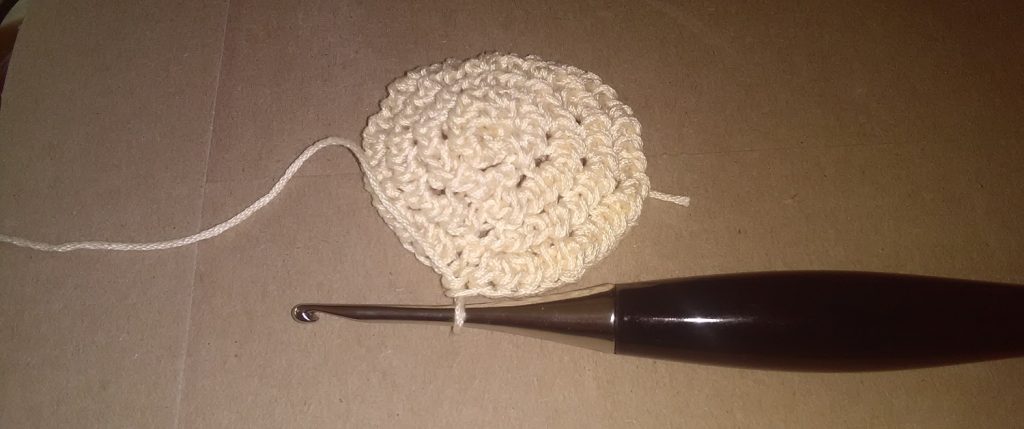
WooHoo! The sun hat crochet along finally reached the pattern stage! I used the same cream coloured yarn for the main hat, but have a slightly iridescent light green yarn for the accent. I’m thinking about making Anya’s hat in reverse – using the green for the main yarn with cream as an accent. Partially because I don’t like having the exact same thing and partially because inverting the colours uses the yarn more efficiently (otherwise I am going to have a heap of the accent colour left over!)

Round four completed:

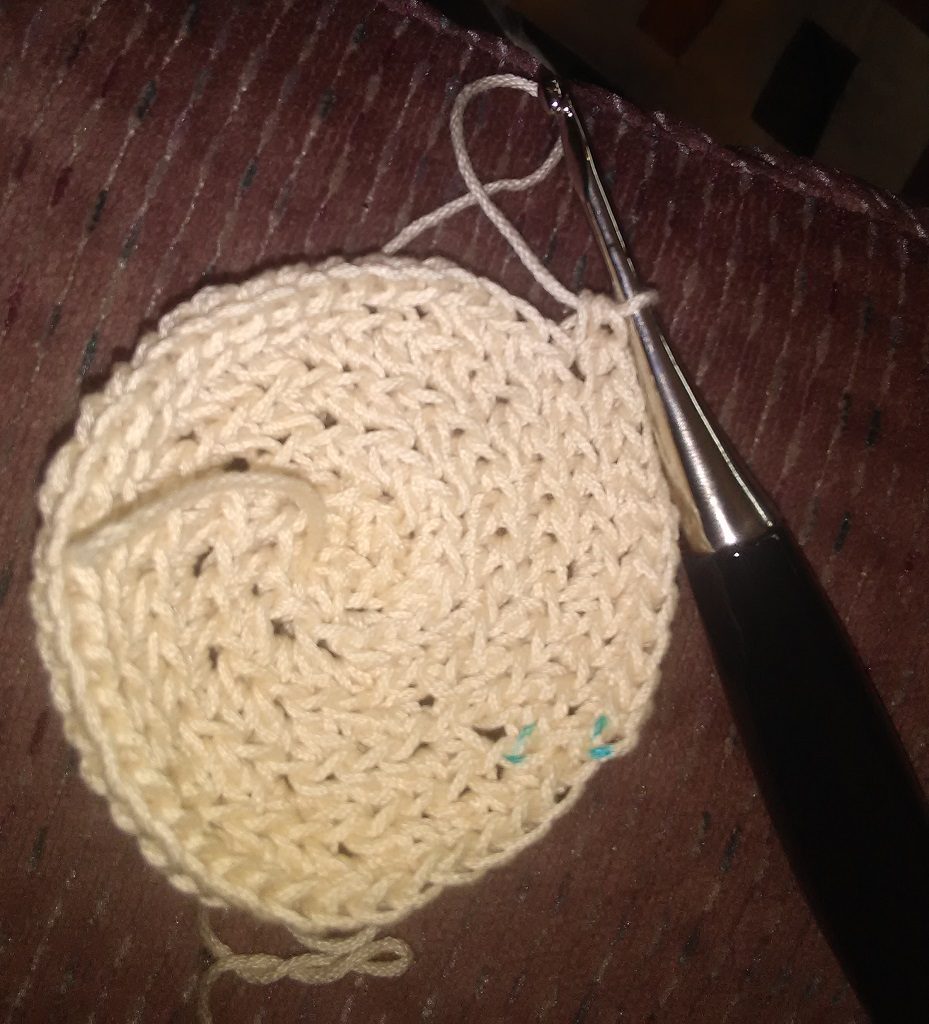
I have trouble keeping track of the start and end of rounds — not a problem unique to this pattern, Anya’s star blanket was just as tricky for me. Easy enough to re-count the stitches on early rounds — and frogging a few stitches isn’t such a big deal. As the project progresses to the point where a round comprises 40 or 50 stitches, adding or missing a stitch is a pain to correct. I’ve tried using those little round stitch markers, and honestly I just don’t get it. If they had splits in the rings and could easily slip back off of the project … that would make sense to me.

I’ve come up with an easy method to keep track of rounds — a water soluble marker I use for marking dress patterns. Test it on your yarn to make sure it comes off completely (and mark in an inconspicuous spot just in case). Which stitch it makes sense to highlight will vary by pattern. Here, the chain stitch which starts each round does not count as the first stitch. I chose to mark this ‘skipped’ stitch. The round should end immediately before the marked stitch, and the first hdc from the round into which the last hdc is slip stitched is immediately after it. Chain one and mark again. See the little blue marks on the “inside” of the hat? Those are my ch stitches. Voila, two rounds without frogging anything 🙂

Furls Crochet Along

Furls makes some beautiful crochet hooks — I picked some up a few years ago in a holiday promo coding failure (free shipping != 50$ off the order) and have been on their newsletter ever since. They’ve got a lot of cool project ideas – a lot of amigurumi critters and crochet along projects. I keep most of them, but nothing has been so awesome that I just had to do it. Until today.

This month’s crochet along project is a sun hat! I am really looking forward to making my own hat. I ordered the materials already – hopefully they’ll get here within a week so I can actually crochet along with the project.