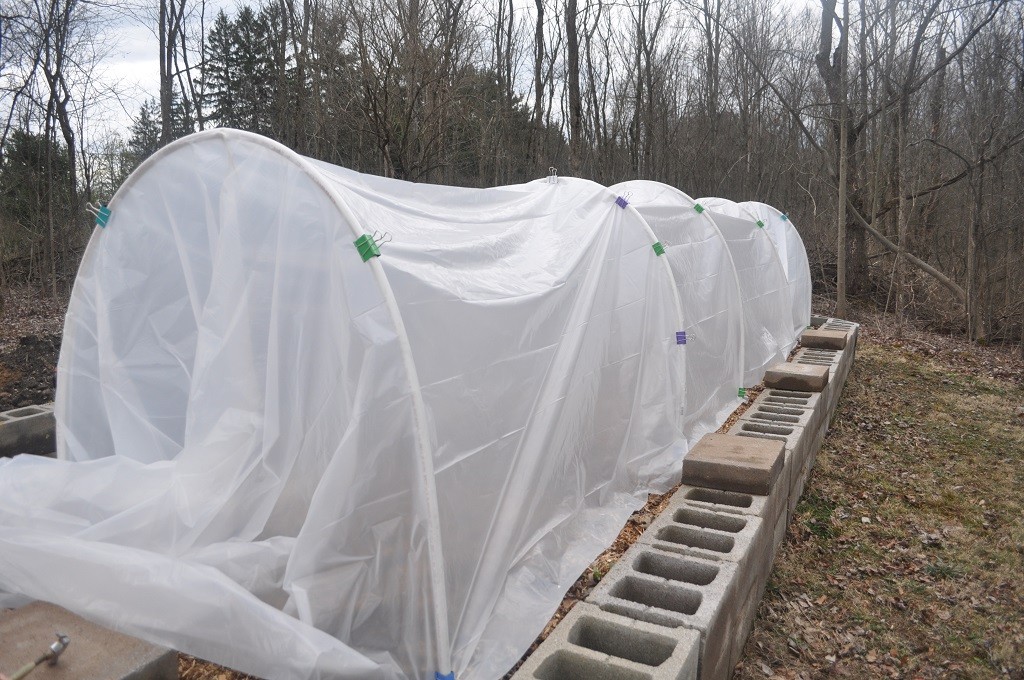
Using a combination of techniques I’ve found on the Internet, Anya and I built a low tunnel greenhouse yesterday. The whole process took about ninety minutes, but we aren’t quite done (the plastic needs to be snugged up, and I want to bury the plastic along the ground).
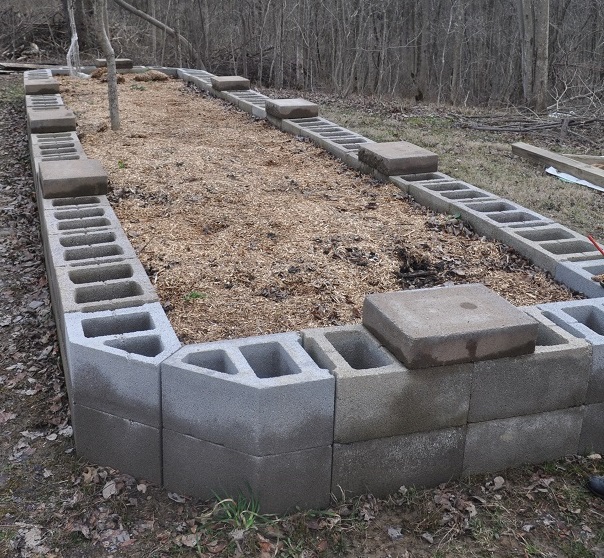
Last year, Scott built two raised bed garden areas – one is being used for composting until it gets full enough to be a garden. This is the second one – the veggie growing area.
We wanted to extend our growing season – and have a convenient place to start a *lot* of plants, so I researched easy to build greenhouses. I found two types I like – the low tunnel and the hoop house. A low tunnel is basically PVC pipe bent over your ground with plastic run along it. How “low” is the low hoop? Well, that depends on the length of PVC and the width of the tunnel. The HandyMath.com complete circular arc calculator will take these valeus, then the “height of arc” is the height at the highest point of the tunnel. The lowest point is 0″ (it hits the ground).
A hoop house seems to be a low tunnel on “stilts”, so I decided to make a low tunnel this year … see how it works out for us. If we want it taller, we’ll add the “stilts” next year and have a hoop house.
The materials we used – sourced from the local Home Depot and Staples – are 2′ lengths of 1/2″ rebar, 10′ lengths of 1/2 PVC pipe (used for drinking water – so in theory it shouldn’t leach not-food-safe chemicals), plastic painting dropcloth, and large binder clips. Total cost was just under 55$ for a 25′ run.
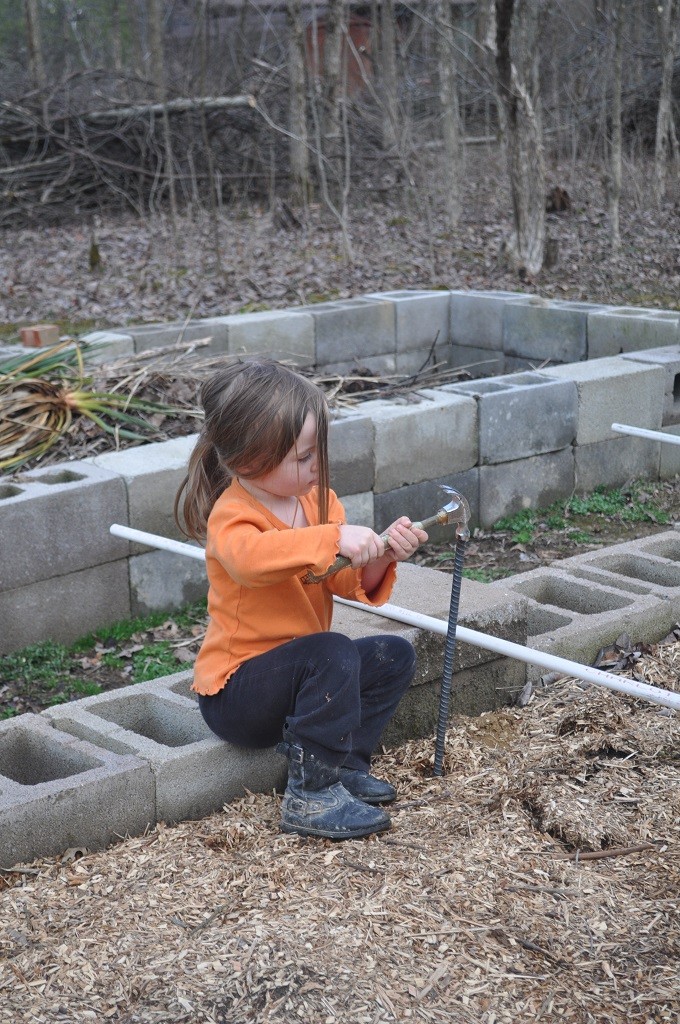
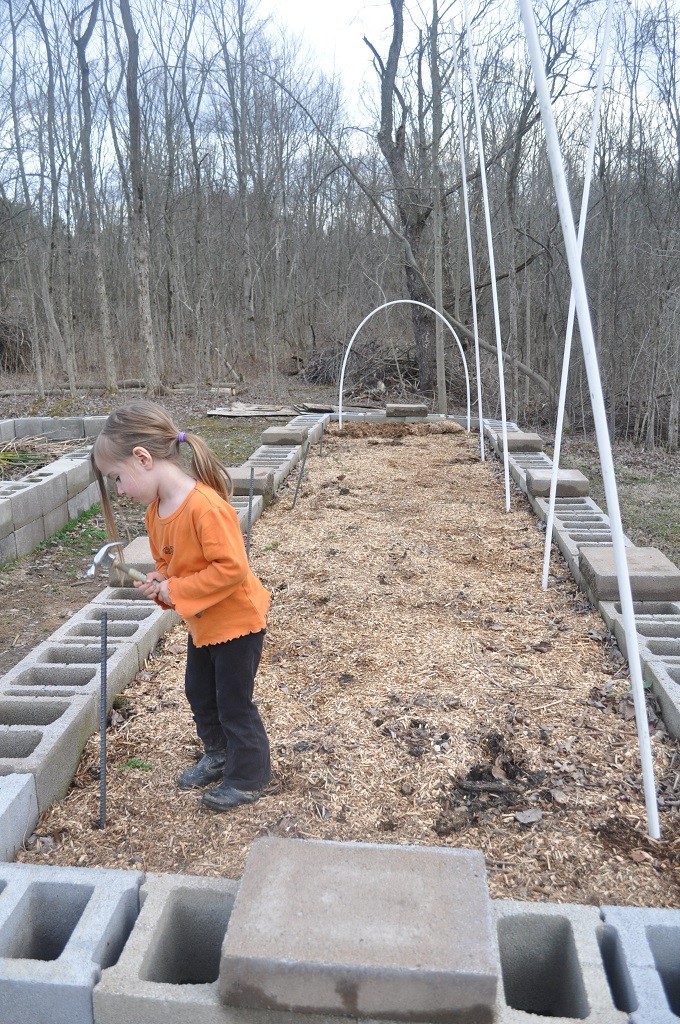
After placing the PVC and rebar along the garden bed to make sure everything was spaced as desired, we used hammers to drive the rebar into the ground. Anya started the rebar, and I finished driving it in with an ~8 lb sledge.
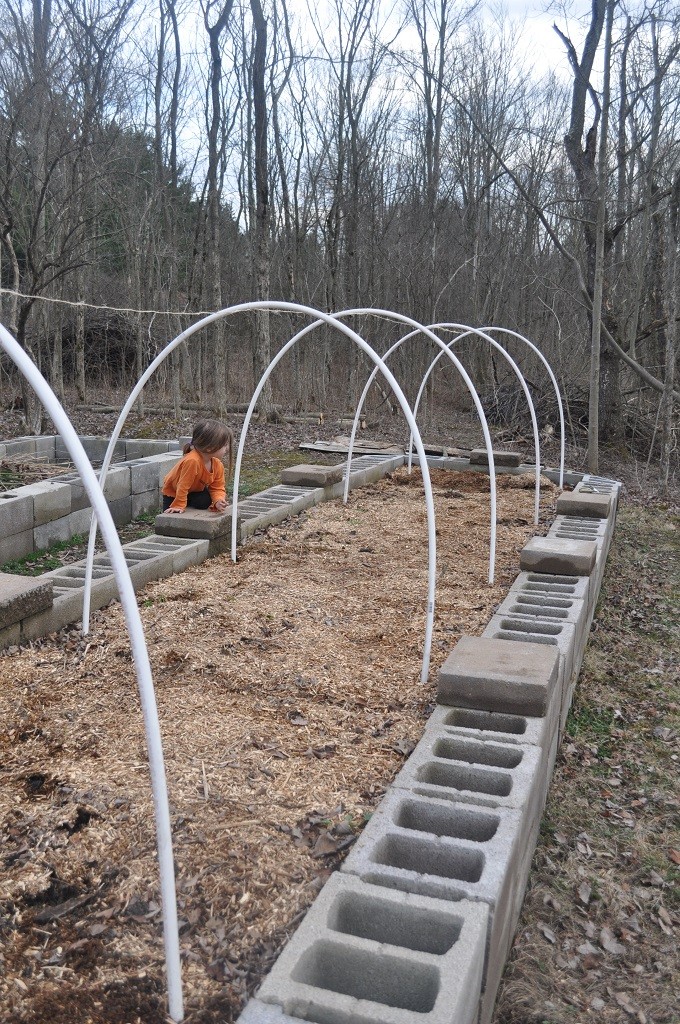
After the rebar was firmly in the ground, we slipped one end of the PVC pipes over the rebar.
Anya grabbed the pipes and pulled them over to me, and I slipped the other end of the pipe over the rebar. At this point, it kind of looks like I’m building a Conestoga wagon on my garden. I tied a rope along the top of the arches to make a ridgeline, but I don’t know that this is actually doing anything structural.
We then spread the plastic drop-cloth over the arches – it isn’t as clear as “clear plastic” sounded to me 🙂 But after visiting two local Home Depots, neither of which had “greenhouse plastic” … it’ll do. I used the binder clips to hold the plastic onto the PVC pipes. Right now, there are four clips on each arch, and eight clips on the arch where two pieces of plastic are joined.
Unfortunately, a thunderstorm came up pretty quickly … so instead of tightening the plastic, I laid bricks to hold the plastic down along the ground. Once the plastic is snugged up, I will put the bricks back and completely bury the edges in dirt or mulch to avoid wind getting under it. I still need to make a door for an entrance too – right now, you have to unearth and unfurl quite a bit of plastic material to get into the tunnel.
Possible upgrades for the future:
- A sturdier hoop can be made from electrical metallic tubing – it’s more expensive, and you need to bend it on a pipe bender (we have one, so that isn’t a new cost. For someone without a pipe bender in their workshop … that is a non-trivial investment. We got ours from Harbor Freight with a lot of discounts). The metal hoop is good for higher wind areas. Our garden is sheltered pretty well by trees, so I am hoping the PVC will be sufficiently sturdy.
- Real greenhouse plastic! I had wanted something completely clear to allow more light to enter and for better visibility.
- If this height proves to be inconvenient to use, we’ll probably get five more tubes, cut them in half, slip a 5′ length over the rebar, then join the tunnel part to the top of the 5′ section. This will give us a structure 5′ at the low point and ~8.5′ at the high point. Plenty of room for any of us to stand upright. That would mean adding quite a bit more plastic sheeting too.
We’ll either replace the plastic sheets with a bug netting later in the Spring or just take the whole thing down & put it back up in Autumn to (hopefully) extend the growing season even more. If we are really lucky, we will be able to grow some greens throughout the winter.
I think I’m going to place the little seed-starting pots into the greenhouse, then transplant them into the ground as they get a little bit bigger.
